Search Tips
Using Contact Sheet: Viewing Contact Sheet
Once you have populated the Contact Sheet Viewer with clips, there are several ways to adjust how they appear.
Displaying Shots
Creating Page Layouts
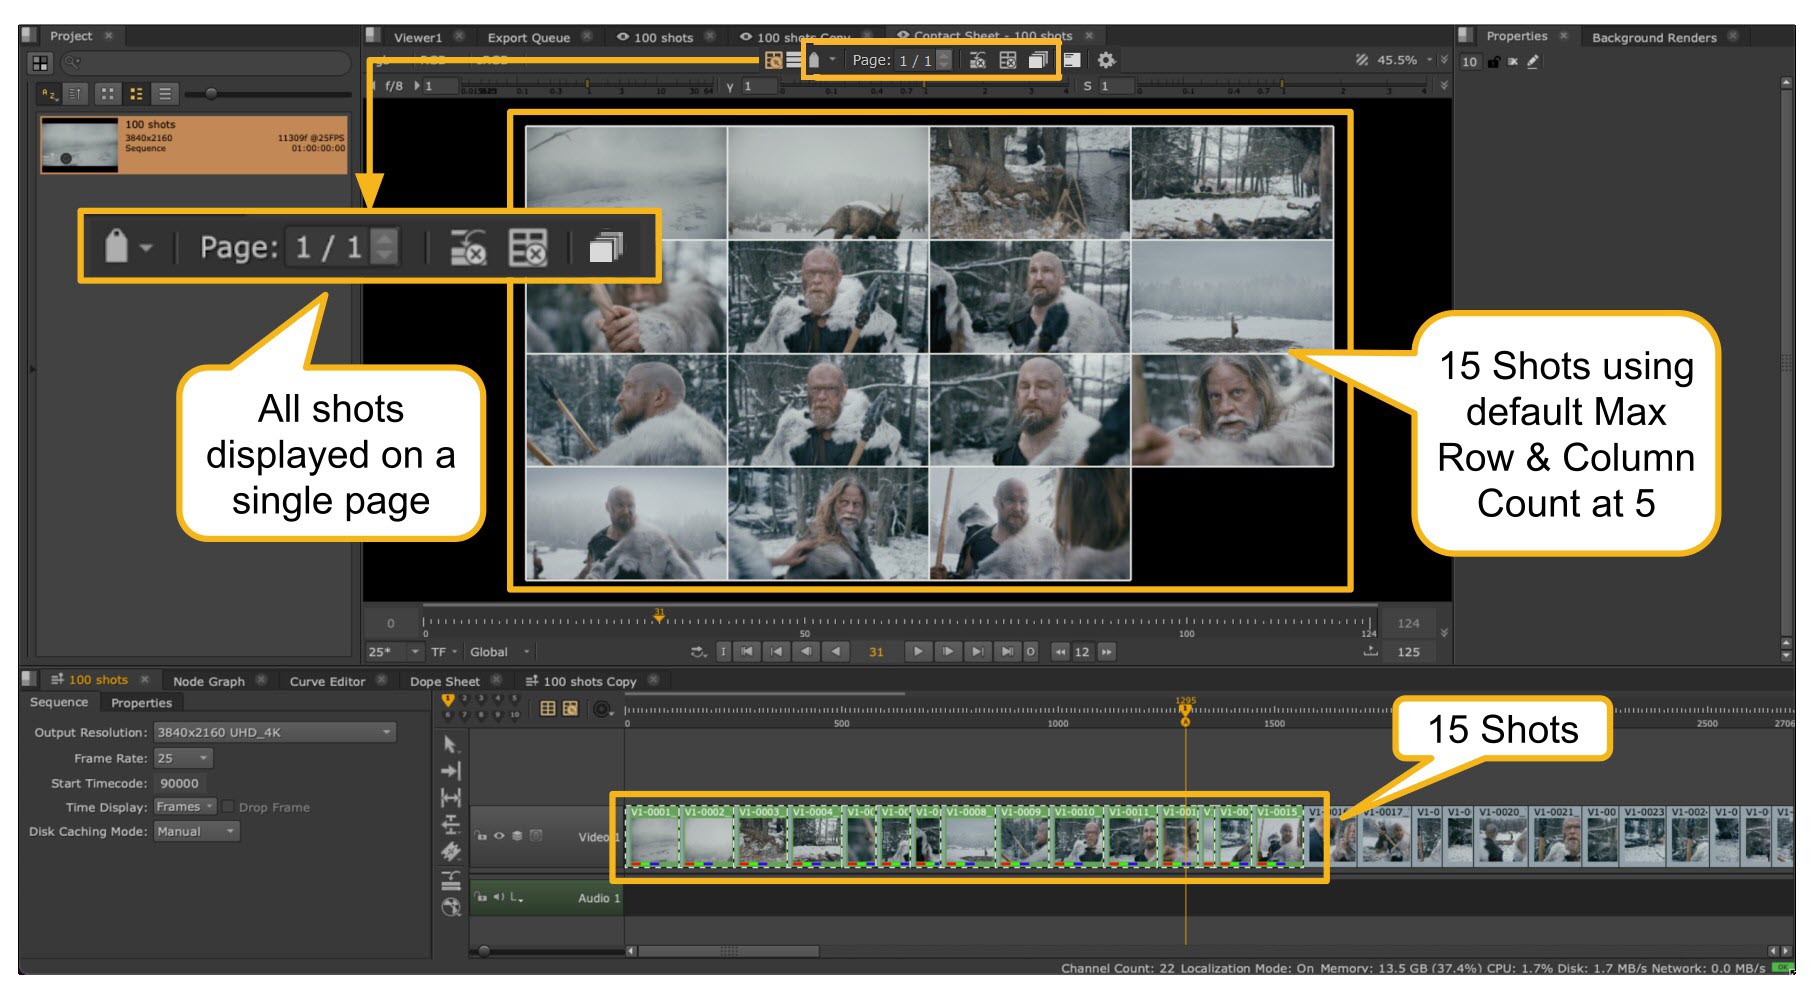
Depending on how many clips you have selected, additional pages may be shown available in the Contact Sheet menu bar Pages area. The default Max Row Count and Max Column Count is set to 5 by default, meaning that up to 25 shots can be displayed per page before the remaining are automatically spilled over to additional pages. In the screenshot below, the default 15 shots are selected to be displayed.
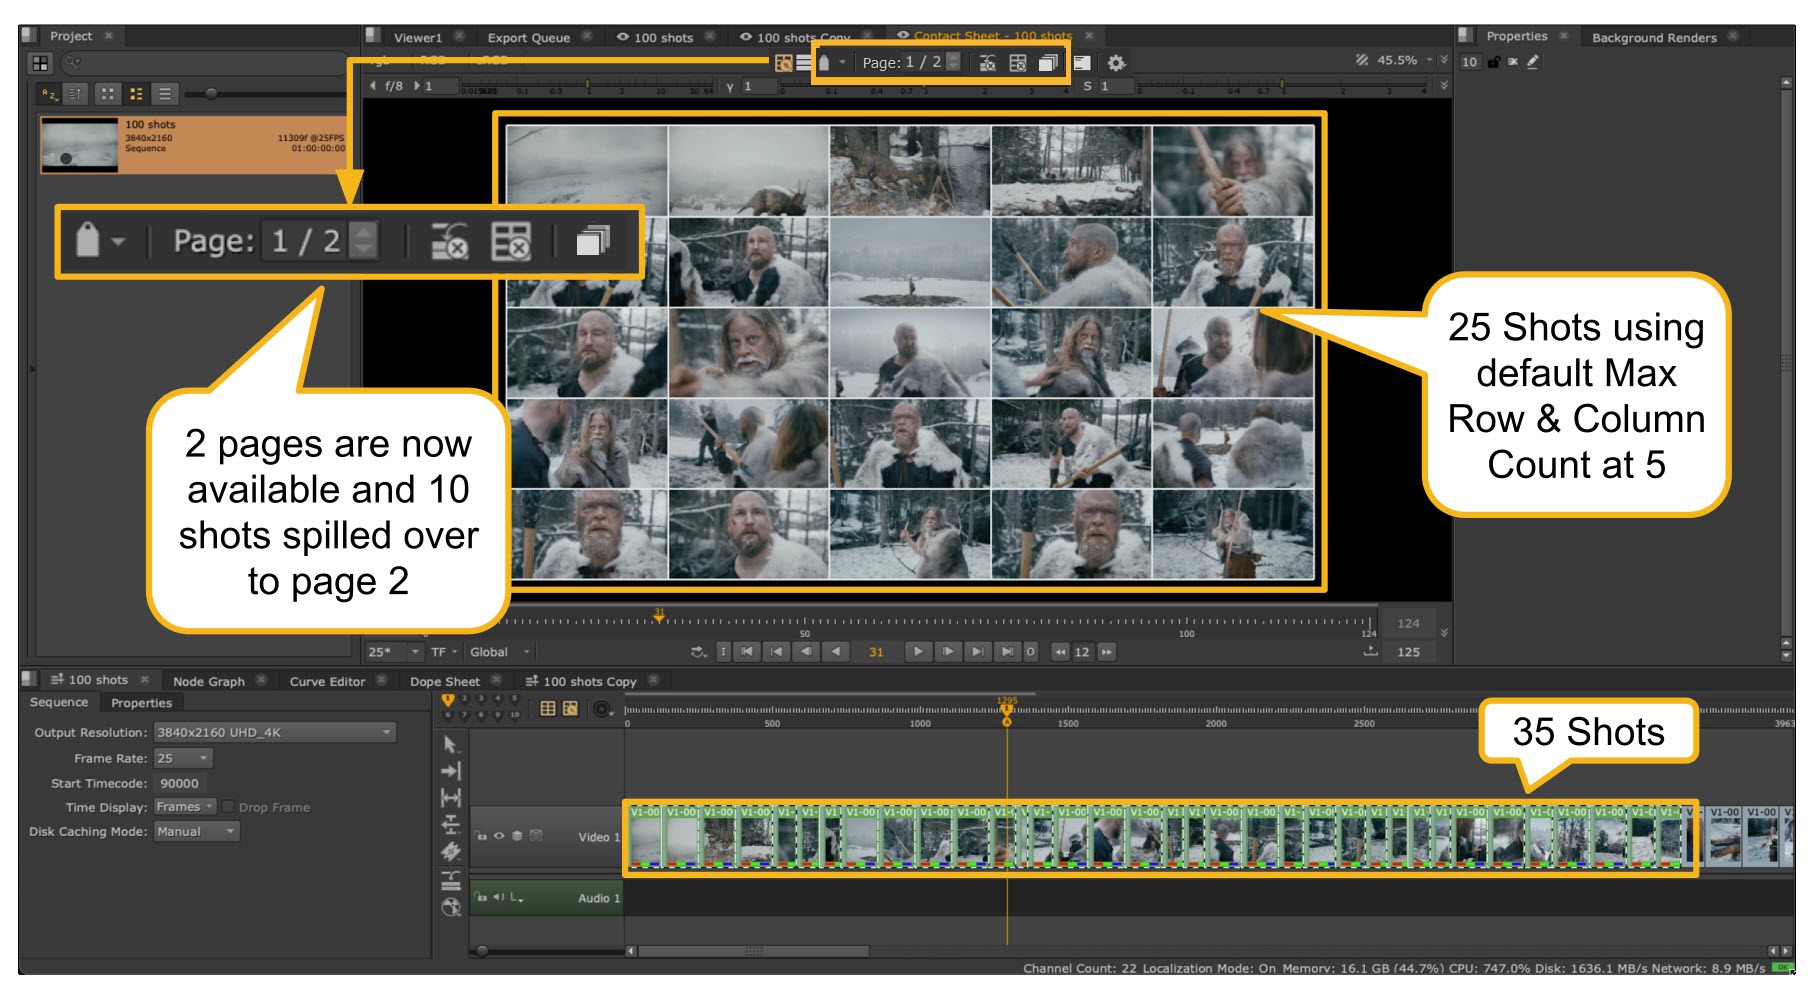
If you now select a further 20 shots, making a total of 35, then a second page is created as you’ve exceeded the maximum allowed determined by the Max Row Count and Max Column Count, and 10 shots are placed on page 2. The page navigation box is updated accordingly.
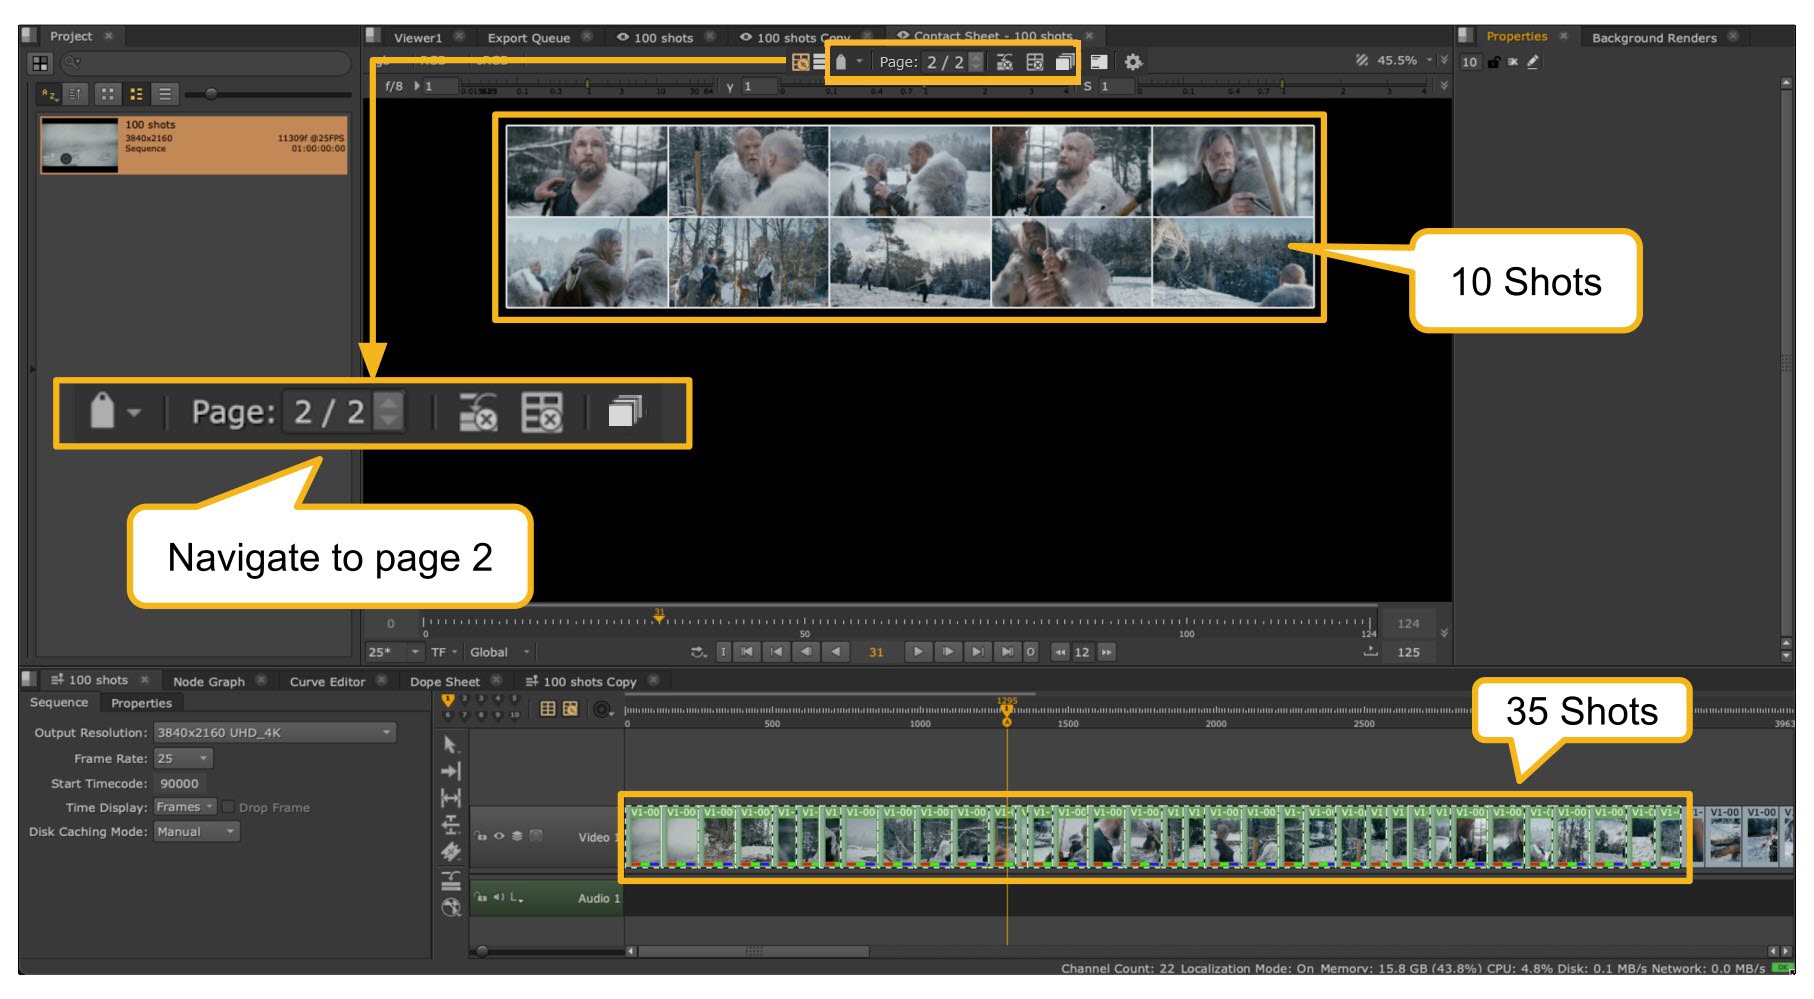
So now using the up and down arrows you can navigate between the pages; this is what is seen on page 2.
Using the Max Row Count and Max Column Count, you can optimize the amount of shots and their scale when working with large amounts of content in the Contact Sheet, which also helps playback performance, but in combination with the Contact Sheet Output Resolution create bespoke layouts a few examples of which can be seen below.
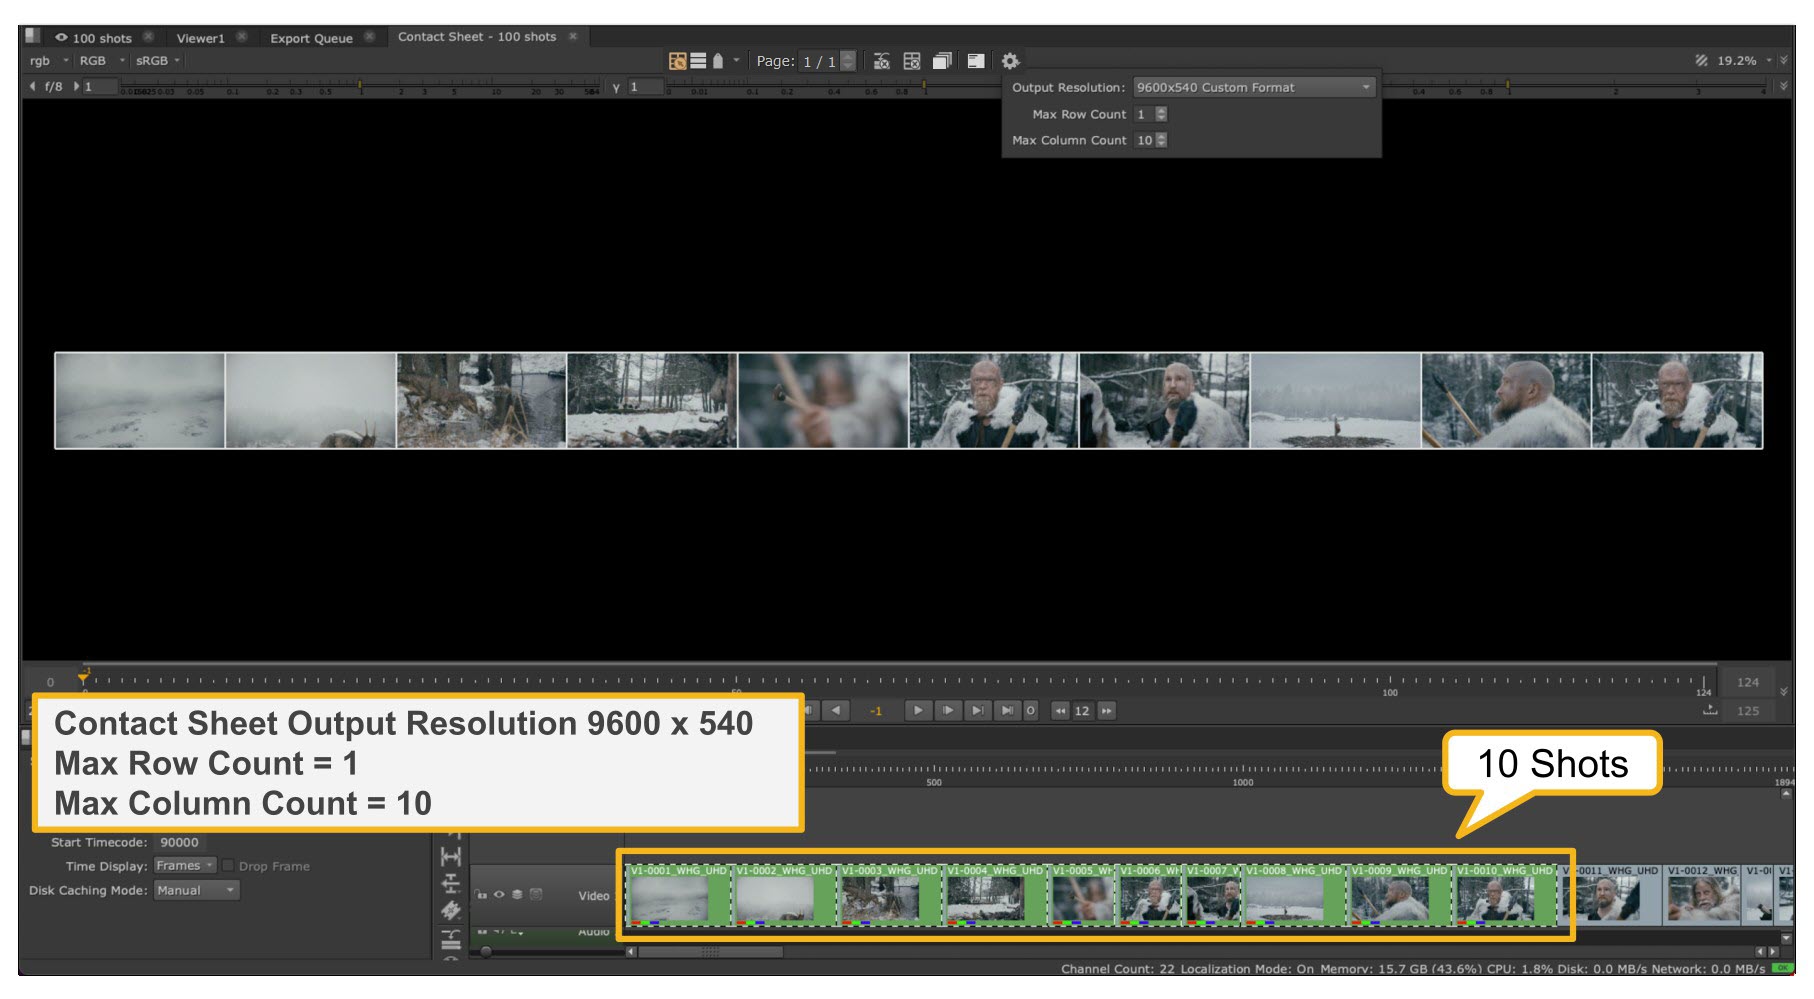
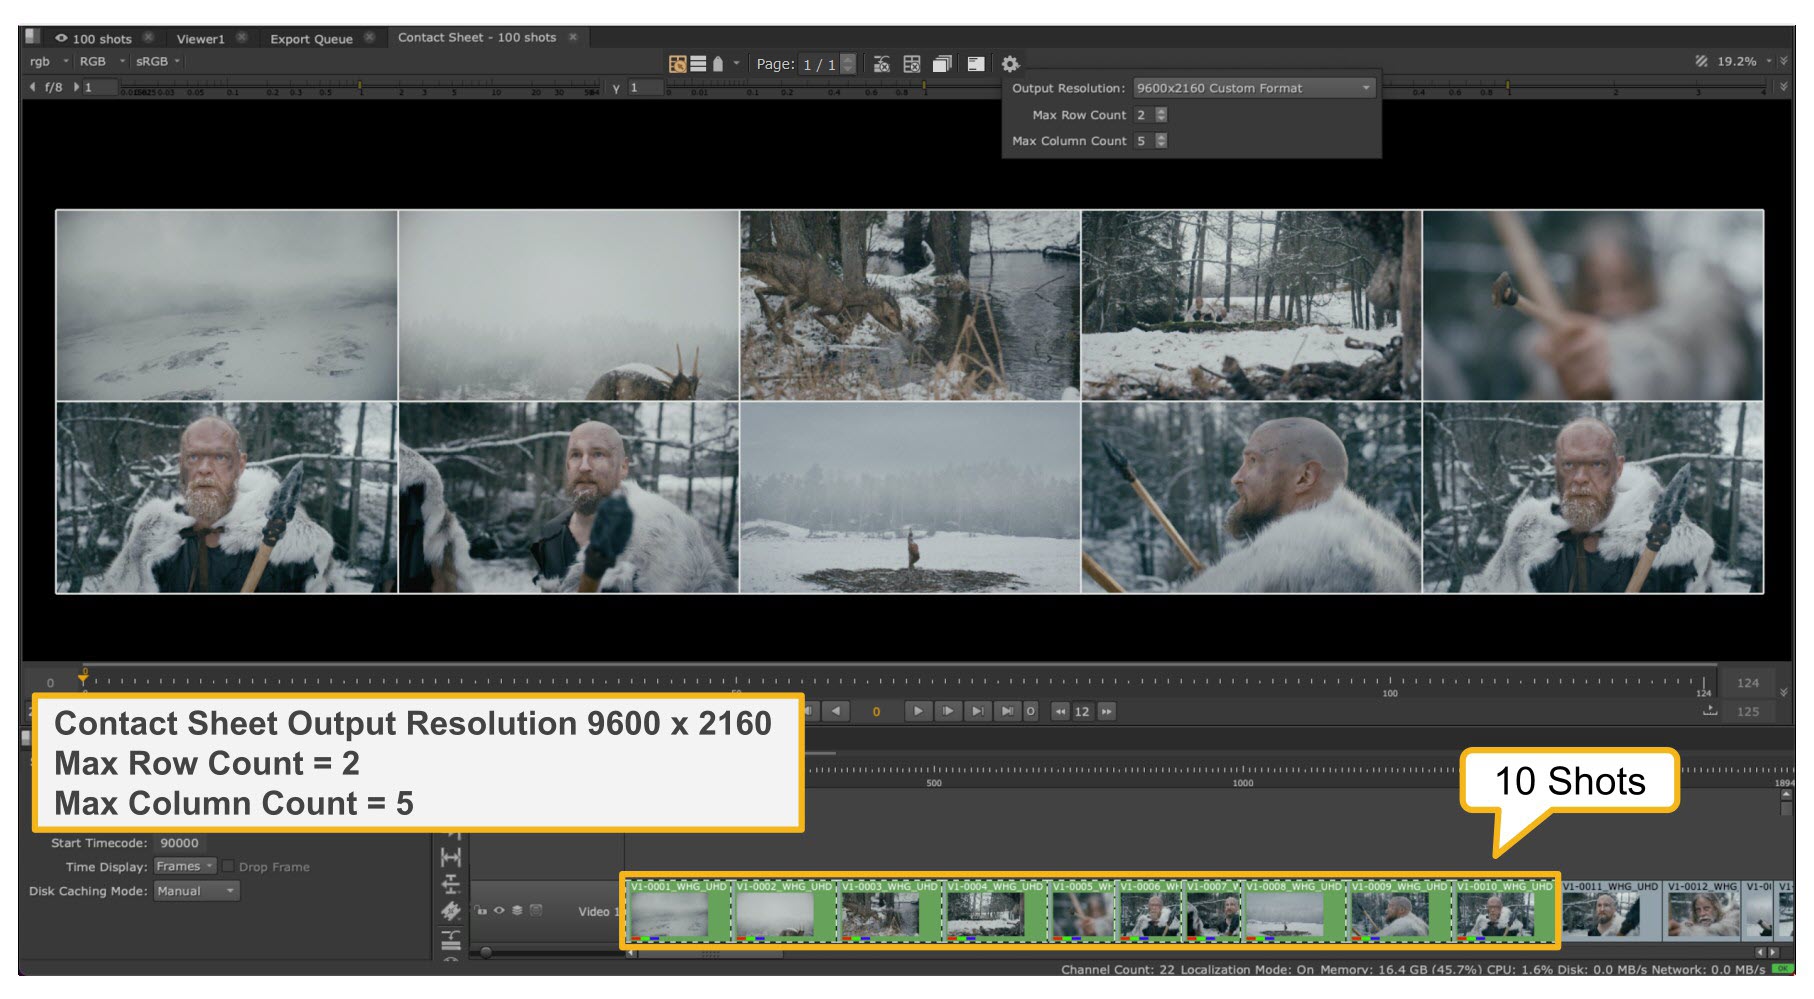
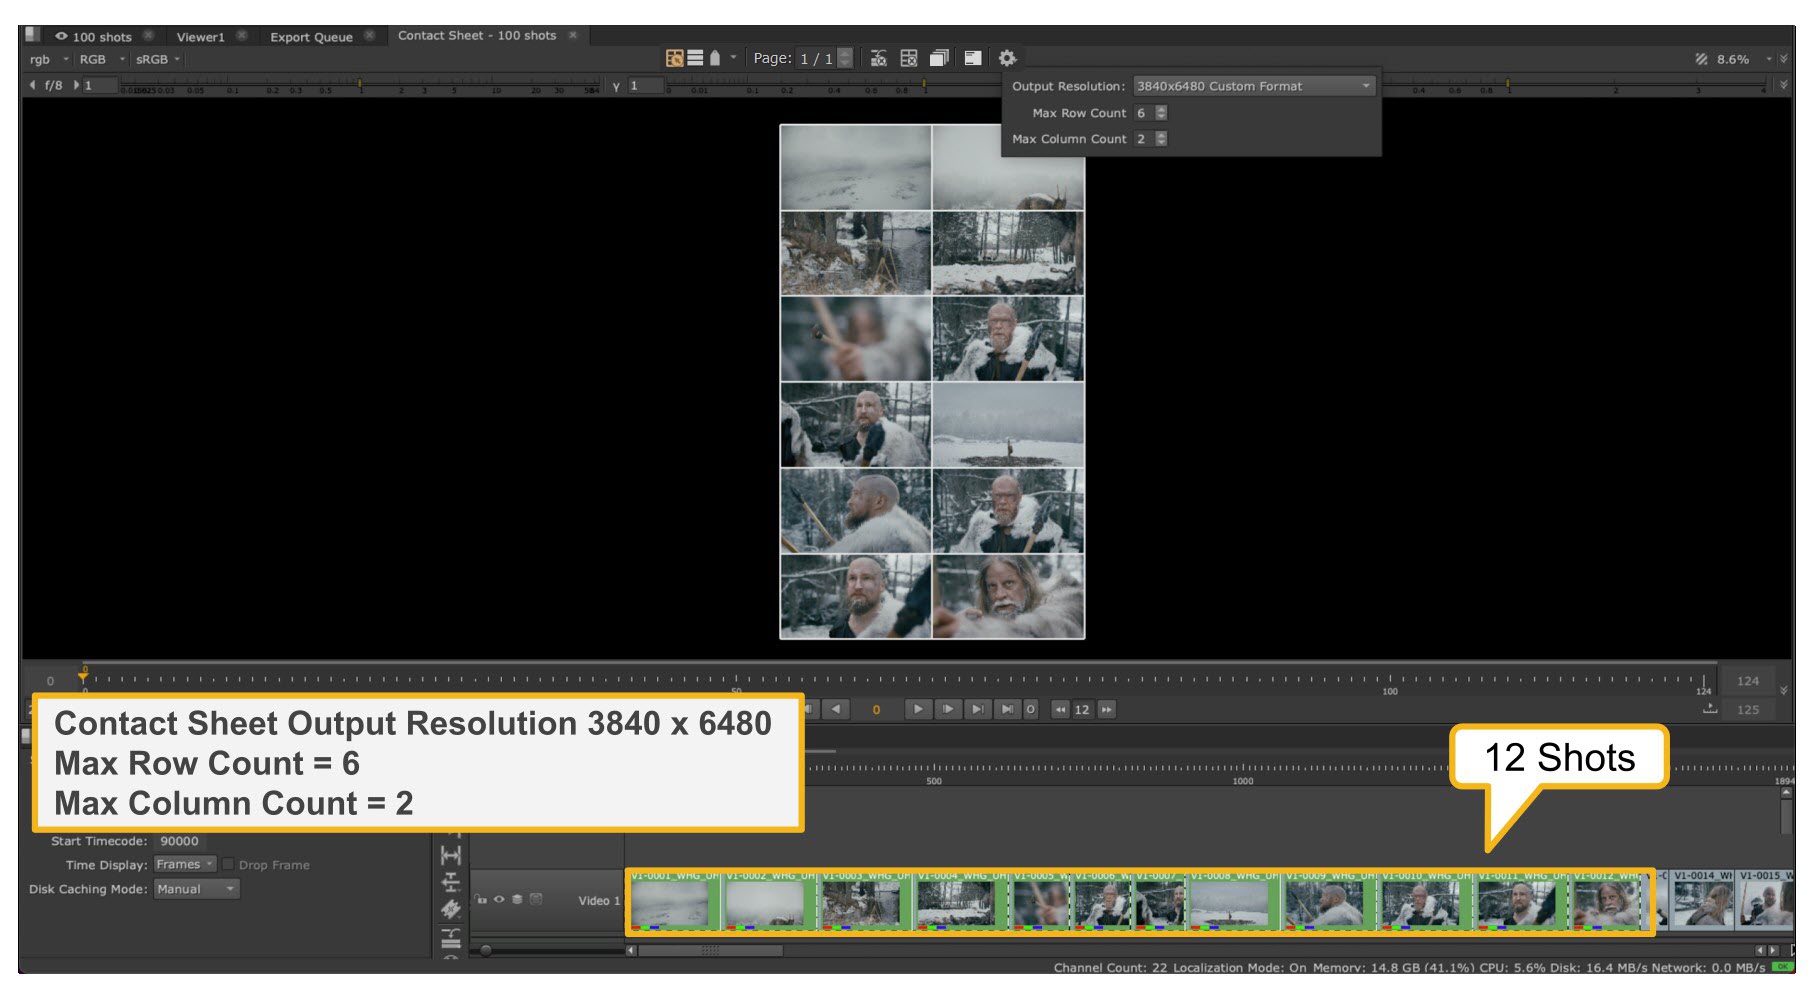
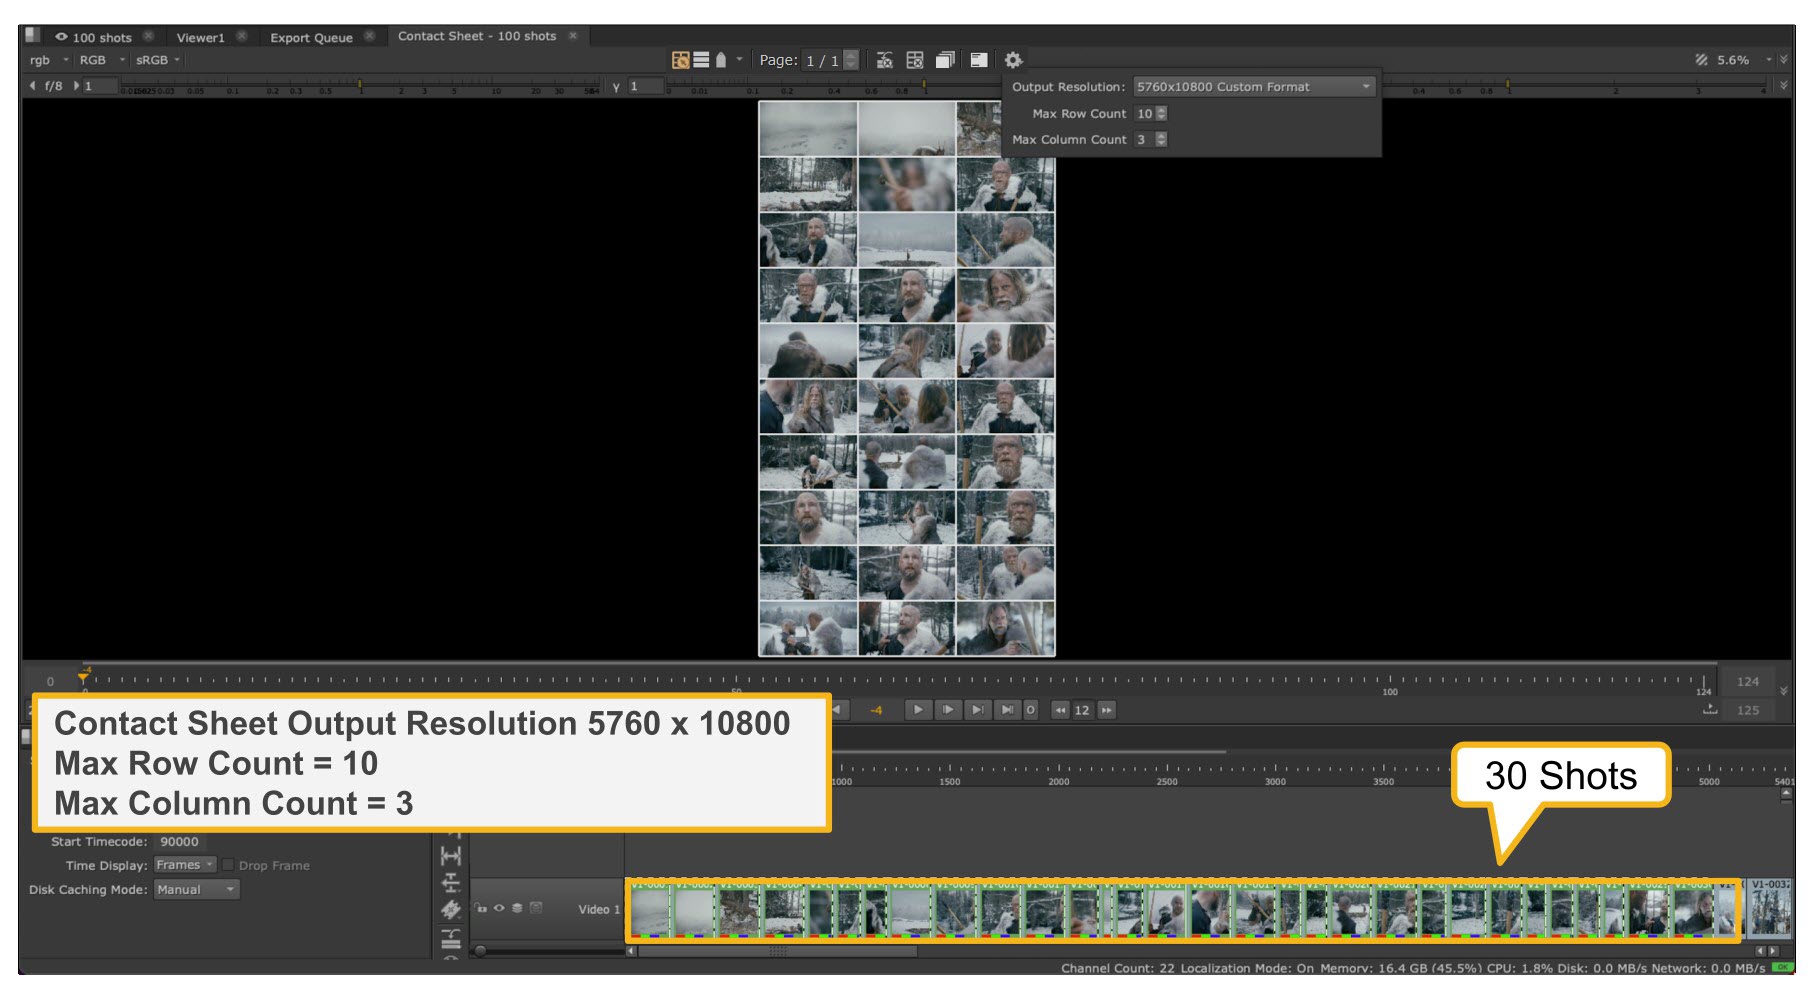
Quality
The Contact Sheet automatically sets quality settings for you.
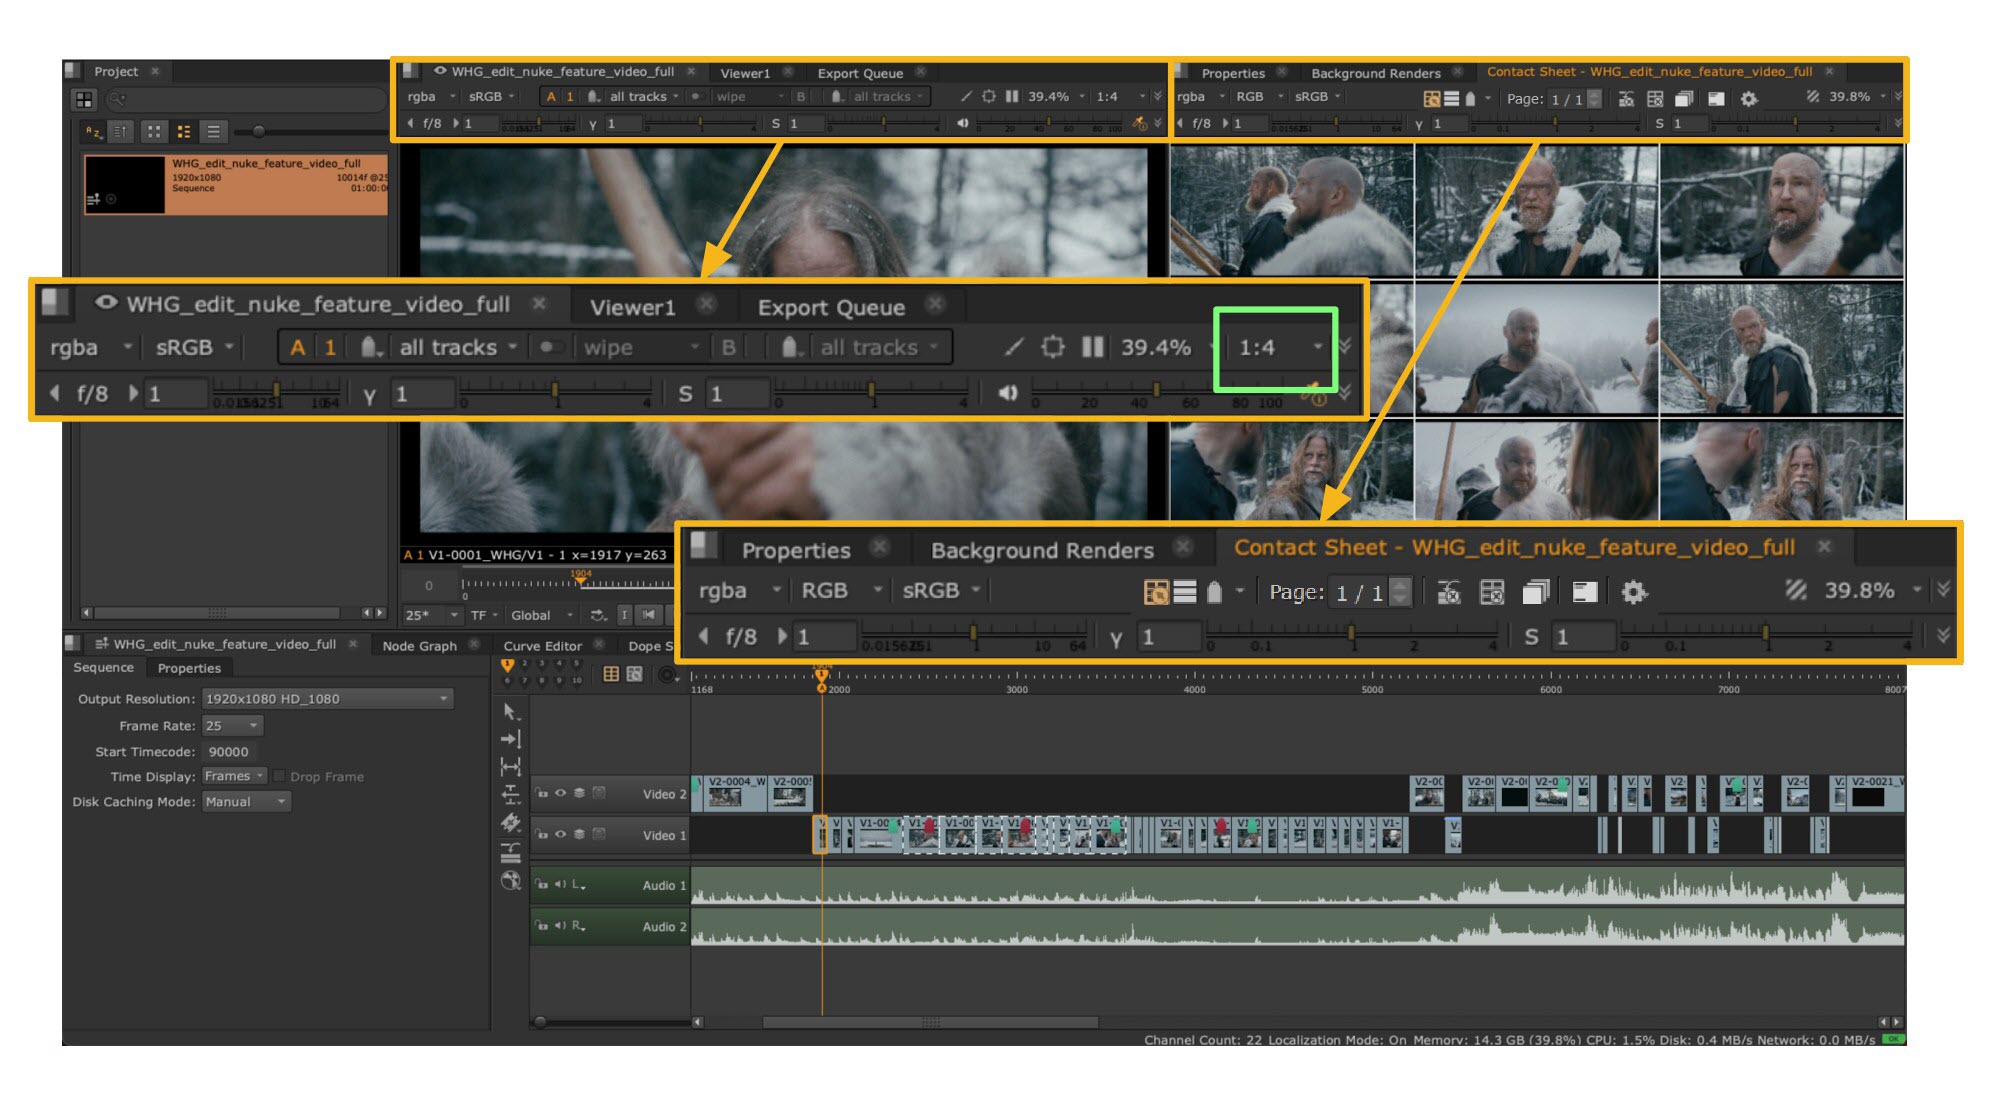
By default the initial Contact Sheet Viewer resolution is set to HD 1920x1080 regardless of the sequence resolution. Depending on your display device this may be perfectly fine for general viewing and comparison tasks. But if you are using the Contact Sheet Viewer for more critical decisions then you most likely require a higher fidelity.
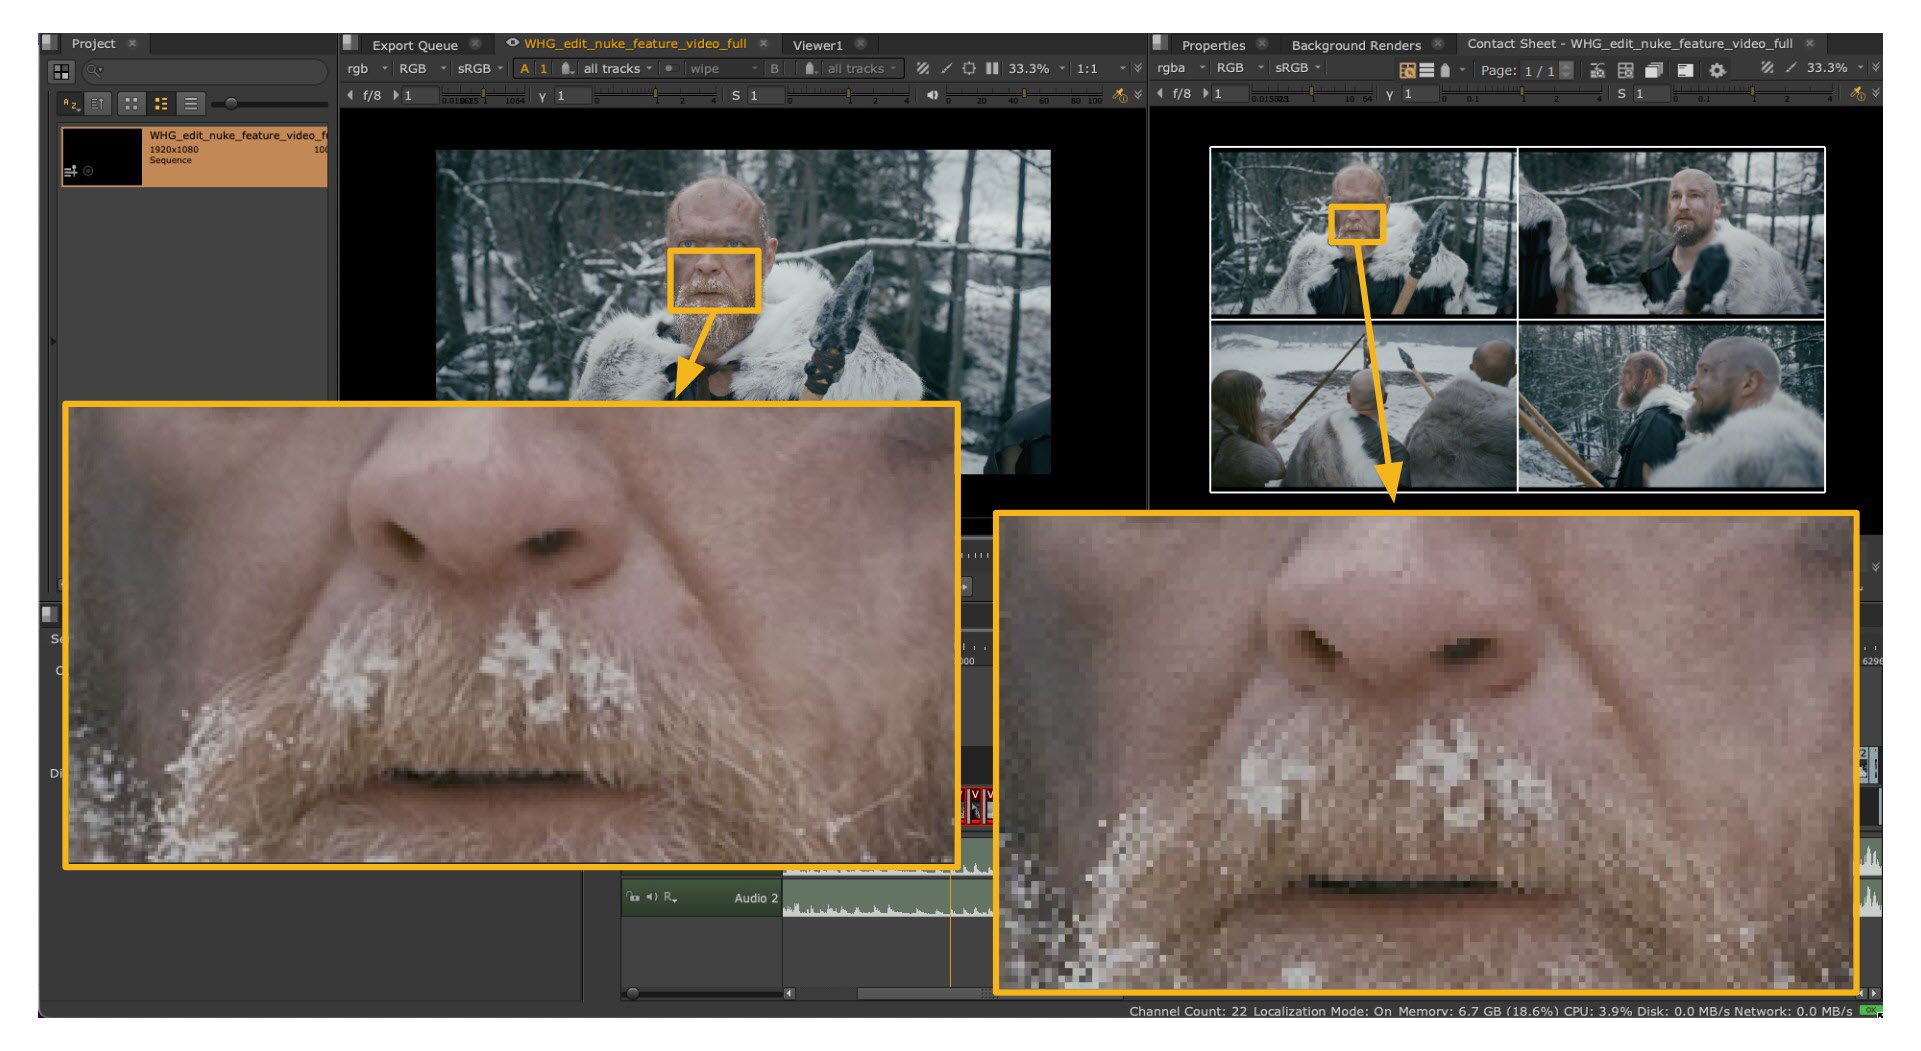
Take the example here where we have loaded four clips into the Contact Sheet Viewer and zoomed into a similar area in both the Timeline Viewer on the left and the same clip in the Contact Sheet Viewer on the right. You can clearly see some pixelation happening in the Contact Sheet Viewer.
Improving Quality
You can improve the quality of the Contact Sheet image by increasing the Output Resolution of the Contact Sheet Viewer.
To do this, access the Output Resolution option found in the Contact Sheet Settings cog menu. This setting is particular to just the Contact Sheet Viewer.
If we change the Contact Sheet output resolution to UHD 3140x2160 4K we can now see a huge improvement of the zoomed in area compared to the Timeline Viewer.
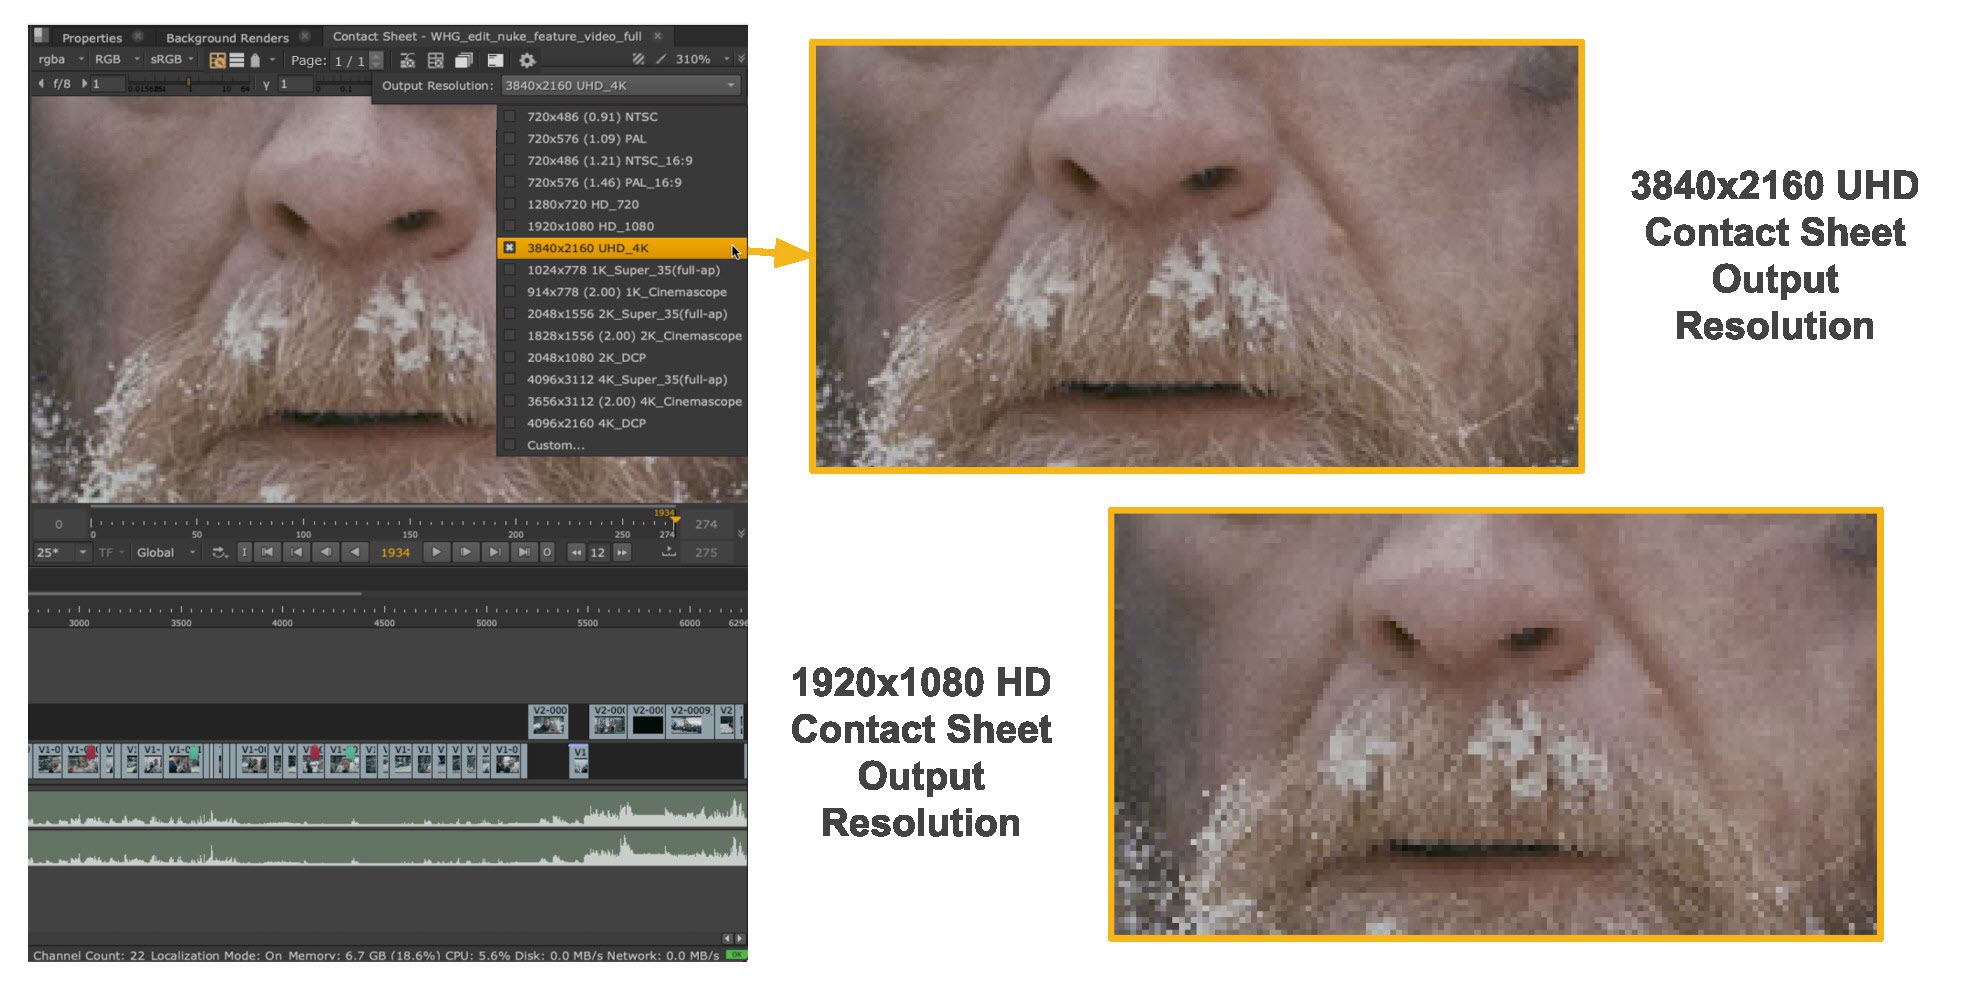
Tip: The sequence resolution and the Contact Sheet’s resolution are not directly linked which allows you a lot of flexibility.
Contact Sheet Navigation
Navigation around the Contact Sheet Viewer is exactly the same as the standard Viewer so you can use the normal zooming and panning gestures and home and fit hotkeys. You will also have a lot of the same Viewer controls as in the standard Viewer but with some exceptions.
You can also use the Windows tab to open and switch between viewing Contact Sheets that you have created for different sequences.
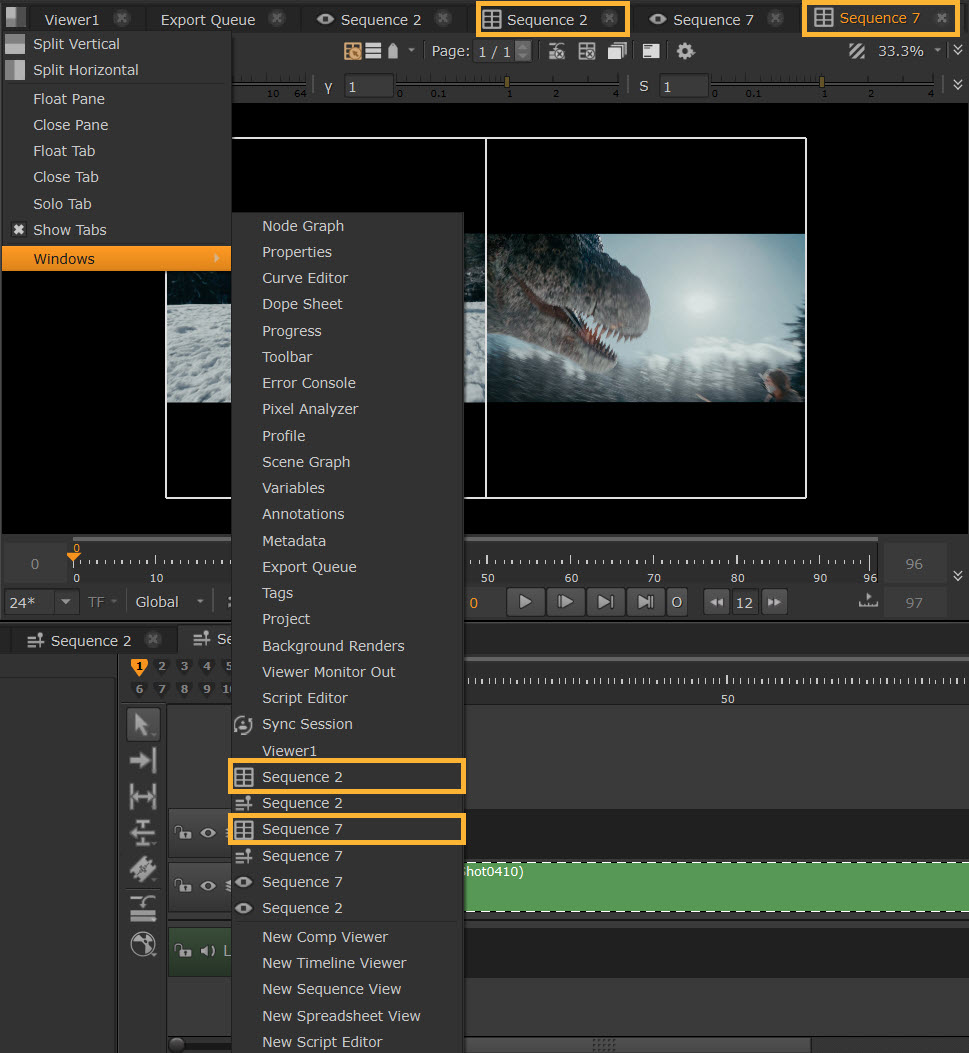
You can freely switch between different Viewer, Timelines and Contact Sheets for multiple sequences. This allows you to view one sequence’s shots in a Contact Sheet against another sequence in the Timeline for example. You can also put the Viewer and the Contact Sheet side by side to give you a more complete view of your sequence.
Cache
The playback cache is automatically split in half when a Contact Sheet Viewer is opened. For example, if you have assigned 20GB of RAM in your playback cache preferences, 10GB is allocated to the Contact Sheet Viewer and 10GB to the Timeline Viewer when using Contact Sheet.
On closing a Contact Sheet Viewer, this RAW allocation is returned to the active Viewer.
Modes and Views
When working with the Contact Sheet, you can easily toggle between Show Manually Selected, Show Tracks and Tag Filter modes. Each mode restores with your previous selections.
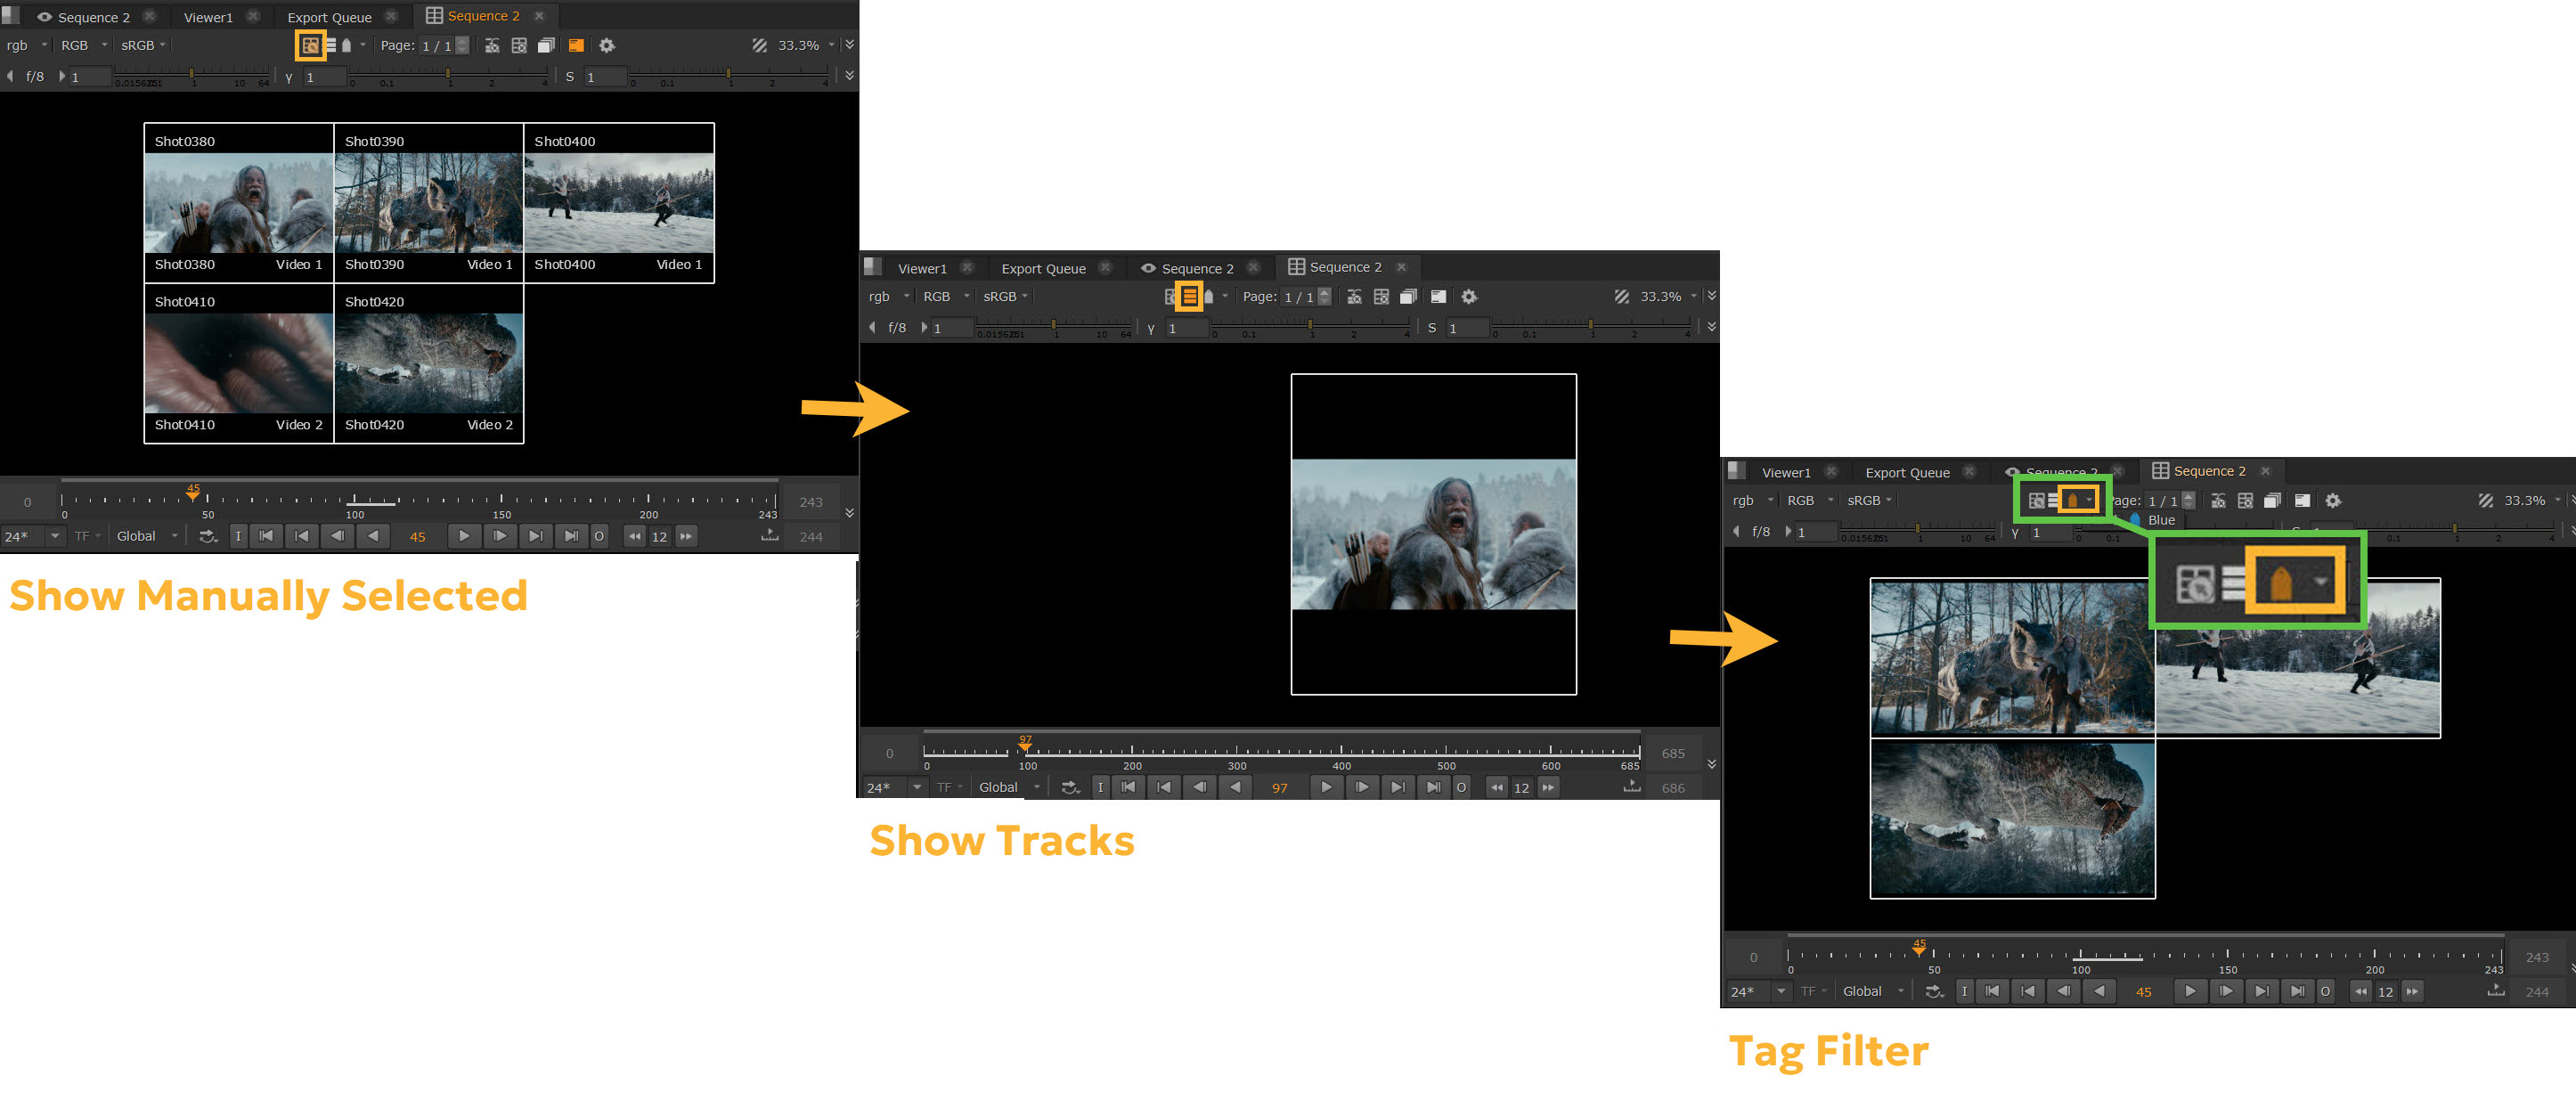
Tip: Use keyboard shortcut Shift + H to cycle between Show Manually Selected, Show Tracks, and Tag Filter modes.
Stack View
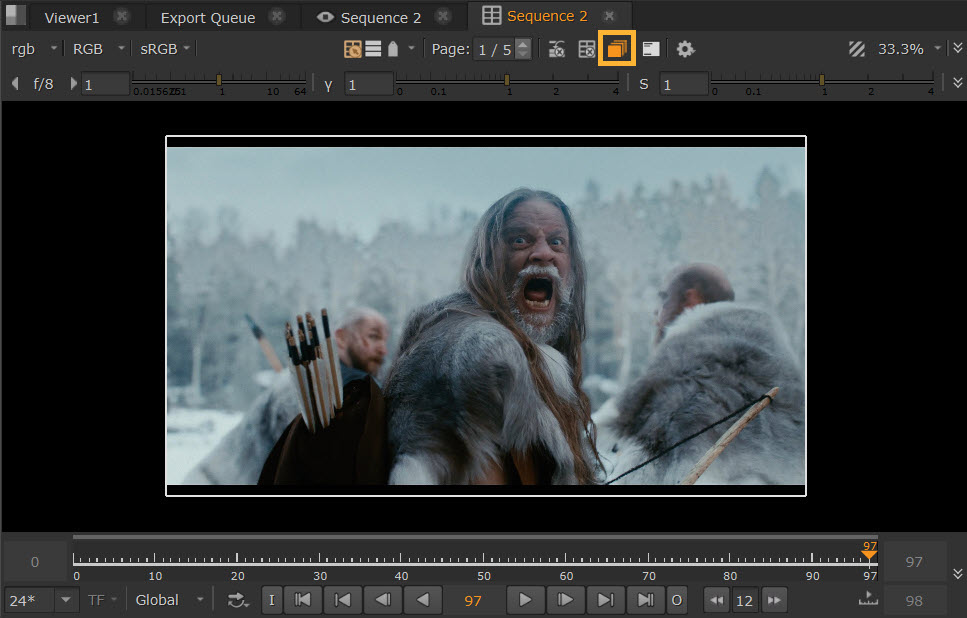
In any mode, you can then easily toggle Stack View on or off. Stack View collapses the grid to a single full-frame cell at a time, enabling you to compare many inputs without moving your eyes.
HUD
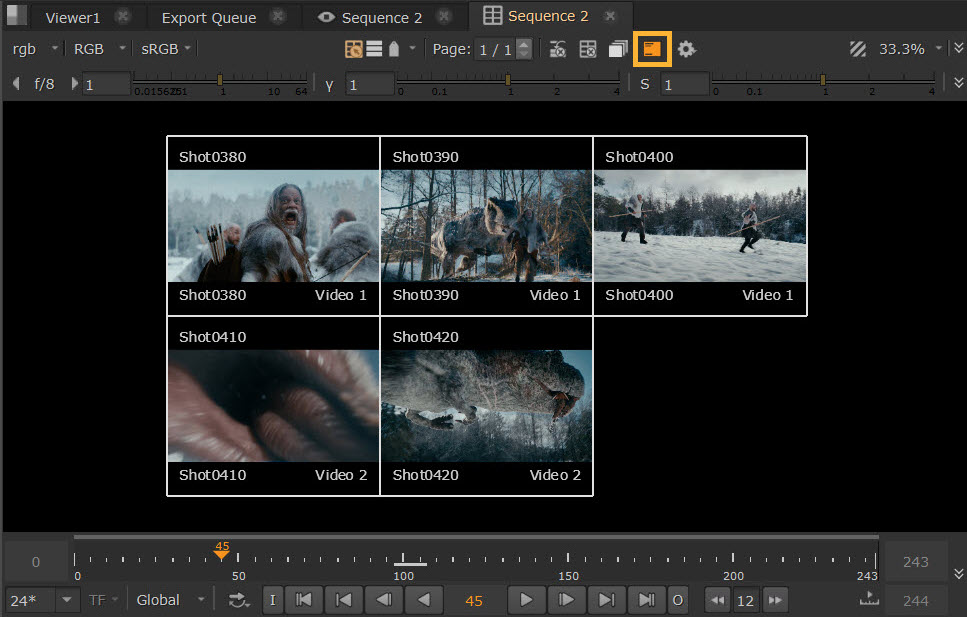
In any mode, you can toggle the HUD on or off. The HUD overlays clip name, version, shot name, and track directly onto each cell.
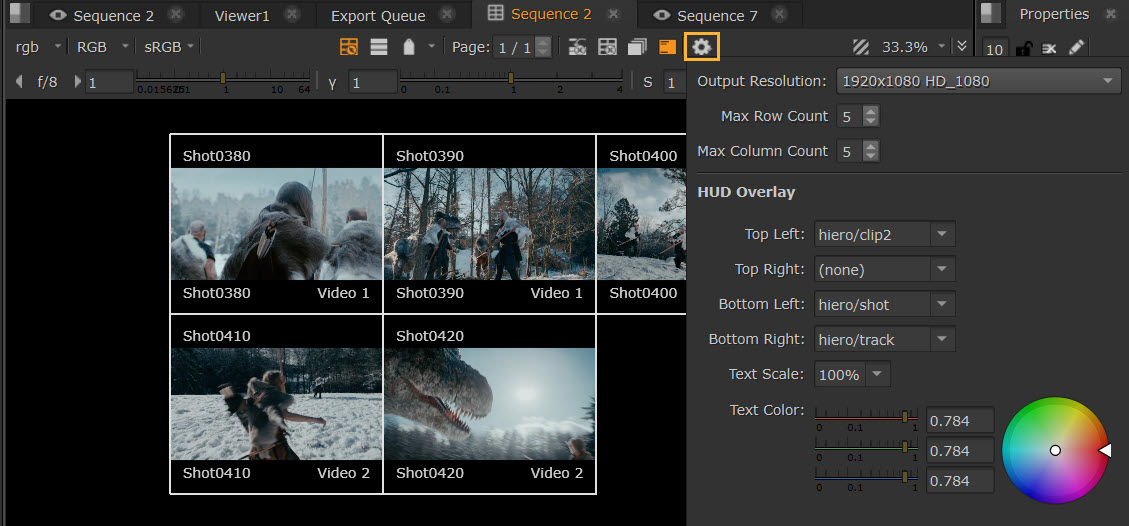
You can change the metadata keys shown on each cell in the Contact Sheet Settings cog menu.
Tip: You can also use any metadata key name such as input/filename or exif/2/ColorSpace here, and it will displayed as long as it exists in the data stream.
Tip: You can access metadata via TCL expressions. Learn more about Accessing Metadata Using Tcl Expressions.
Customize the HUD text color and scale in the Contact Sheet Settings cog menu.
Tip: If you find a configuration of the HUD text that you wish to use again, change the defaults in Preferences > Panels > Contact Sheet > HUD Overlay. This will save your HUD preferences for any new Contact Sheet that you open.
Soft Effects Bypass
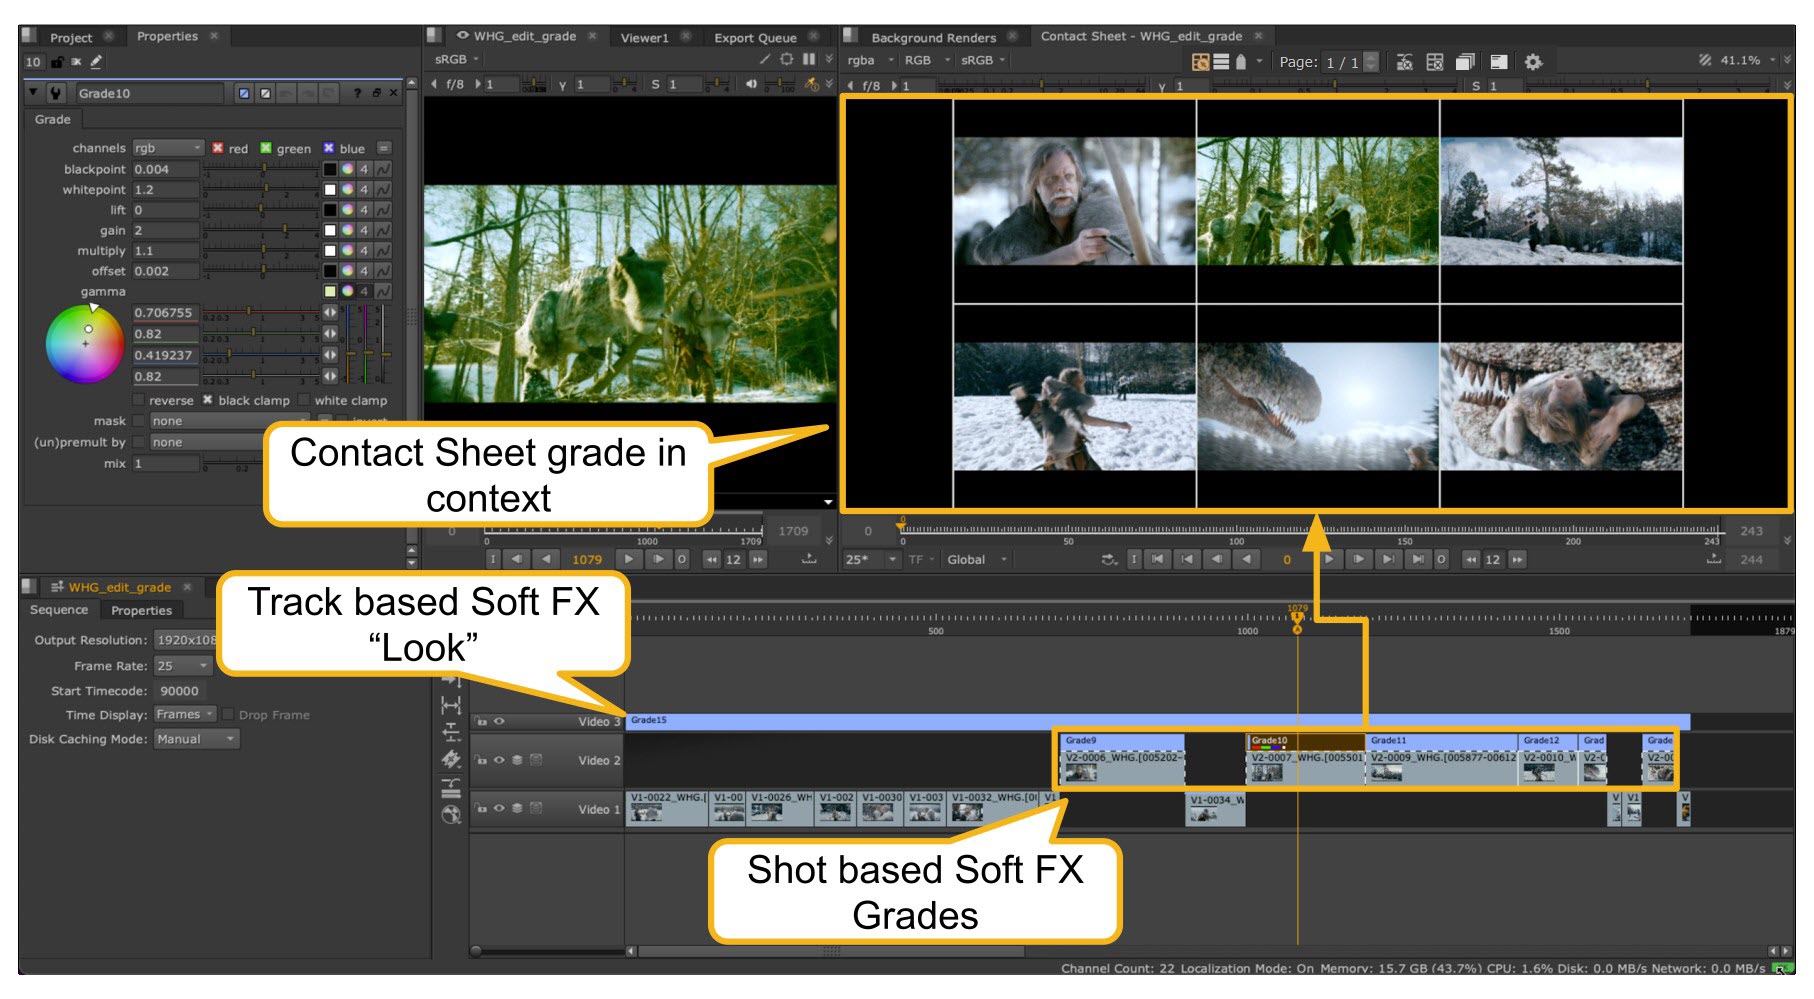
A useful workflow in Contact Sheet is the ability to display multiple shots that have clip-based and layer-based soft effects.
The example below demonstrates using a Grade soft effect which is being used to balance out shots. This effect then can be viewed dynamically over multiple shots in a Contact Sheet Viewer.
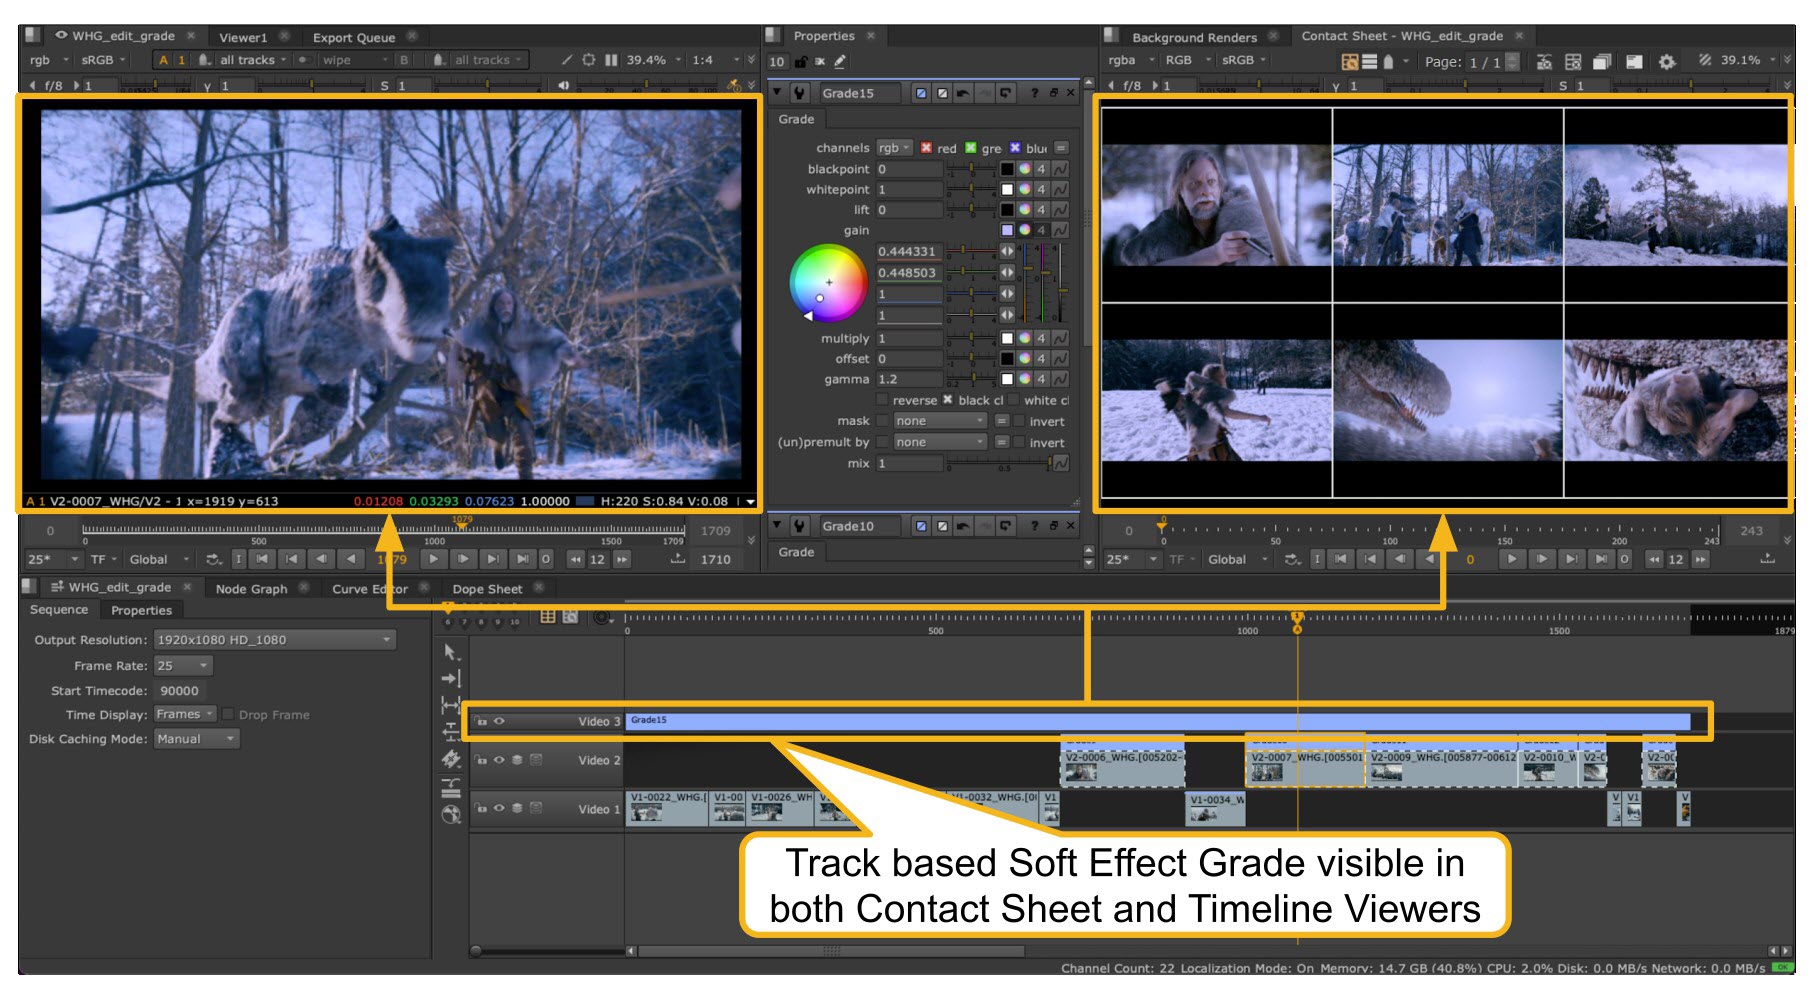
You could also use Contact Sheet to have a “show look” over everything and see the culmination of all these effects.
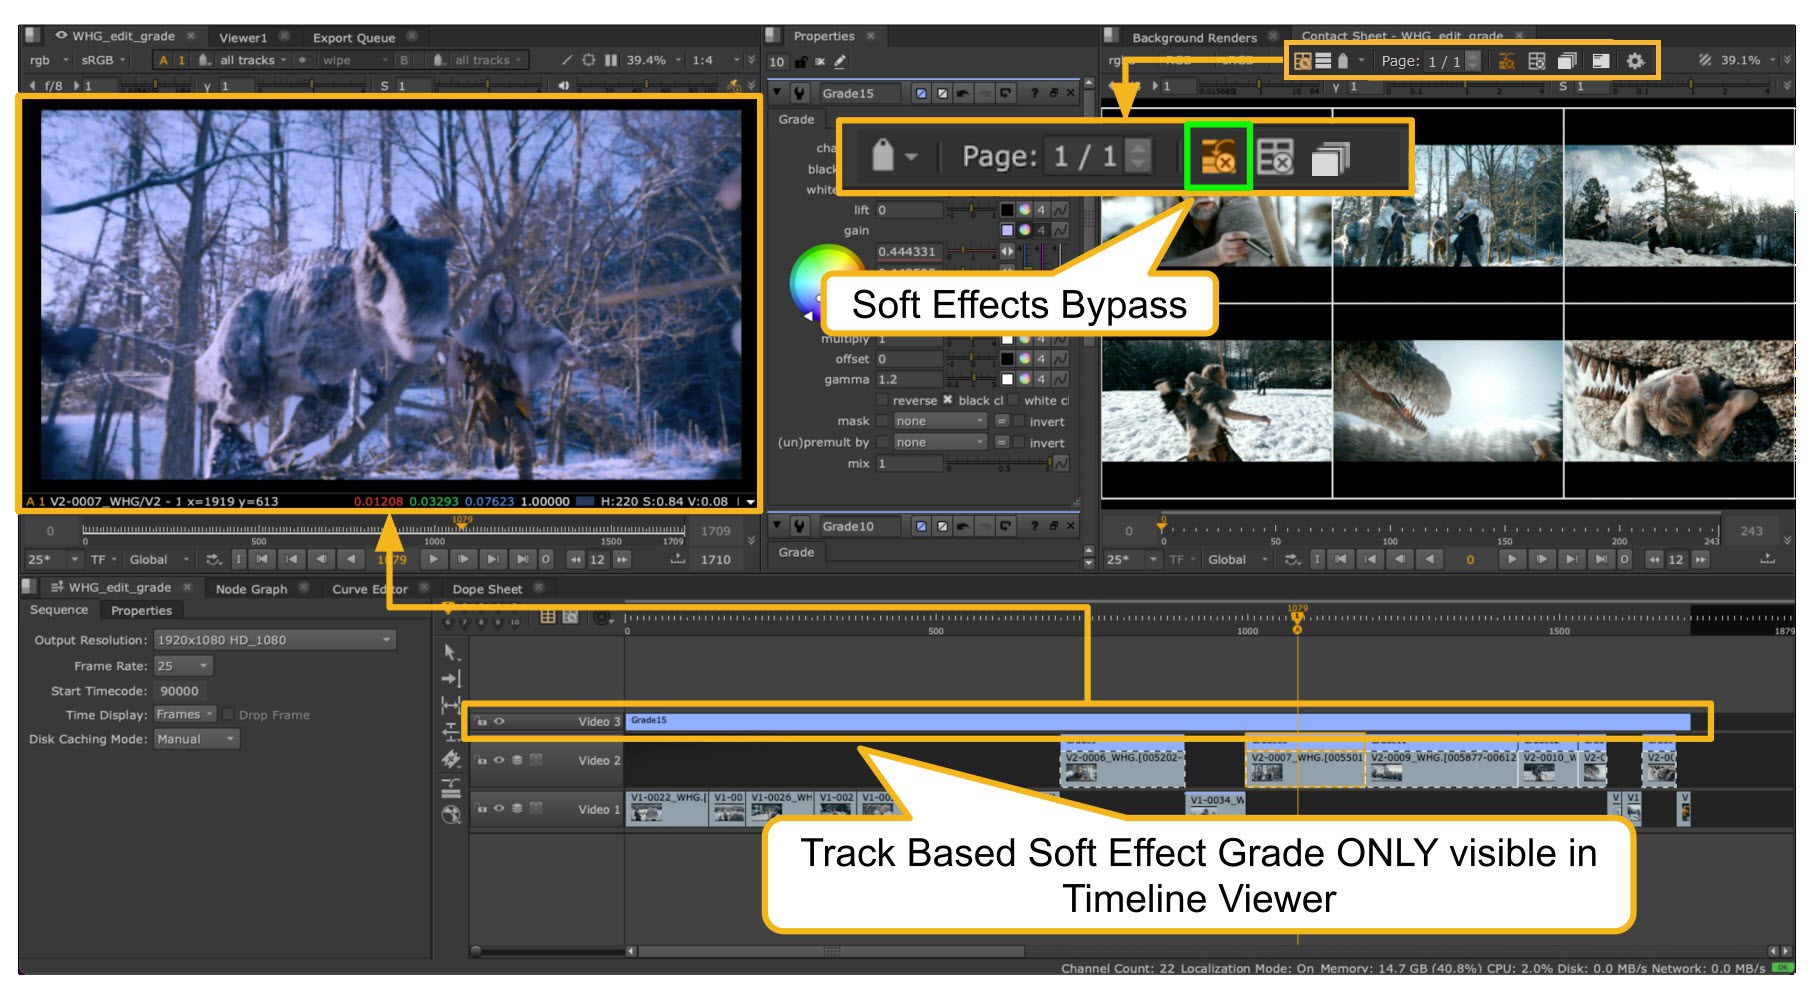
When the sequence has track-based soft effects applied you can quickly bypass these for the Contact Sheet Viewer by clicking on the Soft Effects Bypass button in the Contact Sheet menu bar. This then hides these track-based soft effects but only for the Contact Sheet Viewer; the Timeline Viewer still displays the track soft effects.
Playback and Syncing
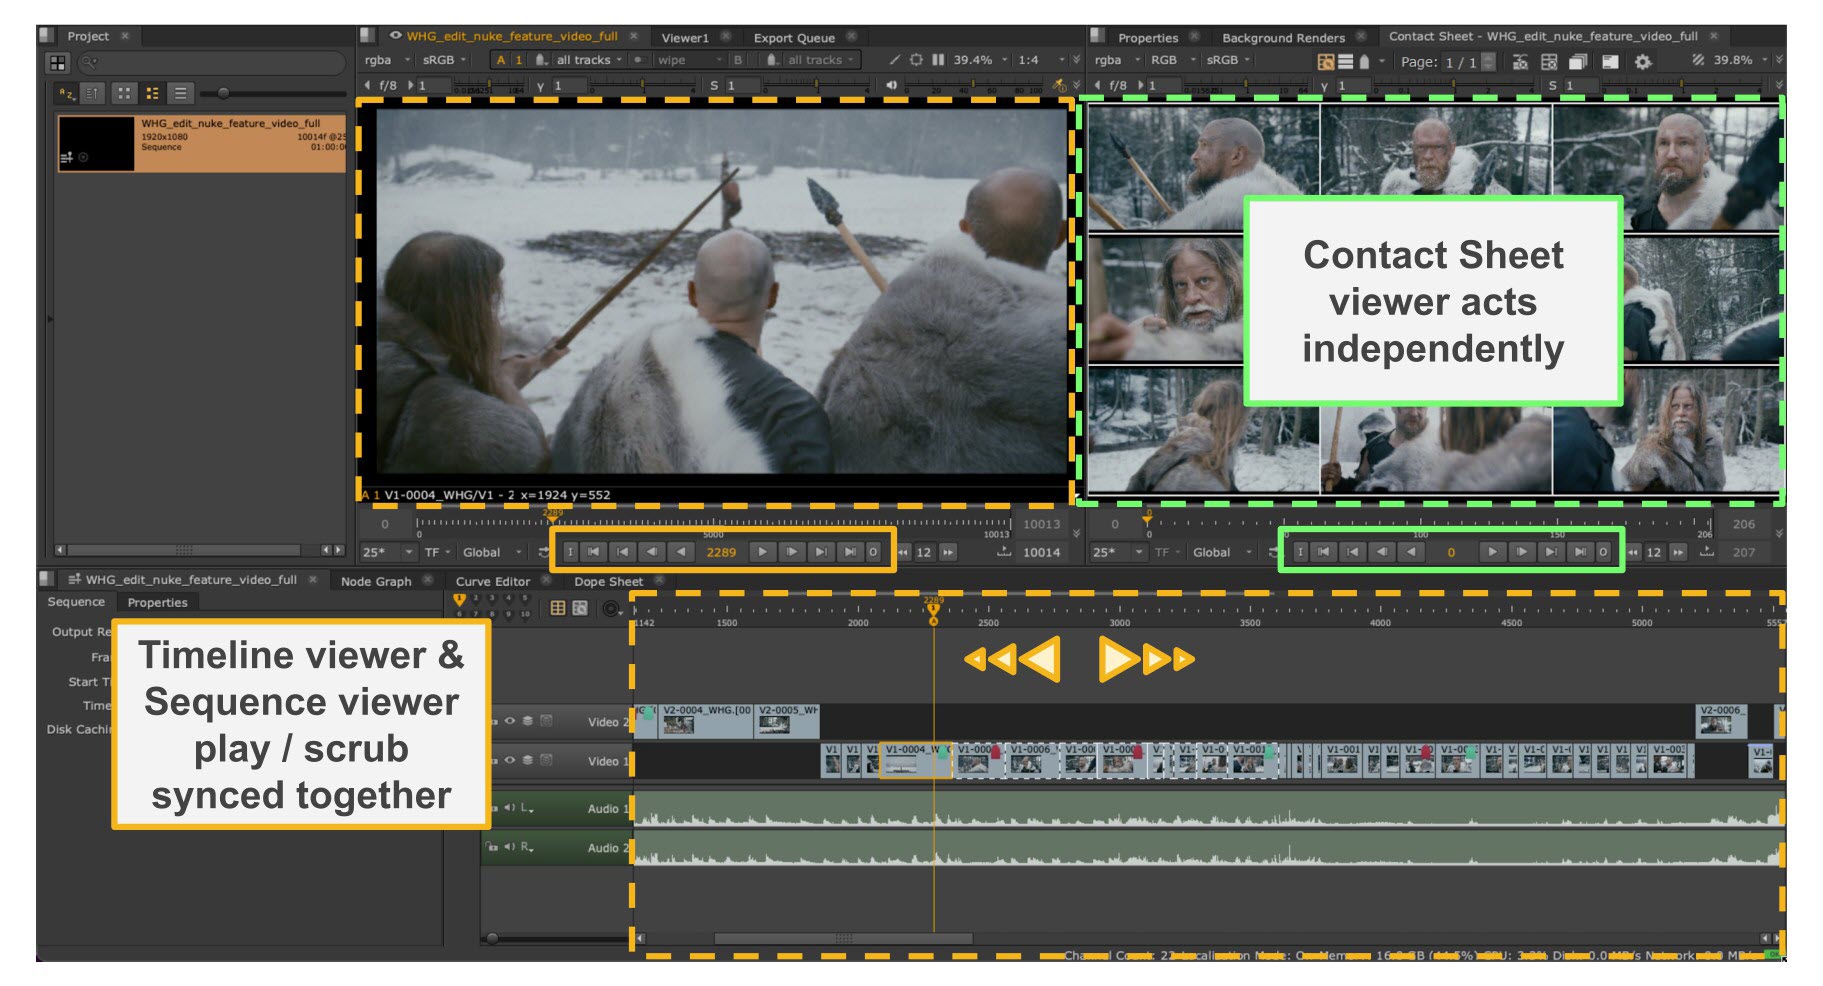
The playback works differently depending on which mode you are using. When in Show Tracks, the playback is tied to the sequence. This means the sequence time is synced with the Contact Sheet time and vice versa, so you can navigate using any of the timebar controls. Also, all the shortcuts work in the same way they do in the Timeline itself. You can click U key and it will set in and out points around the currently viewed clip, for example.
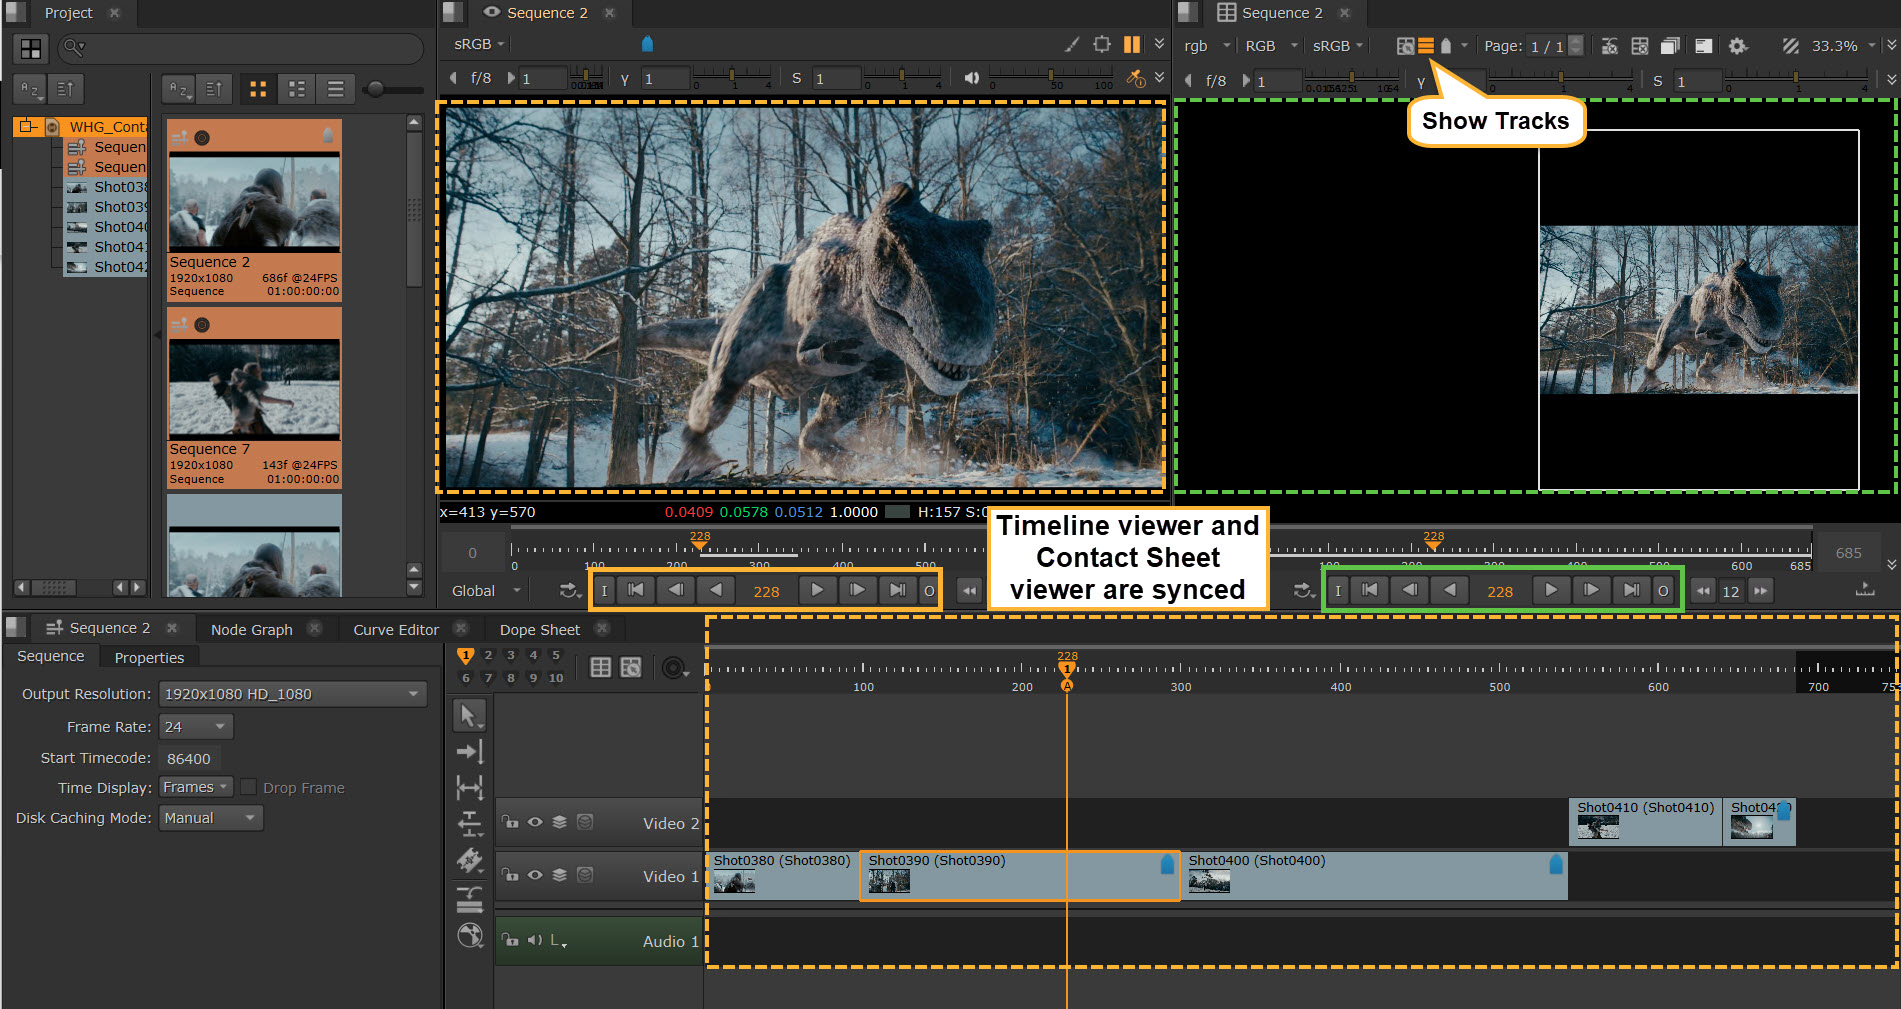
However, when using the other modes, Show Manually Selected and Tag Filter, looking at the timebar under the Contact Sheet Viewer, you’ll notice that the clips in the Contact Sheet do not have a temporal relationship to where they exist in the sequence. As mentioned above, this is only true for Show Manually Selected and Tag Filter, but not for Show Tracks.
For Show Manually Selected and Tag Filter modes, the Contact Sheet and Timeline viewers act independently of each other when it comes to playback. Playing, scrubbing and stepping through frames in the sequence or timeline viewer does not affect the Contact Sheet Viewer and vice versa.
Playback Range
The same applies for playback range. Show Tracks mode is synced with the Timeline, whereas in other modes, the playback range in the Contact Sheet Viewer differs.
If you look at the duration of the Timeline Viewer showing the sequence and the Contact Sheet Viewer duration you’ll notice that they are considerably different.
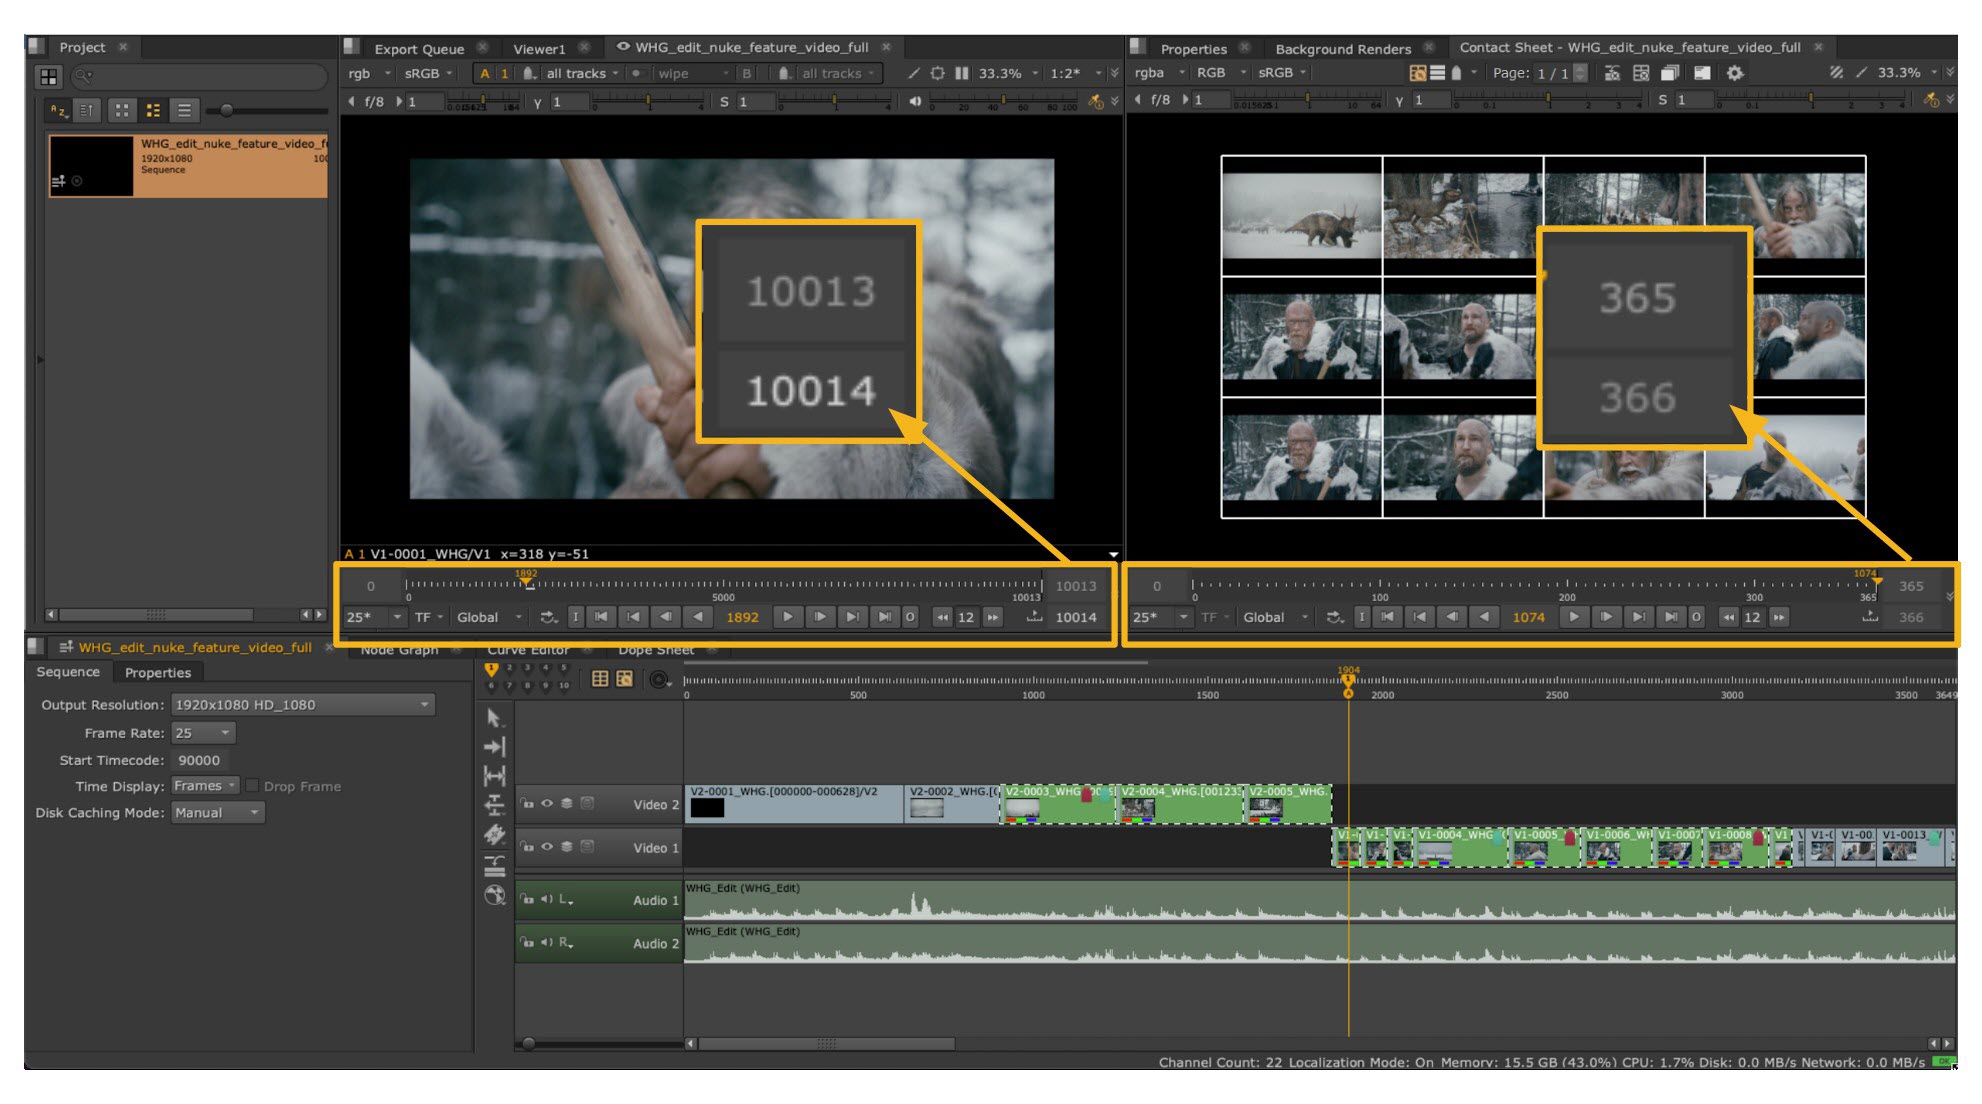
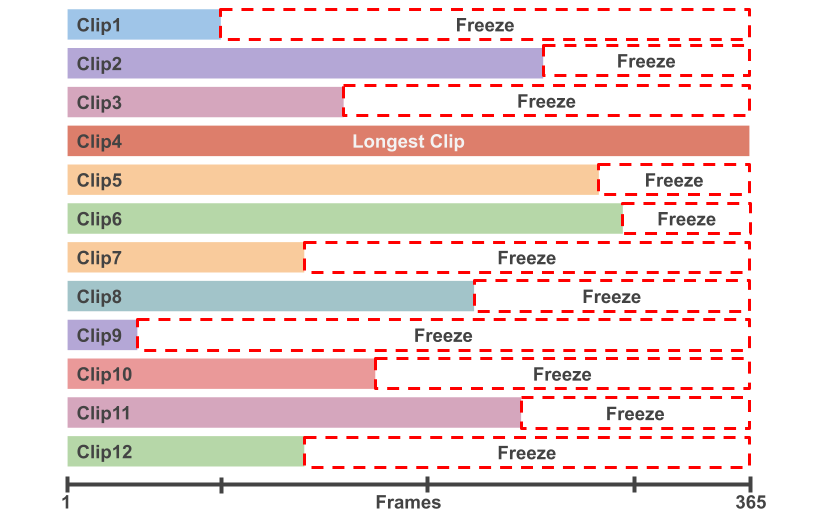
This is because clips displayed in the Contact Sheet Viewer are all synced to frame 1 and the Contact Sheet Viewer playback range is dynamically determined by the longest clip in the current selection. This also means that shorter clips freeze on the last frame when you playback or scrub, and held to the duration of the longest clip.