Search Tips
Using Contact Sheet: Manual Picker
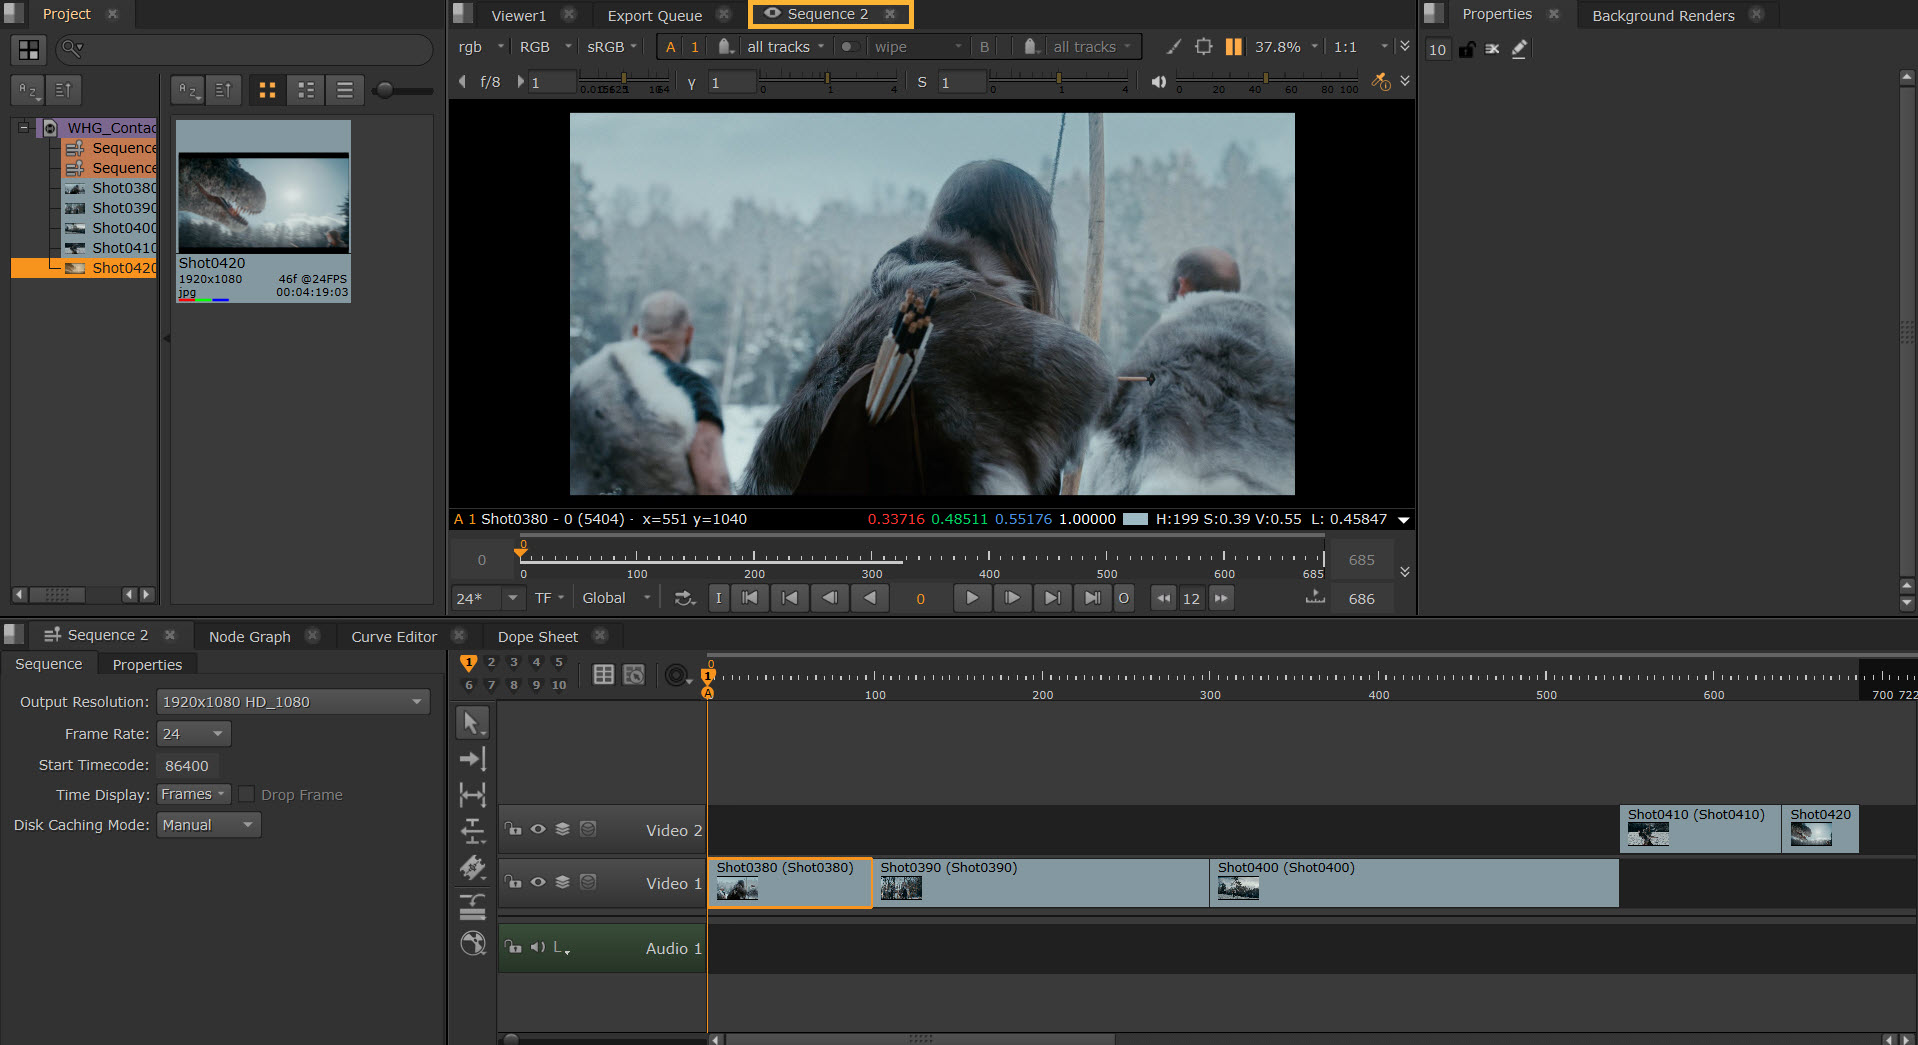
To get started with Contact Sheet, you first have to open a sequence in the Timeline View. Only shots that are residing in a sequence can be used to populate the Contact Sheet Viewer.
Here is an example of a project to use with Contact Sheet, and we have opened Sequence 2.
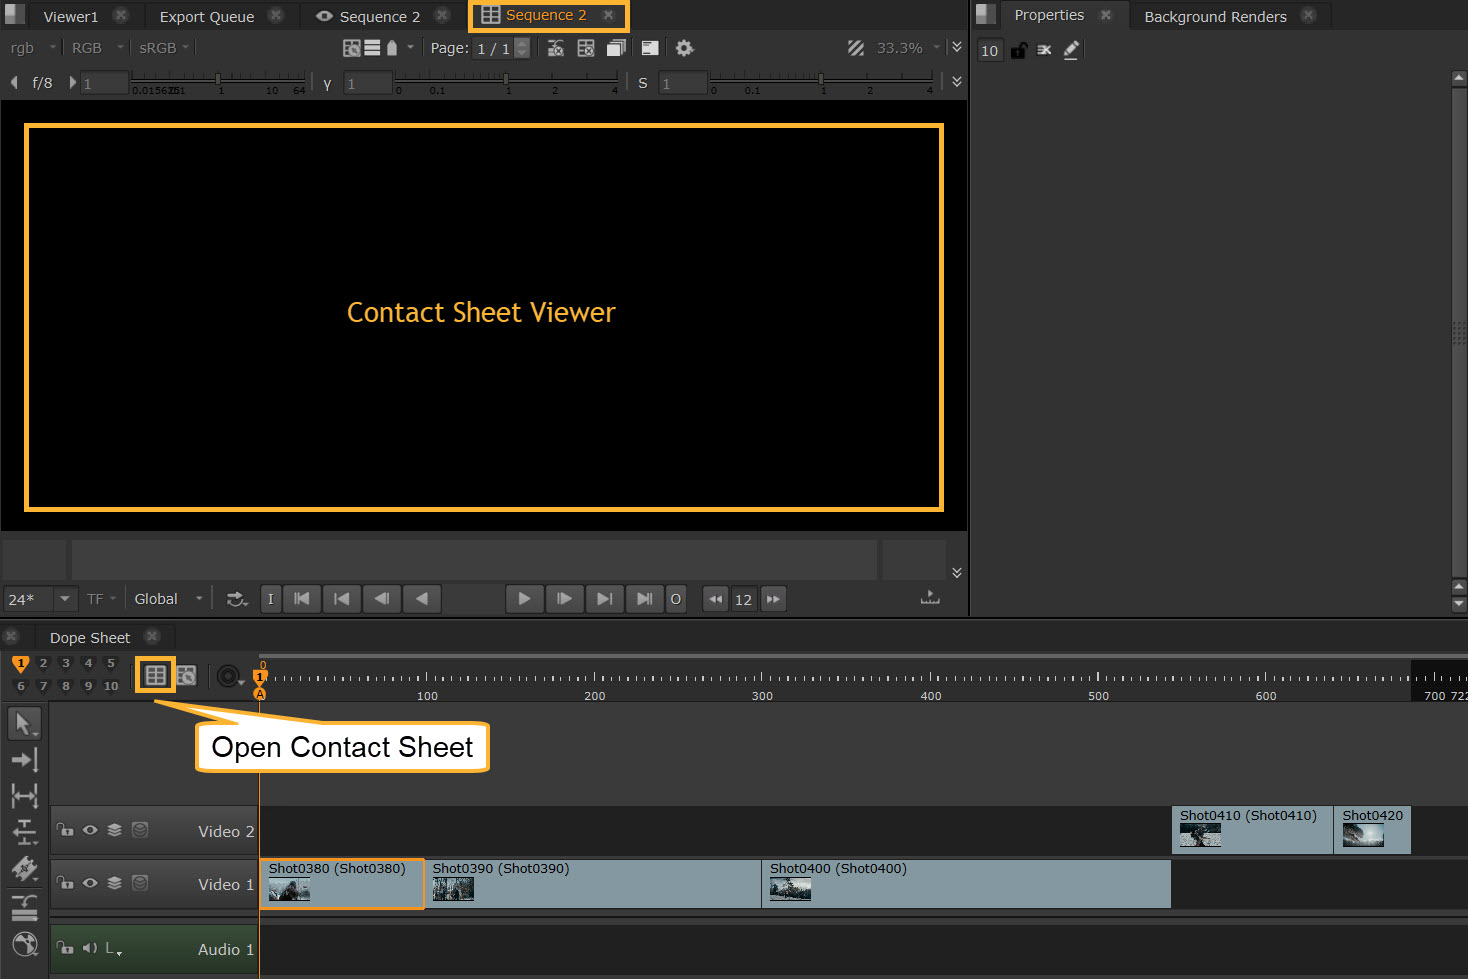
| 1. | The first step is to open the Contact Sheet Viewer which can be populated with the shots you’d like to review. To do this, click the Open Contact Sheet button in the Timeline View. Doing this opens a new Contact Sheet Viewer named after the sequence. |
Tip: To do the same action, you can also right-click your sequence in the project bin and select Open In > Contact Sheet Viewer.
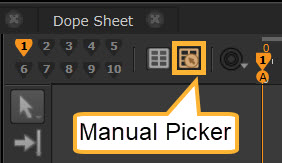
| 2. | You can now start to populate the Contact Sheet Viewer with clips from the sequence. You can do this by directly selecting the clips from the sequence. First select the Manual Picker button to activate the picker. |
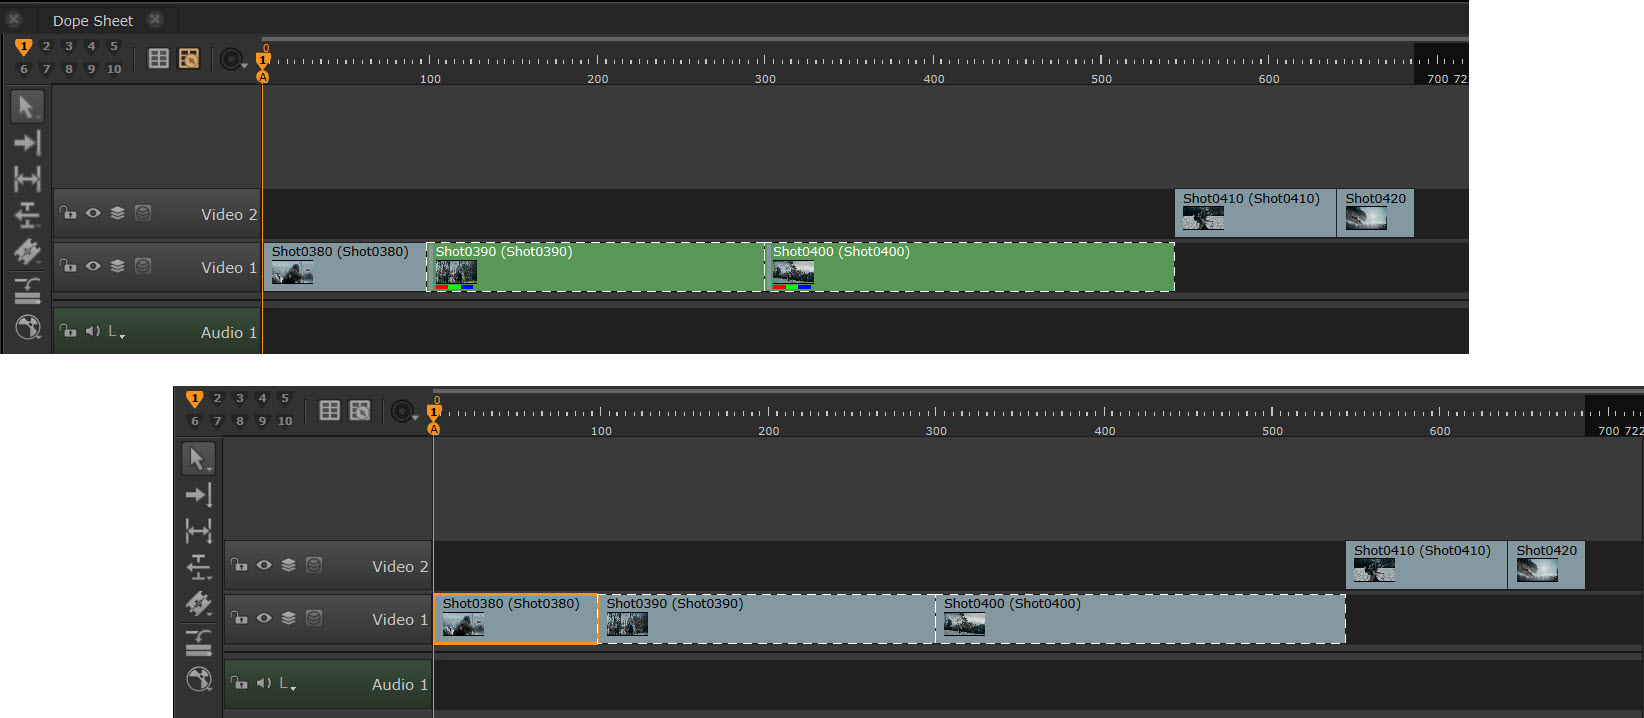
| 3. | Once you have enabled the Manual Picker button, you can select shots directly from the timeline and they dynamically populate the Contact Sheet Viewer. |
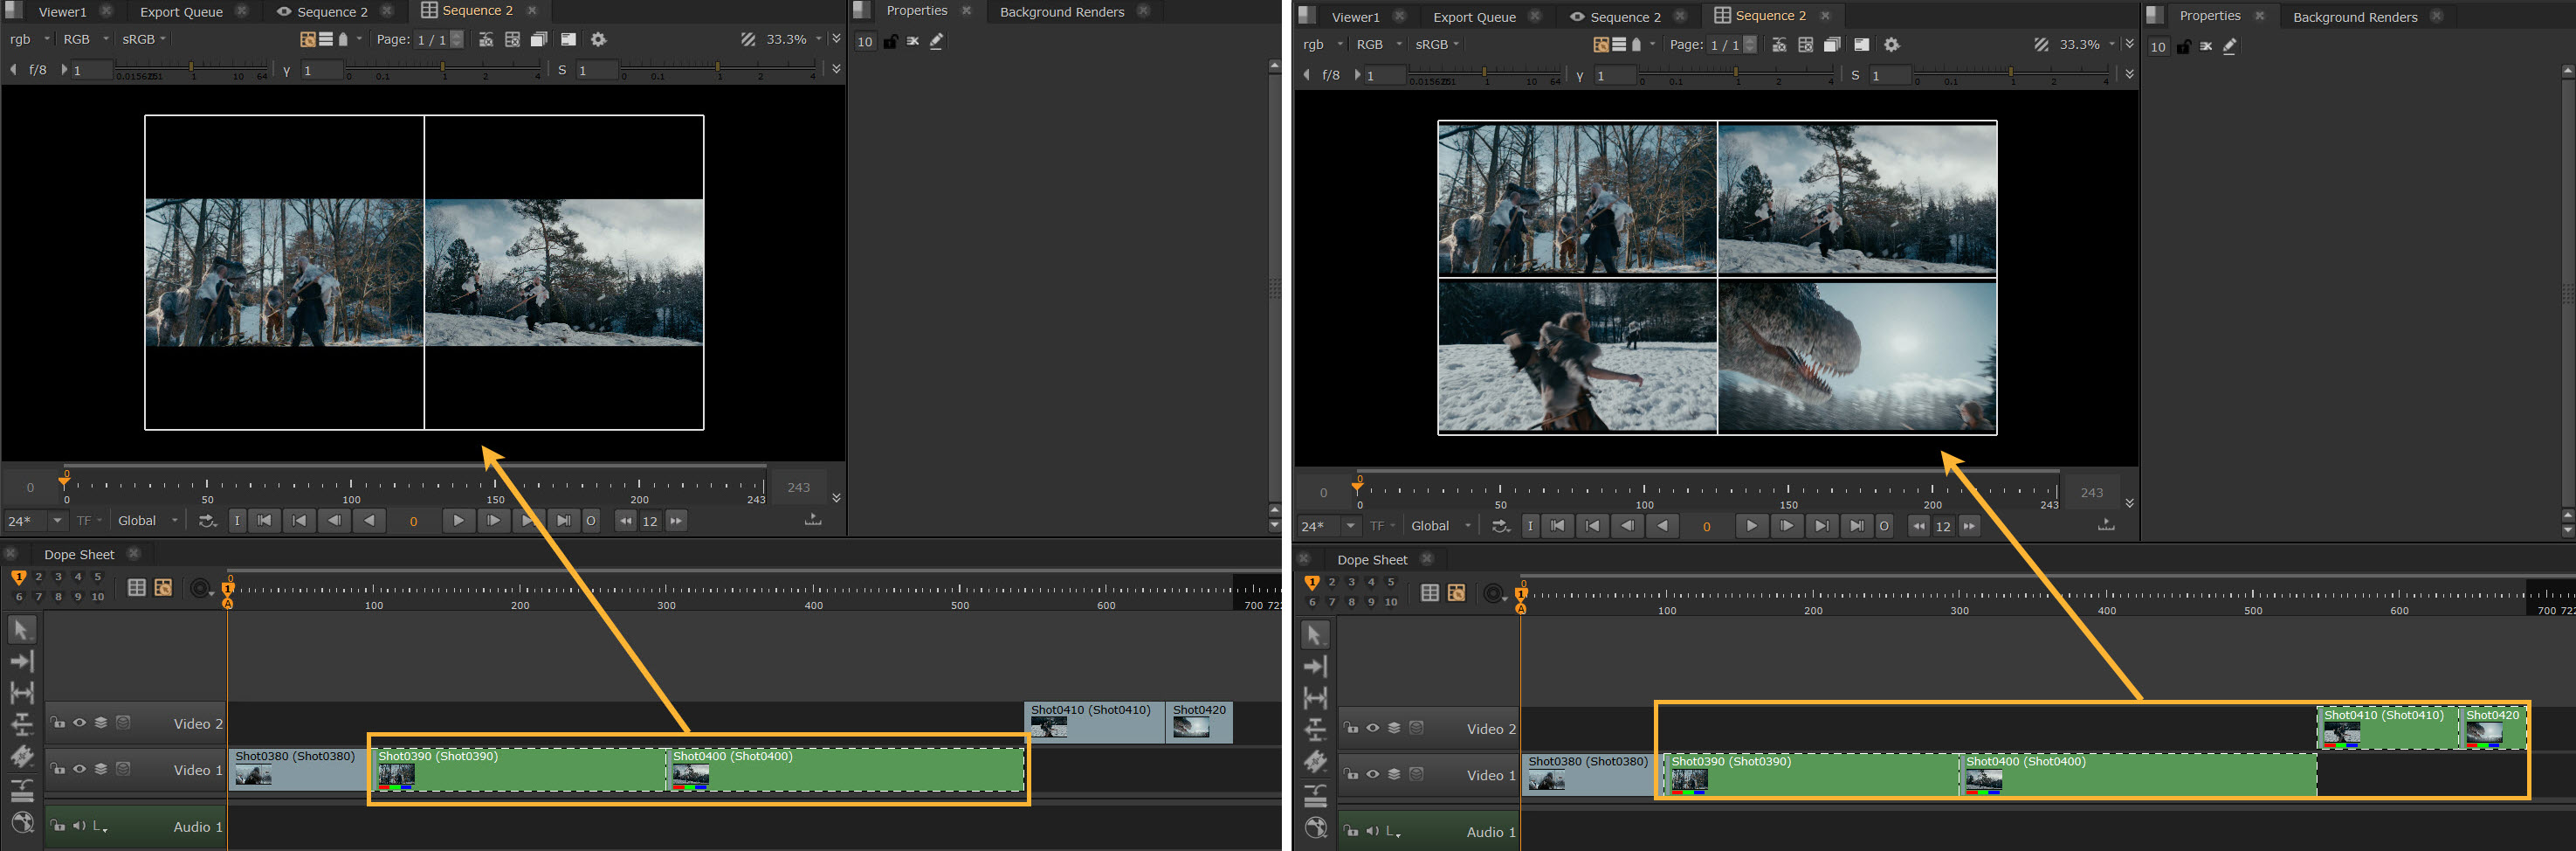
You can use all the standard selection methods like Ctrl+Left Click to select non contiguous clips, Left Click+Drag Marquee to select a range or Left Click on a clip and Shift+Left Click on a different clip to select all clips in between.
The Manual Picker works in the same fashion as hard selections; so if, for instance, you want to deselect all your currently selected clips being displayed in Contact Sheet simply make sure that you have the Manual Picker enabled, and tap down in an empty area in the sequence and your selection is cleared.
It's worth noting that when you are selecting non-contiguous clips using the Ctrl+Left Click method, the order you select the clips defines the order that they appear in the Contact Sheet Viewer.
When selecting via either the Left Click+Drag Marquee or Shift+Left Click methods, the direction of the selection is ignored and clips are displayed in the Contact Sheet in the order they appear in the sequence.
| 4. | Once you’ve finished adding the shots you want displayed in the Contact Sheet, deactivate the Manual Picker button to return to normal editing and selection mode. When you do this, your chosen shots are highlighted with a dashed border so that you can visually keep track of what shots are being used in the Contact Sheet. In the normal editing mode you cannot affect the Contact Sheet selection and need to reactivate the Manual Picker if you want to add or remove shots. |
Shots which show in green when the Manual Picker is active change back to blue with the dashed border when it is deactivated.