Locating a 3D Point from an Animated Camera
Animated cameras created in third-party applications, such as Maya, or Nuke's CameraTracker contain enough parallax information to locate a 3D point in a 2D scene using the PointsTo3D node. PointsTo3D uses three reference frames in an image sequence to extrapolate the location of a 2D point in 3D space.
Connecting the PointsTo3D Node
|
2.
|
Import your animated camera as described under Cameras. |
Tip: NukeX and Nuke Studio include CameraTracker, which creates animated cameras without resorting to third-party applications. See Camera Tracking for more information.
|
3.
|
In the toolbar on the left of the interface, navigate to Transform > PointsTo3D to add a PointsTo3D node. |
|
4.
|
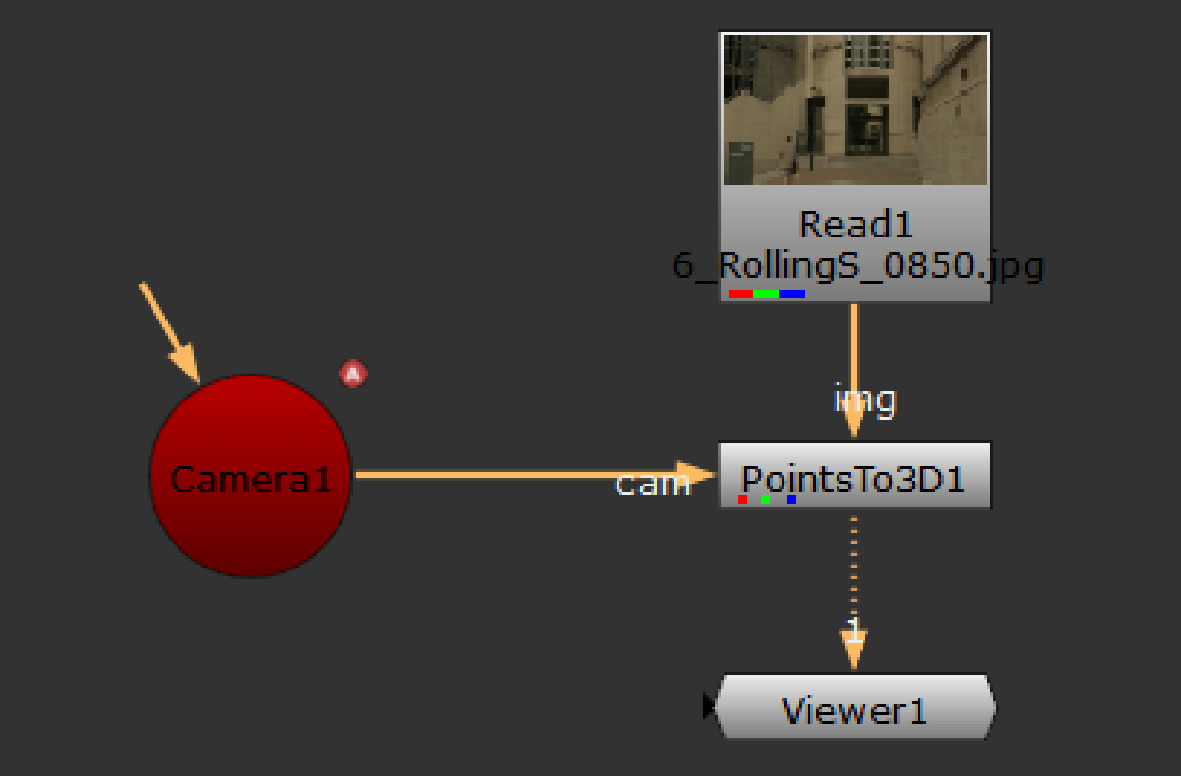
Connect the image sequence and Camera to the PointsTo3D node and then connect the Viewer. |

Setting Reference Frames
|
1.
|
In the Properties panel, set Camera type to free move. |
|
2.
|
Scrub through the sequence and pick out three frames where the feature is clearly visible. |
|
3.
|
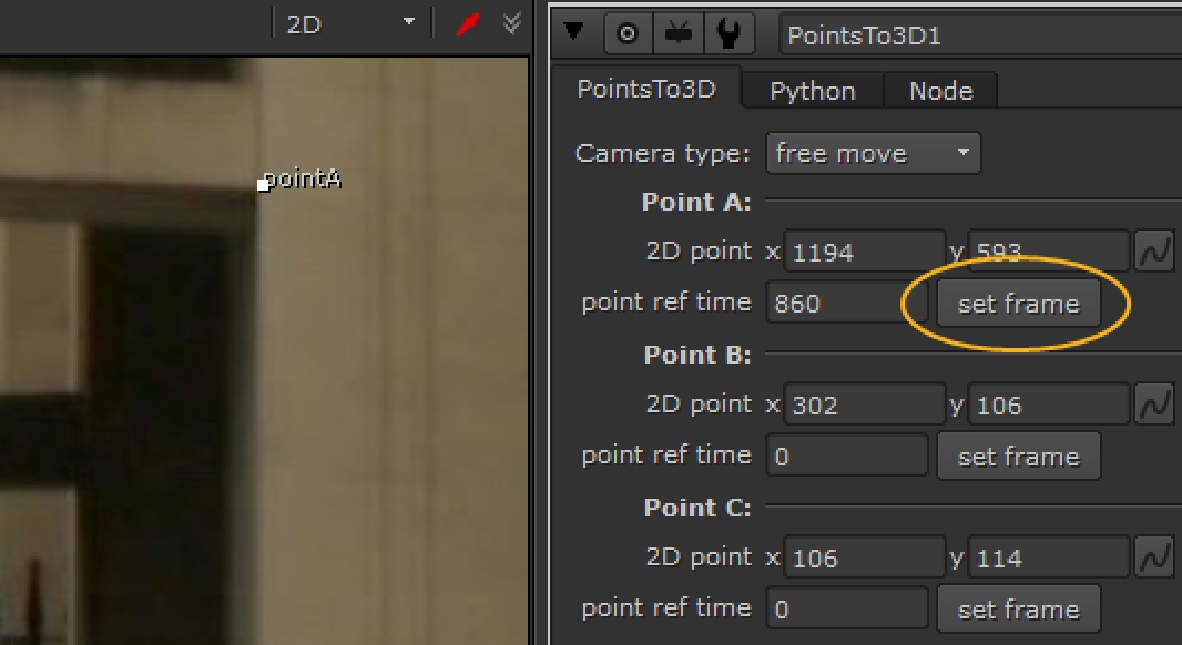
Scrub to the first reference frame where your feature is visible and then drag the pointA Viewer widget from the bottom-left of the Viewer to the feature's location. |

The 2D coordinates and reference frame number are inserted into the Point A controls.
Tip: You can adjust the 2D point using the x and y controls in the properties for pixel-perfect positioning.
|
5.
|
Scrub to the second reference frame where your feature is visible and then drag the pointB Viewer widget from the bottom-left of the Viewer to the feature's location. |
|
7.
|
Scrub to the third reference frame where your feature is visible and then drag the pointC Viewer widget from the bottom-left of the Viewer to the feature's location. |
You can now see coordinate and frame information for all three reference frames in the properties.
Calculating the 3D Position
|
1.
|
Click Calculate to display the range dialog. |
|
2.
|
Click the Frame range dropdown to select the range bounds and the frames to calculate, if required. |
|
3.
|
To calculate the position from the image sequence using a lower resolution, enable Use proxy. This can speed up the calculation, but the results may not be as accurate. |
|
4.
|
To stop the calculation if an error occurs during the process, disable Continue on error. |
Nuke runs through the sequence, tracking the 2D position against the three reference frames to determine the corresponding 3D point.
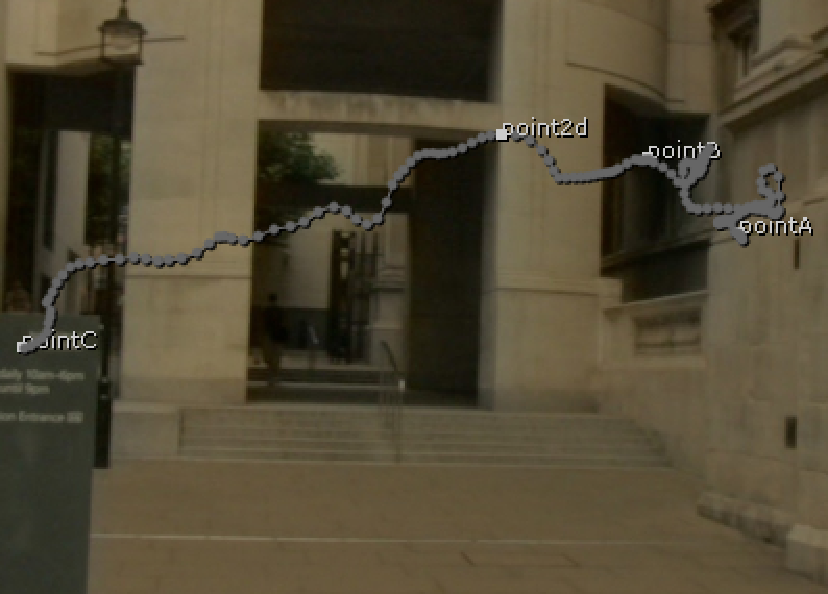
Once the calculation is complete, the point2d Viewer widget is placed on the tracked point in 2D space.
|
6.
|
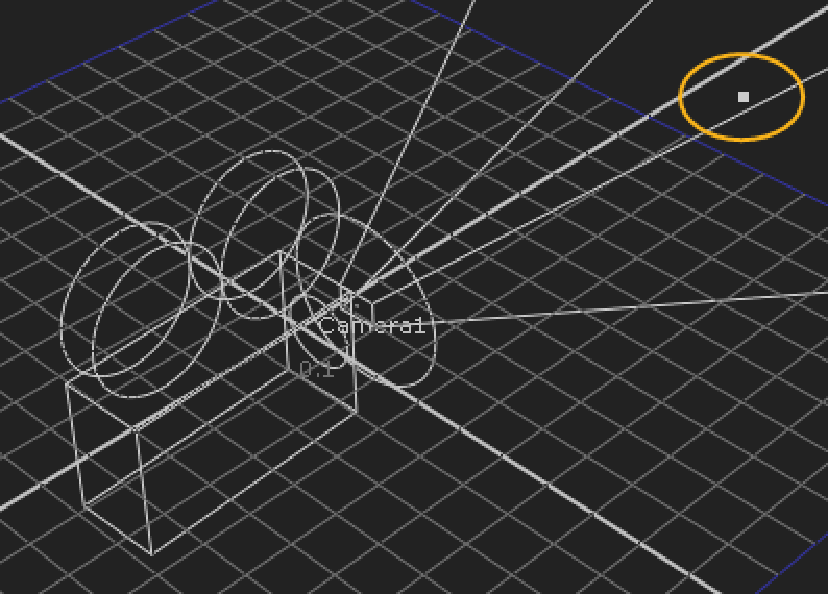
Press Tab in the Viewer to switch to the 3D perspective view. The calculated 3D point is highlighted in 3D space. |
|

|

|
The 2D points used to calculate the
3D position. |
The resulting position in the 3D Viewer. |
You can use the calculated 3D point to help you place elements in the scene, or click generate axis to add an Axis node to control all elements in the scene together. See Parenting to Axis Objects for more information on axes.


