Creating and Editing Audio Curves
Once you have read in an audio file (see Reading Audio Files into the Node Graph), you can display an audio waveform for your audio clip and access its animation curve in the Curve Editor or the Dope Sheet.
Creating a Keyframe Curve
In the curves section of the AudioRead properties panel, you can generate curves out of the audio data:
|
1.
|
Set the keyframe interval you want to use when creating the curves in the key interval field. For example, if you enter 3, keyframes are created to every third frame of the input footage. |
|
2.
|
Click generate to generate the audio data as a curve that you can use in the Curve Editor and Dope Sheet. |
|
3.
|
View the left and right stereo levels on the current frame in the left and right fields and adjust if necessary. Any changes are reflected on the curve automatically. |
Modifying the Audio Curve in the Curve Editor and Dope Sheet
When you’re working with your audio curve in the Curve Editor or Dope Sheet, there are a few right-click options that you can use to adjust how the clip’s waveform displays:
|
1.
|
Right-click in the Curve Editor or Dope Sheet and select View > Audio. |
|
2.
|
Then select Source and check the box for either ProjectDefault or an AudioRead node depending on which one you want to view. If you’ve only got one AudioRead, it is the project default. |
|
3.
|
If you’re working with a stereo clip with more than one audio channel, you can select your audio channel by ticking the appropriate box under Channel. |
|
4.
|
Select a style in which you want your waveform to be drawn by selecting one of the DrawStyle options: |
• Off - to draw no audio waveform.
• Behind - to draw a waveform behind the animation curves.
• Below - to draw a waveform below the animation curves.
|
|
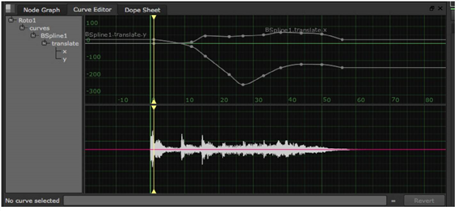
| Audio waveform in the Curve Editor. |