Warping Images Using VectorCornerPin
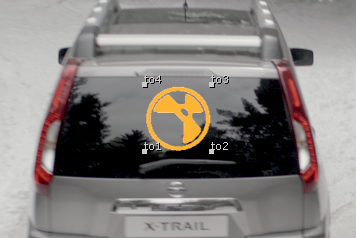
Some sequences involve movement and detail that can't be propagated from a single frame correction. In these cases, you can use the VectorCornerPin node to minimize the amount of correction work needed. The to1-4 Viewer widgets allow you to add keyframes, which then use vector information from SmartVector to drive the warp.
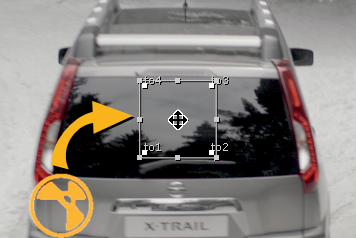
The final result should be an image with minimal slip and distortion.


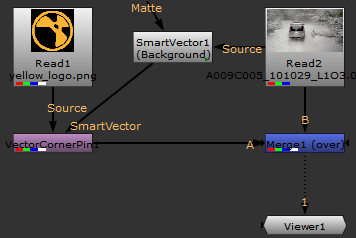
| 1. | Set up your image as described in Adding an Image to the Source. |
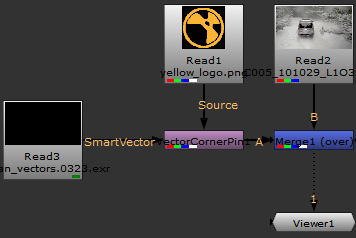
| 2. | Connect the VectorCornerPin's SmartVector input to either a SmartVector node or a Read node referencing the .exr files containing the motion vector data. |
Tip: If the image you're warping displays at the wrong resolution, switch to the VectorCornerPin's From tab, click Set To Input, and then switch back to the VectorCornerPin tab and click Copy 'from' to resize it automatically.
| 3. | Scrub to the reference frame in your sequence and place the image as required using the to1-4 Viewer widgets. |
| 4. | In the VectorCornerPin Properties panel, click add keyframe |
Note: You can remove the keyframe at the current frame using ![]() or remove all keyframes from the sequence using
or remove all keyframes from the sequence using ![]() .
.
| 5. | Play through the sequence until the image begins to slip or warp. |
Tip: After adding a keyframe, you can click Bake Corners to calculate the positions of the pins at each frame in a range using the vectors from the SmartVector input.
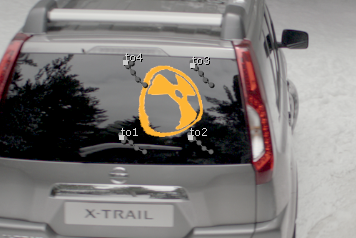
| 6. | Adjust the image using the to1-4 Viewer widgets. A new keyframe is added at the current frame. |
Frames on which no keyframe is present are interpolated automatically, so you may not need to adjust each frame individually.
| 7. | You can smooth distortion on interpolated frames using the Frame Distance and Blur Size controls on the SmartVector tab. |
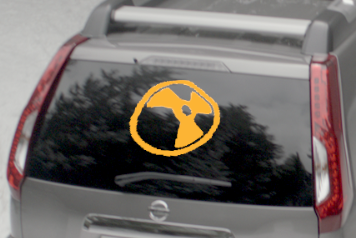
Frame Distance 1 frame and Blur Size 0.
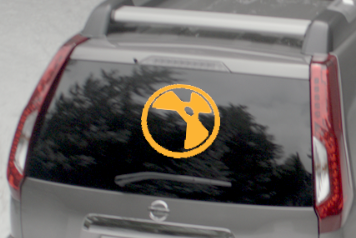
Frame Distance 4 frames and Blur Size 10.