Solver
Introduction
The O_Solver node defines the geometric relationship between the two views in the input images (that is, the camera relationship or solve). This is necessary when aligning footage with O_VerticalAligner. It is also required to calculate aligned disparity vectors, when using the alignment control in DisparityGenerator. O_Solver data is not necessary for color and focus matching using O_ColourMatcher and O_FocusMatcher.
To define the camera relationship, O_Solver detects a number of features in one view and locates the corresponding features in the other (see the image below). The feature matches and analysis data are not available until you have set at least one analysis key on O_Solver. Any frames set as analysis keys show up on the Viewer timeline and can be visualized in the Curve Editor and Dope Sheet.
|
|
|
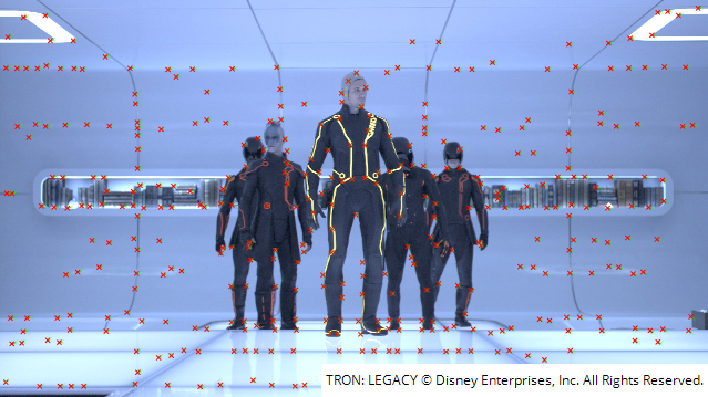
O_Solver detects features in each view and tries to match them. |
O_Solver calculates alignment data at the keyed analysis frames. Alignment at other frames is created by interpolating between the results at the analysis frames. This ensures that the alignment data delivered to O_DisparityGenerator and O_VerticalAligner varies smoothly across the sequence.
Tip: If you have an interactive license (ocula_i and nuke_i), you can run O_Solver from the terminal to automatically set up analysis frames. Running from the terminal also removes the need to manually set up an Ocula node tree. See Solving Using Python for more information.
The output of the O_Solver node consists of:
• the unaltered input images, and
• the results of the feature detection and analysis, which are passed down the node tree as hidden metadata.
Because the results of the analysis are available downstream, you can use multiple Ocula nodes in the tree without having to re-analyze the camera relationship. However, if a node generates or modifies views, the current metadata becomes invalid and is removed from the tree from that point forward.
To get the best possible results, you can identify features to ignore in the analysis. This can be done by supplying a mask in the Ignore input.
You can also add your own feature matches to the automatically detected ones. O_Solver considers any feature matches you’ve added yourself superior to the ones it detects automatically and pays them more attention. This can also influence which of the automatically detected features are included in the final solve. To force the feature matches to be recalculated based on the manual feature matches, use the Re-analyse Frame button.
If you have a pre-tracked camera that describes the camera setup used to shoot the images, you can also supply this in the Camera input. If you connect the Camera node before adding a keyframe, the automatically-detected feature matches are validated against the input camera. Alternatively, you can add the Camera node after the analysis and use the Re-analyse Frame button to recalculate matches based on the input camera. For more information, see Inputs below.
Tip: You can improve the alignment data calculated by O_Solver by adding user matches. This can be used to correct O_VerticalAligner in tricky shots, where there are few automatic matches, such as on bluescreen or greenscreen footage. See Solver for more information.