StereoReviewGizmo
Description
You can use the StereoReviewGizmo node to perform a quick quality check on stereo footage. StereoReviewGizmo requires upstream disparity vectors. If disparity vectors do not already exist in the image sequence, the StereoReviewGizmo node calculates disparity.
The StereReviewGizmo can display a difference view to show the differences in the stereo sequence more clearly. You can set the point of interest using the Parallax controls and you can set a sample subject to focus on by dragging and dropping the sample widget in the Viewer.
|
|
|
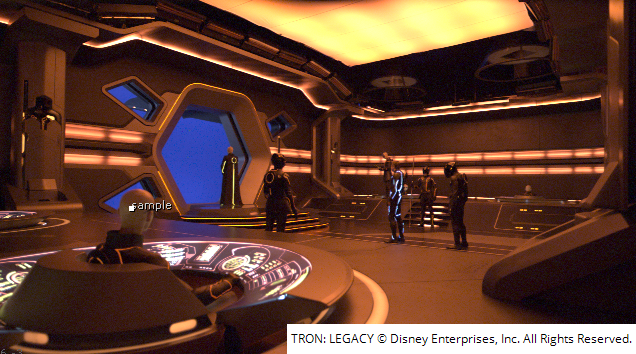
The original left view of a stereo image. |
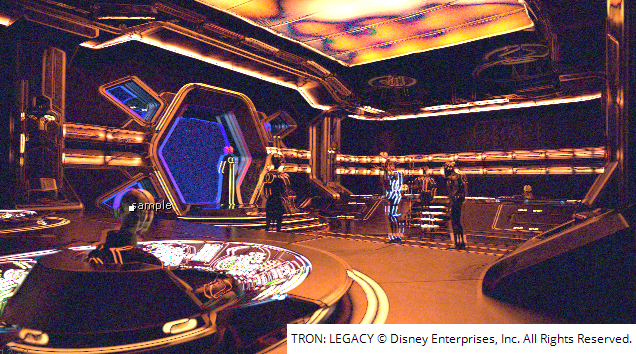
The difference view created by the |
You can use StereoReviewGizmo to quickly toggle between the difference view, the stereo view, and the left and right views to do quick comparisons. Perform a short playback in any view to check temporal stability, or animate the depth rack to display the difference between the specified near and far settings.
Inputs
O_StereoReviewGizmo has the following inputs:
|
Source |
A stereo pair of images. StereoReviewGizmo uses disparity vectors. However, if there are no disparity vectors available, StereoReviewGizmo calculates the disparity. |
To see a table listing the nodes or channels each Ocula node requires in its inputs, see Node Dependencies.
Using StereoReviewGizmo
| 1. | Select Ocula > Ocula 4.0 > StereoReviewGizmo to insert an StereoReviewGizmo node either after the O_DisparityGenerator node if you added one, or after the image sequence. |
| 2. | Connect a Viewer to the O_StereoReviewGizmo node. Your node tree should now look something like this: |

| 3. | Adjust the Parallax controls to re-converge on points of interest. You can either set the Parallax controls manually, or you can click Auto Near/Far to automatically set the parallax range. The output control is automatically updated to far and a difference view is displayed in the Viewer, allowing you to adjust the settings until the point is aligned. This makes it easier to line up the left and right view. |
| 4. | You can then use Toggle Left/Right to review the footage at this point with the left and right output. |
| 5. | Use Start Playback to play a 10 frame sequence for the current output. This allows you to review the point of interest defined by the Parallax controls, for any temporal issues. This control now toggles to STOP Playback. Click this to restore the timeline. |
| 6. | By default, subjectPt is enabled in the StereoReviewGizmo controls. With this enabled, you can drag and drop the subjectPt widget in the Viewer to select a point of interest. To disable subjectPt, select the hide checkbox to the right of the subjectPt controls. |
| 7. | Adjust the Parallax settings and toggle between different views using the output controls to examine the differences. |
| 8. | Select Start Depth Rack to animate the through depth between the specified near and far settings. See the following Controls section for more information. |
StereoReviewGizmo Controls
Output
Use the output control to select the Viewer output. Select one of the following:
|
stereo |
The stereo output shows the input re-converged at the depth defined by slider. |
|
left |
The left output shows the re-converged left view only. |
|
right |
The right output shows the re-converged right view only. |
|
slider |
Select this to show a difference view, re-converged by the Parallax controls. Adjust the controls until the image becomes aligned on the point of interest. |
|
near |
Select this to show a difference view, re-converged by the Parallax controls. Adjust the controls until the image becomes aligned on the point of interest. |
|
subject |
Select this to show a difference view, re-converged by the Parallax controls. Adjust the controls until the image becomes aligned on the point of interest. |
|
far |
Select this to show a difference view, re-converged by the Parallax controls. Adjust the controls until the image becomes aligned on the point of interest. |
Align Input Checkbox
Select the Align input for colour match review checkbox to align the input using disparity to review color differences only. You can toggle this option on and off to review the color match if the input has not been aligned, and to detect where there is misalignment in the shot.
View Slider
Use View Slider to change the output to show the difference view, set by the Parallax – slider control.
Toggle Left/Right
Click Toggle Left/Right multiple times to toggle between the left and right views. You can use this to review the footage at a particular point of interest, after re-converging using the Parallax – slider control.
Start Playback
Use Start Playback to play a 10 frame sequence of the current output. You can use this to review temporal stability. After you click the Start Playback control, it toggles to STOP Playback; press this to restore the timeline.
Note: You can use Ctrl/Cmd + click on the Viewer timeline to change the playback range.
Start Depth Rack
You can click Start Depth Rack to activate a FrameHold and animate through depth between the defined near and far settings, showing the image difference. You can use this to check for alignment errors and color differences across depth. After you have press the Start Depth Rack control, it toggles to STOP Depth Rack; press this to restore the timeline and disable the FrameHold.
Note: You can manually scrub through the depth changes by dragging the Parallax – slider control.
Parallax Controls
Use the slider, near, subject and far controls to zero disparity and re-converge at a point of interest. When you adjust one of these controls, the output is automatically updated to reflect it. For example, when you adjust the near control, the output control is updated to near and a difference view is displayed in the Viewer.

|
|
|
The difference view showing the automatically |
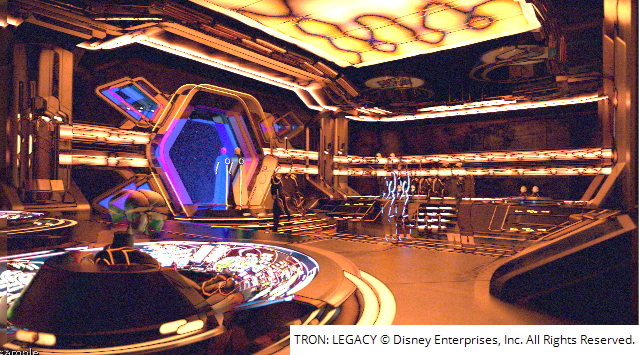
The difference view with the Parallax |
Adjust the Parallax controls until the image is aligned at the point of interest. You can then use the Toggle Left/Right control to switch between the input views at this point to review the input footage. You can also use the Start Playback control to review the input at this depth.
Setup
Auto Near/Far
You can use the Auto Near/Far control to automatically set the near and far parallax controls by sampling the input disparity at the current frame. You can optionally key this at different frames in the shot.
subjectPt
By default, subjectPt is enabled. To disable it, select the hide checkbox to the right of the subjectPt controls. Use this control to set the subject position at the current frame. Adjust the position to sample the input disparity and automatically set the subject parallax. You can adjust the position by either entering the x and y coordinates of the point, or by dragging and dropping the subjectPt widget in the Viewer.
Note: The subject point must be defined in the left view.
Bake Samples
Click Bake Samples to automatically sample the subject disparity at the animated sample position. You can use this control when you are importing a track as the sample point in the left view. Use Bake Samples to sample the subject disparity and parallax for a specific frame range.
Export Controls
Create Subject Transform
Use this control to export a Transform node to align left and right views, using sampled subject disparity. First enable the sample subject checkbox to sample the subject disparity. You can then use Create Subject Transform to create a separate transform node that aligns the left and right views to quality check the subject.
You can create a transform for a tracked point by setting the track on the sample point and using Bake Samples. The track has to be defined for the left view.
Views
Use the Views dropdown to set how the transform is applied, to line up the subject in the left and right view,