Tracking in Sequence Mode
In Sequence mode, CameraTracker tracks the footage attached to the Source input and defines a set of 2D feature tracks that correspond to fixed points in the scene.
Note: If you intend to remove lens distortion manually using a separate LensDistortion node, you should do that before you track the sequence. See Working with Lens Distortion. Otherwise, set Lens Distortion to Unknown Lens before you solve the camera position to force CameraTracker to calculate the distortion.
Before tracking, use CameraTracker's properties panel to control Viewer output and determine tracking behavior:
| 1. | On the CameraTracker tab, ensure that Source is set to Sequence. |
| 2. | If you intend to mask out parts of your image, set the Mask control to the matte source. |
For example, if you're using the alpha channel from a Roto node attached to the Mask input, select Mask Alpha. For more information, see Masking Out Regions of the Image.
Note: For stereoscopic or multi-view footage, set the Principal View on the CameraTracker or Settings tab to the main tracking view. Any masking should be applied to this view, which is then used to calculate the secondary camera.
| 3. | Use the Range dropdown to determine which frames are analyzed: |
• Input - the default value, sets the frame range to the length of the sequence attached to the Source input.
• Global - sets the tracking frame range to the range set in the Project Settings frame range controls.
If no frame range is defined, the frame range of the first image you read in is used as the Global frame range.
• Custom - sets a tracking range of frames described by the from and to fields.
| 4. | On the Settings tab, define the starting points for feature tracking: |
• Number of Features - define the number of features you want to track in each frame.
Ideally, you should use more than 100 tracks per frame. In most cases, the default 150 should be sufficient, but in difficult sequences you may consider using a higher number.
• Detection Threshold - set the distribution of features over the input image.
If you enter a low detection threshold value, features are tracked evenly on all parts of the image and vice versa.
|
|
|
| Low threshold distribution | High threshold distribution |
• Feature Separation - set the distribution of features in relation to each other.
To force feature separation and spread features evenly over the image at even distances, enter a high feature separation value.
|
|
| Low separation value | High separation value |

| 5. | Check Refine Feature Locations to lock detected features to local corners. If you activate this, CameraTracker finds the closest corner point in your footage and locks the feature to it. |
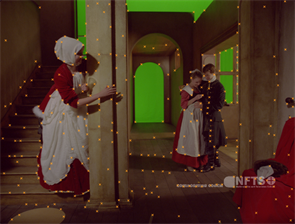
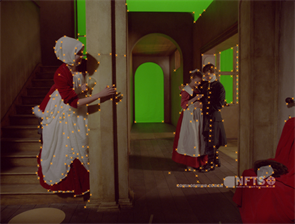
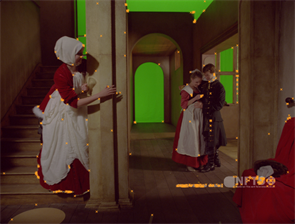
| 6. | Check Preview Features to view the current distribution of tracking features. |
Preview comes in handy when you want to tweak the tracking parameters further before tracking - it updates dynamically when controls are adjusted.
It's important to make sure that the previewed features are distributed evenly and not clustered together too densely before tracking using the distribution and separation controls.
|
|
| Previewing features in a sequence |

| 7. | Once you're happy with the feature distribution in the preview, click Track to begin analyzing the sequence. |
| 8. | CameraTracker begins reading frames sequentially and tracking the features present. Tracks that don't meet the quality thresholds set in the Settings tab Tracking controls are reseeded so that the number of tracks remains constant. |
See Troubleshooting Sequence Tracks for more details on adjusting these controls.
When the playhead reaches the end of the sequence, it begins a verifying pass by reading the frames sequentially backwards. Any tracks that were reseeded due to error are tracked back past the point where they were created, if they remain viable.