Correct Shots Using LensDistortion
Nuke Studio and Hiero's soft effect collection also includes a LensDistortion effect in the timeline. Using LensDistortion in the timeline enables new workflows for shot prep and distribution and you don’t have to go back and forth between the timeline and comp environments. The results can be applied to multiple shots that use the same lens metadata or at sequence-level across an entire show.
Just like Nuke's LensDistortion node, the timeline effect estimates the lens distortion in a given shot, either through Grid Detection or manual Line Detection. The warp can then be used to add or remove distortion or produce an STMap in the motion channel for use elsewhere.
See Working with LensDistortion for more information.
Remove Lens Distortion from a Shot
Here's how to remove distortion from a shot using the LensDistortion effect on the timeline.
- Either select the shot on the timeline manually or use the handy auto-select feature to choose a shot for you depending on the current playhead's position.
- Click the soft effect menu icon
 on the left-hand side of the timeline.
 - Select Transformations > LensDistortion to add the effect to the shot.
- If you have a lens distortion grid shot with the same camera used for filming, you can use that to estimate the lens distortion applied to your shots,
- When you've calculated the required lens distortion, make sure that the LensDistortion effect's Mode is set to Undistort in the Properties panel.
|
|
|
|
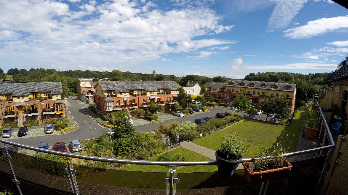
The original distorted shot |
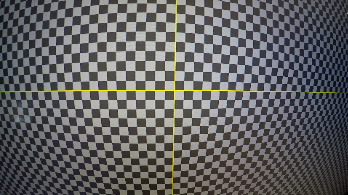
Associated grid shot |
OR
If no estimation grid is available, you can use the LensDistortion effect's manual line drawing workflow to estimate lens distortion.
|
|
|
|
The original distorted shot |
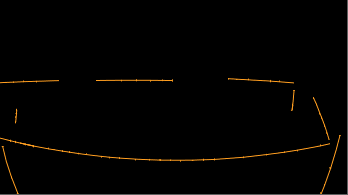
Example lines in the alpha channel |
See Estimating Lens Distortion Using a Grid or Estimating and Removing Lens Distortion Using Lines for more information.
This step removes the calculated distortion from the shot so that you can send the undistorted plate to your comp department using Create Comp. Nuke Studio or Hiero automatically adds a LensDistortion node to the comp, as you can see in the example.
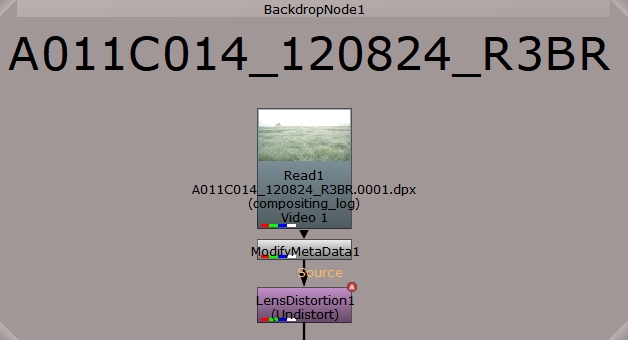
Your comp department can now add their work to the undistorted plate.
Add Lens Distortion to a Shot
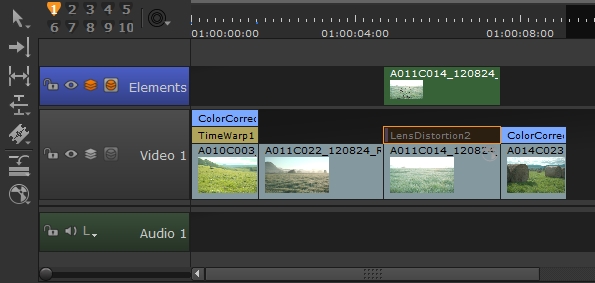
You can quickly add lens distortion to shots or whole sequences on the timeline by copying a LensDistortion effect set to Undistort and changing the Mode to Redistort. You might need to do this if your comp department didn't redistort the comp for you before sending it back from Nuke. In this example, we'll assume that our comp has come back from Nuke, but the CG elements are undistorted.
- Copy the LensDistortion effect from the Video 1 track and paste it on to the CG shot on the Elements track.
- Double-click the pasted LensDistortion effect to display its Properties panel.
- Click the Mode dropdown and select Redistort to invert the distortion applied by the original effect.
The shot on the Elements track is merged down onto the Video 1 track, but because the LensDistortion effect is disabled, the original plate is no longer undistorted.
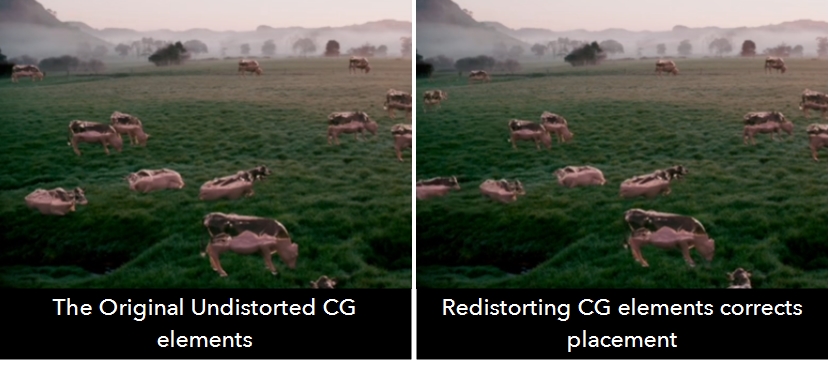
To make the CG elements match the original plate's lens distortion:
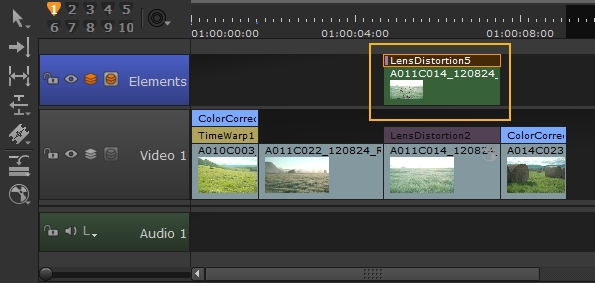
Note: The copy of the LensDistortion effect is not a clone, so the effect name is incremented as normal. In this case, to LensDistortion5.
Remove Lens Distortion from Multiple Shots
If you intend to undistort multiple shots, it's a good idea to apply LensDistortion to one shot first and then clone the effect to the other shots in case you update the lens solve later on.
- Either select the shot on the timeline manually or use the handy auto-select feature to choose a shot for you depending on the current playhead's position.
- Click the soft effect menu icon on the left-hand side of the timeline.
- Select Transformations > LensDistortion to add the effect to the shot.
- If you have a lens distortion grid shot with the same camera used for filming, you can use that to estimate the lens distortion applied to your shots,
- When you've calculated the required lens distortion, make sure that the LensDistortion effect's Mode is set to Undistort in the Properties panel.
- Select the LensDistortion effect, right-click and choose Edit > Copy As Clones or press the Ctrl/Cmd+K keyboard shortcut.
- Select the other shots in the timeline to which you want to add the cloned effect.
- Right-click the selection and choose Edit > Paste or press the Ctrl/Cmd+V keyboard shortcut.
- You can now use Create Comp to send all the affected shots to your comp department.
|
|
|
|
The original distorted shot |
Associated grid shot |
OR
If no estimation grid is available, you can use the LensDistortion effect's manual line drawing workflow to estimate lens distortion.
|
|
|
|
The original distorted shot |
Example lines in the alpha channel |
See Estimating Lens Distortion Using a Grid or Estimating and Removing Lens Distortion Using Lines for more information.
The effect is cloned to the selected shots and the LensDistortion effect is applied. Cloned effects are clearly marked with a C and retain the same effect name, in this case LensDistortion2, so you can quickly locate them.
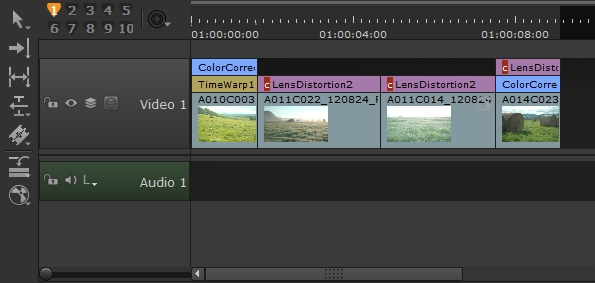
If you update the lens solve further to improve the results, simply update the clone source LensDistortion effect to apply it to all the clones on the timeline.