Search is based on keyword.
Ex: "Procedures"
Do not search with natural language
Ex: "How do I write a new procedure?"
Working with Parts
To experiment with different colors, textures and effects, you first need to select the specific parts you want to change.
Parts of a Colorway asset are displayed in the Items List. Click the arrow in front of the name of an item to reveal the list of parts.
![]()
The menu lists the available parts of the project that you are able to select and change. These were defined with the original asset in a 3D application. If a part was not specified in the 3D application, it does not appear in the Items List.
Selecting Parts
You can either select a part in the Items List, or by clicking on it directly in the sheet. When you hover over a part in the sheet, it is highlighted in blue to make selection easier.
This video shows that hovering over parts of an asset makes it easier for you to navigate in your workspace and apply colors as it highlights the asset and its linked items.
You can select multiple parts by using Shift and/or Ctrl/Cmd+click.
Grouping Parts
Colorway allows you to group selected parts. You can then apply changes to a group, which updates all the parts within the group simultaneously. You can group .dci parts and .svg parts. .dci parts are grouped per variation.
| 1. | In the Items List, select multiple parts by either using Shift or Ctrl/Cmd and clicking on the parts. |
| 2. | Click the Group |
A group is created and is named New Group by default. There are also a few controls on the group name.
• Click the arrow on the left of the group name to expand or collapse the view of the group contents.
• Click the padlock on the right of the group name to lock or unlock the group of parts.
• Click the visibility icon on the right to hide/reveal the group in the Dynamic Table.
• Double-click the default group name to rename it.
Merging Parts
Parts can be merged per variation.
To merge parts that are grouped:
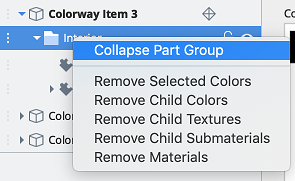
| 1. | Select the Group layer in the Item List. |
| 2. | Right click the Group layer, and select Collapse Part Group. |
The group layer is merged in the currently selected variation.
To merge parts that are ungrouped:
| 1. | Drag one part on top of another part in the Item List. |
| 2. | Drag other parts you want to merge into the same group on top of the part merge layer in the Item List. |
Ungrouping Parts
Selecting the group(s) you want to remove and then clicking the Ungroup ![]() button in the bottom-left of the Items List.
button in the bottom-left of the Items List.
Note: The parts are ungrouped in the current variation.
Reordering Parts
Reorder parts by dragging and dropping the parts in the Item Tree. Once you are happy with your ordering, the part order is stored to the current variation.
Tip: To copy an item's part order from one variation to another, right click the item in the Item Tree and select Copy Part Subtree. Select the variation you want to share the part tree to, right click the item and select Paste Part Subtree.
Linking Parts
Link parts together using the Linked Items dialog. See Linking Items for more information.
Locking Parts and Groups
Colorway allows you to lock parts or whole groups of parts. This allows you to maintain control over what can be changed in your project to create different looks. To lock a part or group, click the padlock icon next to the part or group name. When a part or a group has been locked, the icon appears like a closed padlock and highlights dark gray.
Editing Part Metadata
You can add metadata to a part on a .dci or .svg in its properties panel. The data added here can then be displayed using dynamic text or tables.
To add metadata:
| 1. | Select the part in the Items List or sheet. |
| 2. | Expand the Metadata properties. |
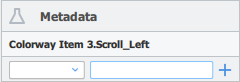
| 3. | Enter a title in the first field, then enter a description or value in the second field. To add additional data, click the + (plus) icon on the right. |
Tip: You can also access the metadata of parts of a Colorway asset through tables.
Adjusting the Color of a Part
To adjust the Hue, Saturation and other specific color values of individual parts:
| 1. | Click on the part of your DCI you want to adjust. |
The part is highlighted to show you it is selected.
| 2. | Click on the Color Picker menu or on the Palettes menu, if you have predefined color palettes. |
| 3. | Select a color from the color picker or from a palette. |
The color is applied to the selected part .
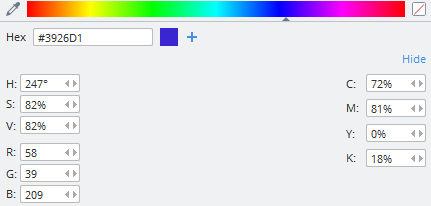
| 4. | Adjust the Hue, Saturation and Value data or enter R, G and B data from 0 to 255 to specify RGB color values. If you already know the You can click and drag the mouse left or right to slide up and down the scale of values. |
The selected part updates with each color value change.
| 5. | Click anywhere on the sheet to deselect the part. |
Adjusting the Color of a Part With Multiple Texture Layers
The part context menu is useful when materials are assigned to the part with multiple texture layers, and you need to apply a swatch to a specific texture layer.
| 1. | Drag and hold a color swatch over a part on the sheet. |
A context menu appears after a second.
| 2. | Drop the color swatch on the layer you want to tint. |
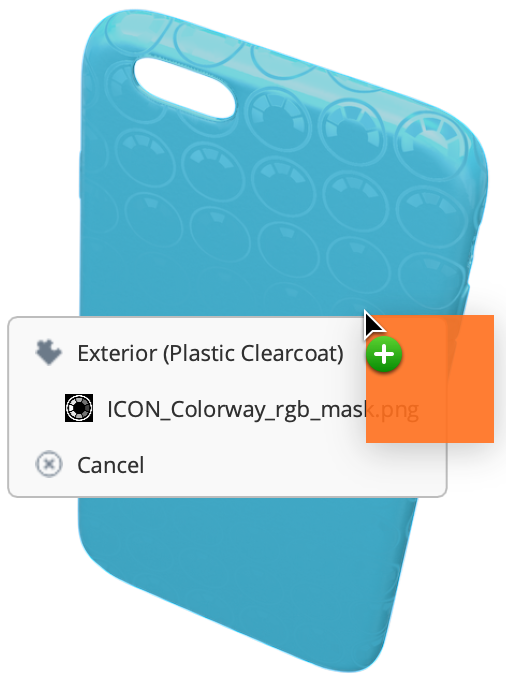
Hovering a color swatch over a part.
Adjusting the Diffuse Amount of a Part
You can adjust the output color brightness of specific parts using the Diffuse property inside the Materials & Textures ![]() tab. This can help you visualize colors more realistically, as the same color can appear different depending on the materials used.
tab. This can help you visualize colors more realistically, as the same color can appear different depending on the materials used.
| 1. | Select a part. |
| 2. | Click the Materials & Textures |
| 3. | Click the Materials sub-menu. |
| 4. | Click and drag the Diffuse slider. |
Note: Enable the ![]() button next to the Diffuse slider to share the brightness output across all linked items. Disable the
button next to the Diffuse slider to share the brightness output across all linked items. Disable the ![]() button to only display the brightness output on the selected item.
button to only display the brightness output on the selected item.
Adjusting the Specularity of a Part
| 1. | Select a part. |
| 2. | Click the Materials & Textures tab. |
| 3. | Click the Materials submenu. |
| 4. | At the bottom of the Materials submenu panel, adjust the Blur, Glow, and Intensity sliders. |
Note: Once the Intensity slider goes above 0%, a specular color slot will appear on the selected part. You can assign any color swatch to this slot to change the specular color of the part.
Tip: You can use textures to mask the blur, transparency, and specularity effects. See Masking Using Textures and Decals for more information.
Each slider affects the part differently. See the table below for information on each slider.
| Property | Description | Effect |
| Blur | Adjusts the amount of blur applied to the selected part or its masked region. | 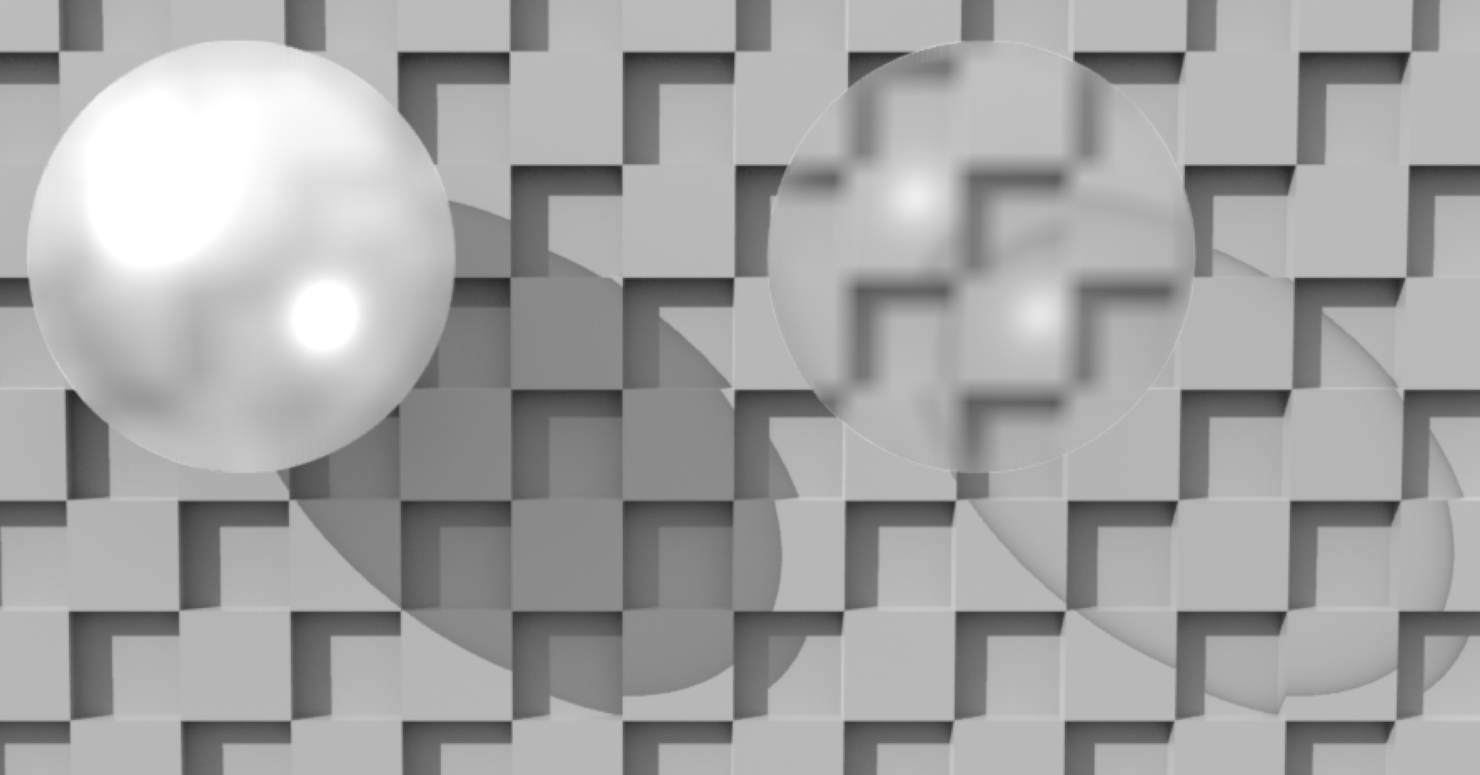
30% Blur, 0% Glow, 0% Intensity |
| Glow | Adjusts the roughness finish of the selected part or its masked region. Requires an intensity of 0%> for adjustments to be visible. | 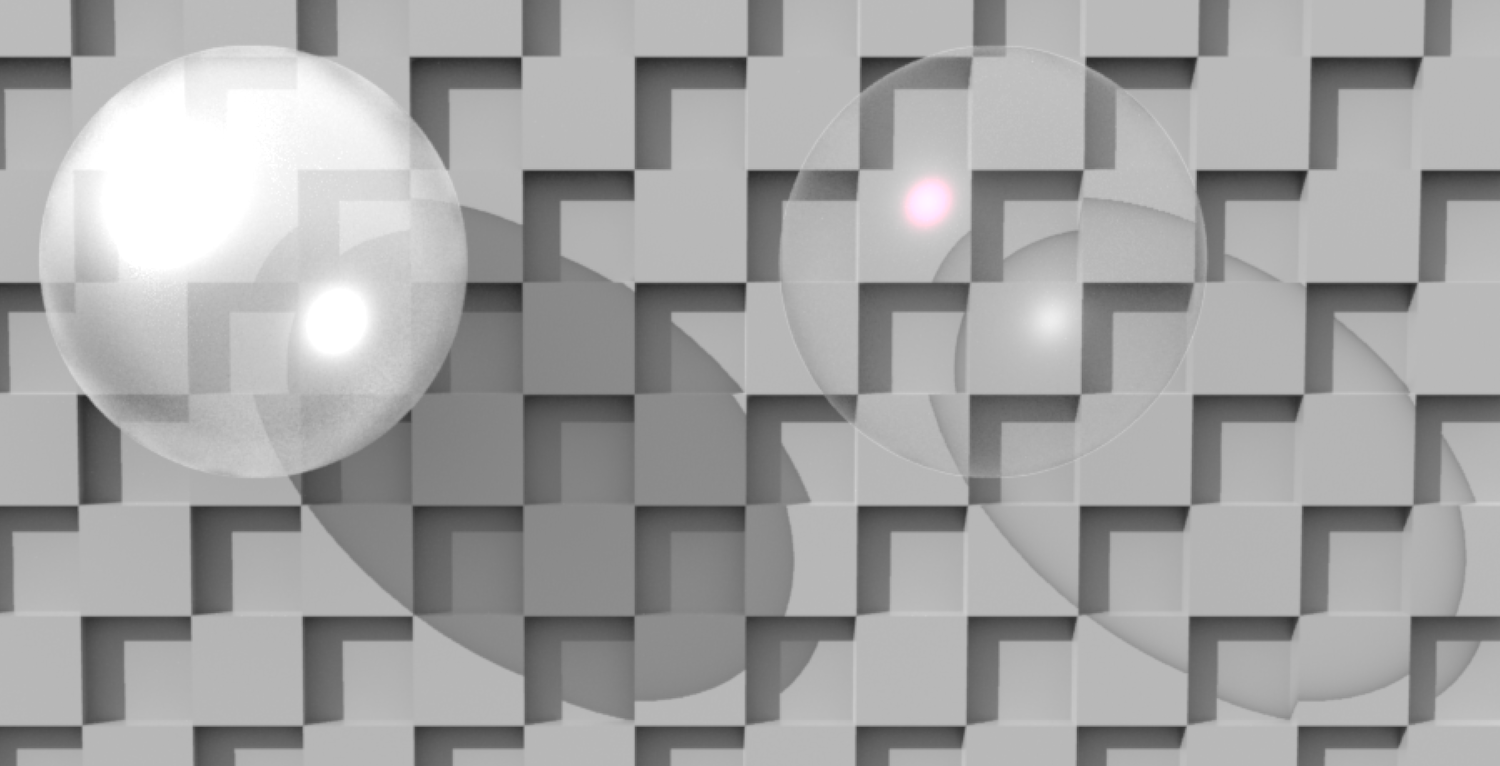
0% Blur, 50% Intensity, 99% Glow |
| Intensity | Adjusts the intensity of the reflection on the selected part or its masked region. | 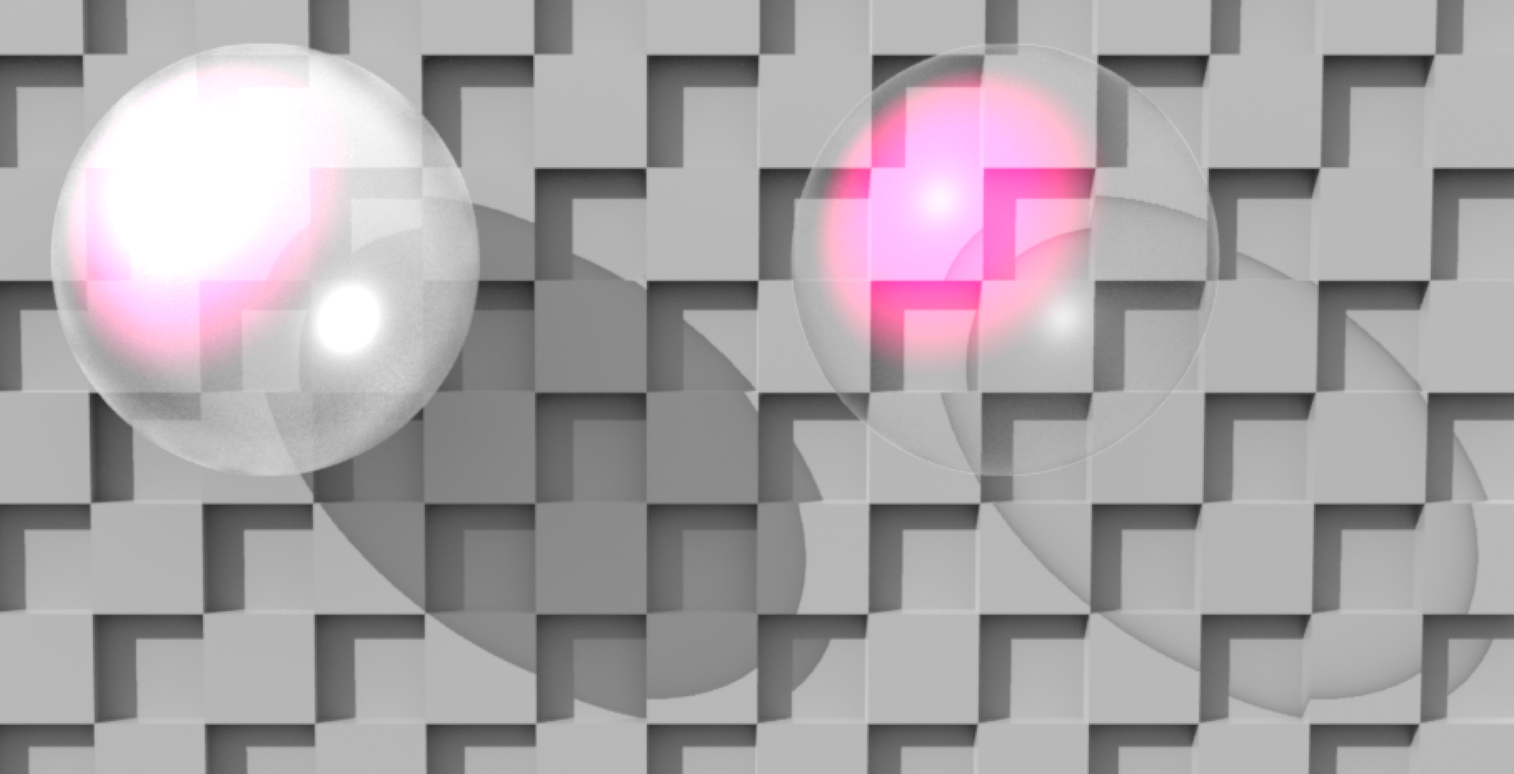
0% Blur, 70% Intensity, 20% Glow |
Sorry you didn't find this helpful
Why wasn't this helpful? (check all that apply)
Thanks for your feedback.
If you can't find what you're looking for or you have a workflow question, please try Foundry Support.
If you have any thoughts on how we can improve our learning content, please email the Documentation team using the button below.
Thanks for taking time to give us feedback.