Search is based on keyword.
Ex: "Procedures"
Do not search with natural language
Ex: "How do I write a new procedure?"
Contact Support
Pitching Sequences
Periodically, you may want to pitch a sequence to others involved in the project. For this, you want to pull together the latest versions of your panels, all the dialogue, and all audio files to create a complete sequence for presentation.
The Pitch View
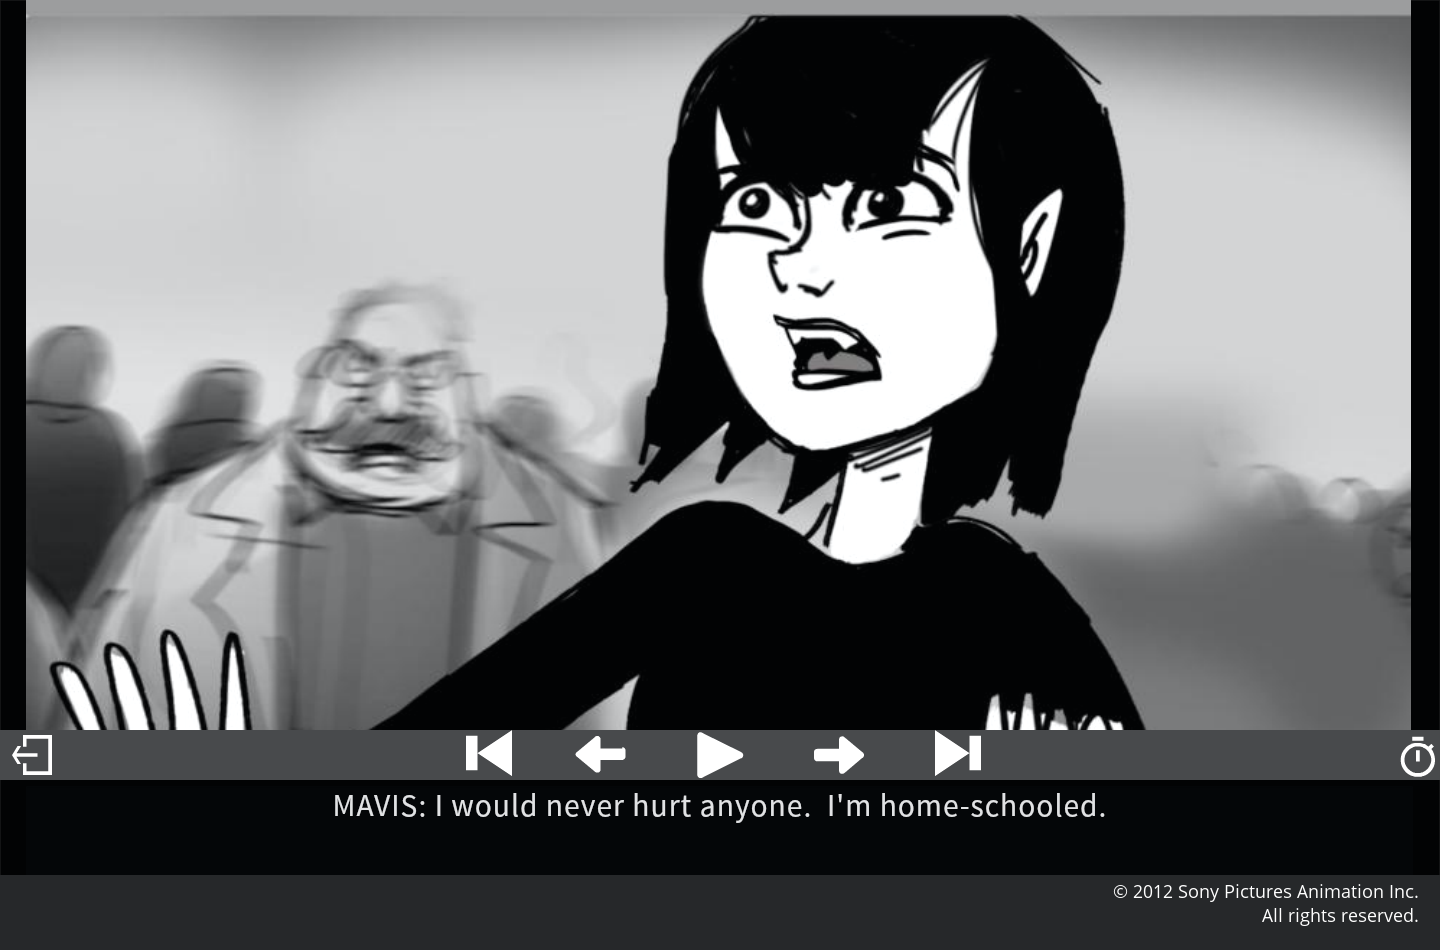
When you enter the Pitch workspace, the Viewer is expanded to full screen. In the Pitch workspace, the entire sequence is contained in the Viewer, including panels, dialogue, and audio files.
The sequence begins with the panel that was selected when in one of the other workspaces. The order of the sequence in the Pitch workspace matches that shown in the Sequence Editor pane in the Edit workspace. Even unsaved changes to the panel order are shown in the Pitch workspace. This allows you to preview the order of the panels within a sequence before saving your changes to a new version.
When you are in the Pitch workspace, you don’t have to enable the dialogue or audio files separately. Once you begin playing the sequence in the Pitch workspace, the dialogue and audio files accompanying the panels play as well, as long as they are set up correctly.
In the Pitch workspace, you can also edit the duration of each panel of the sequence by recording a new duration manually while you pitch the sequence.

Displaying Dialogue
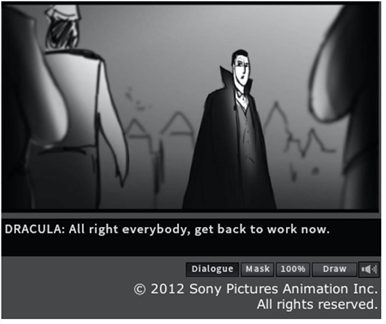
When in full screen mode, the dialogue is displayed on either the top or the bottom of the Viewer. You can toggle between these two locations by pressing Tab at any time when in the Pitch view.
To remove dialogue, so that it doesn’t appear in the Pitch view:
| 1. | Ensure that you are in any of the other workspaces, other than Pitch view (Edit or Dialogue). |
| 2. | In the Viewer Controls pane, click on the Dialogue button if it’s active. When the Dialogue button is active, the button appears darker and dialogue is displayed below the panel in the Viewer. |

| 3. | After the Dialogue button is inactive, switch to the Pitch view. |
Dialogue associated with the sequence does not appear in the Viewer and pressing Tab now has no affect.
Using Full Screen Controls
Making the Viewer Full Screen
Switching to the Pitch workspace, automatically puts Flix 5 in full screen mode. You won’t have to do anything more than switch workspaces. You can leave full screen mode at any time by pressing the Esc keyboard hotkey. Leaving full screen mode returns you to the previous workspace you were using before switching to Pitch.
Using Pitch UI Controls
There are controls at the bottom of the screen for playing a sequence or stepping through the panels manually in full screen mode, and to record panel duration while pitching the sequence.
Pitch Mode Controls
|
Controls |
Actions |
|---|---|
|
|
Plays from the current panel and plays through to the end of the sequence. |
|
|
Pauses the sequence playback. |
|
|
Moves forward one panel. |
|
|
Moves backward one panel. |
|
|
Jumps to the first panel in the sequence. |
|
|
Jumps to the last panel in the sequence. |
|
|
Exits the full screen mode. |
Timer Mode Controls
When Timer Mode is active, the following controls are available:
|
Controls |
Actions |
|---|---|
|
|
Activates the Timer mode. |
|
|
Deactivates the Timer mode. |
|
|
Starts panel duration recording. |
|
|
Stops panel duration recording. |
|
|
Selects a microphone to record panel duration with audio. (The icon is white in the UI. For the purposes of this online help, white icons appear gray.) |
|
|
Indicates that a microphone is selected. |
|
|
Indicates that there is no microphone on your machine. |
|
|
Enables the audio playback while recording panel duration. (The icon is white in the UI. For the purposes of this online help, white icons appear gray.) |
|
|
The audio playback is enabled. |
|
|
Indicates that there is no audio in the sequence. |
Note: The toolbar disappears if you don't move the pointer around. To have the toolbar displayed at all times, leave the pointer on the toolbar.
Using Keyboard Shortcuts
You can play a sequence or step through the panels manually in full screen mode, and you can record panel duration while pitching the sequence. To do this, use the keyboard shortcuts.
To play a sequence, press Spacebar on the keyboard. The sequence begins playing from the currently selected panel and plays through to the end of the sequence. To pause sequence playback, press the Spacebar again, or press any of the other step through controls.
If you prefer to step through the sequence one panel at a time, use the following controls:
• Press the right arrow key to move forward one panel,
• Press the left arrow key to move backward one panel,
• Press the up arrow key three times in quick succession to jump to the first panel in the sequence,
• Press the down arrow key three times in quick succession to jump to the last panel in the sequence,
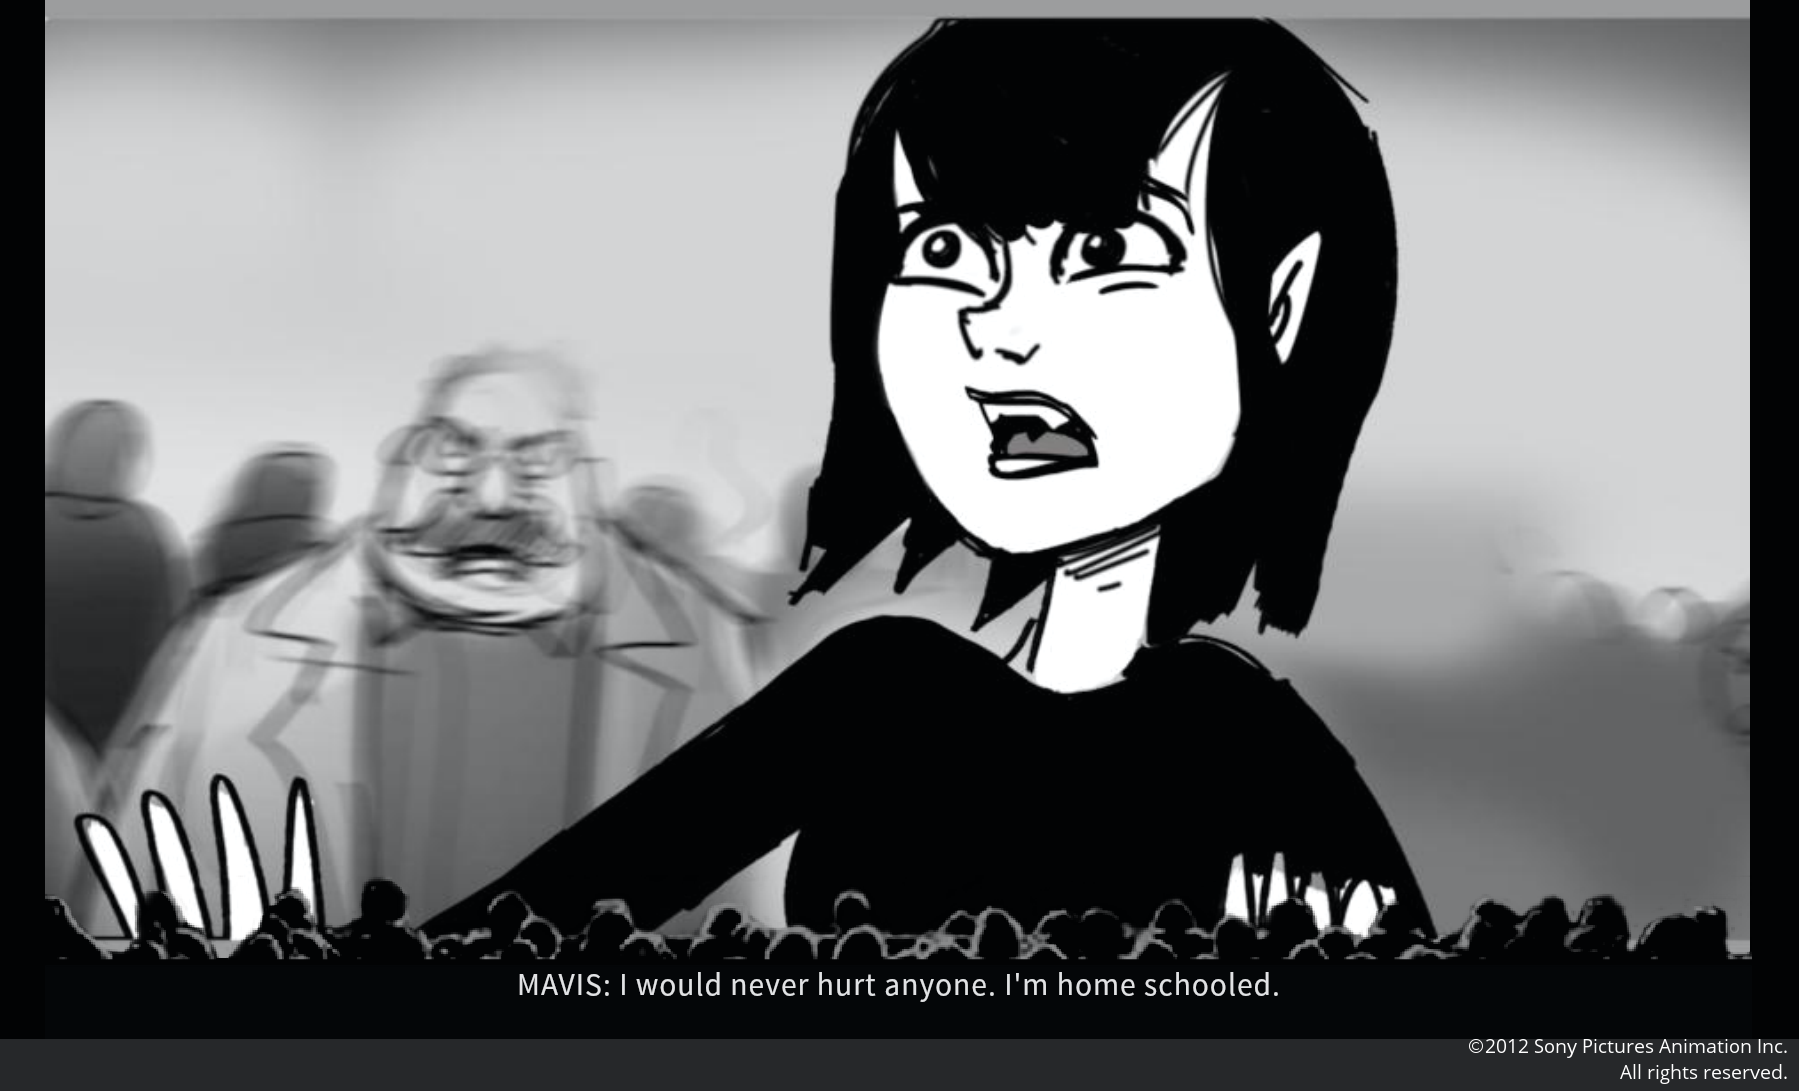
• Press A to add an audience to the Viewer, or
• Press Esc to exit full screen mode.

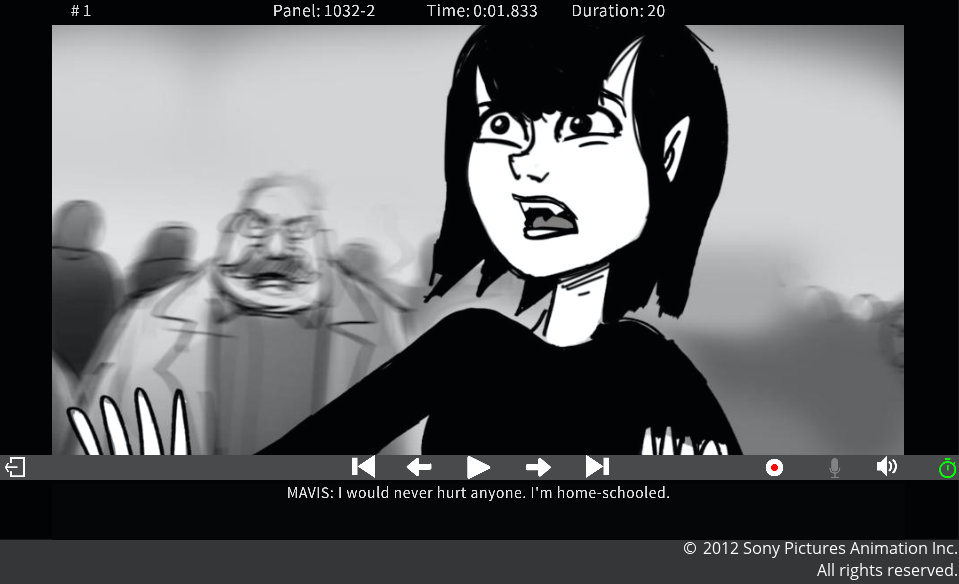
While stepping through the sequence, pressing N toggles the panel ID on or off. If the panel ID is active, it appears in the upper left corner of the screen. However, if the sequence is played through, the panel ID is automatically disabled.
To record panel duration, use the following controls:
• Press the T key to activate the Timer mode,
• Press the R key to start the panel duration recording,
• Press the P key to enable the audio playback while recording panel duration, or
• Press the M key to display the microphones available for recording audio.
Note: For a full list of keyboard shortcuts in Flix 5, please refer to Keyboard Shortcuts.
Editing Panel Duration in Pitch Mode
Flix 5 allows you to edit the duration of the panels by letting you record a new duration for each panel while you pitch a sequence. There are three recording options, you can record without audio, you can also record with the existing audio of the sequence, and you can record with audio to add your own comments for instance.

Recording Duration with No Audio
You can record the duration of each panel with no sound at all.
To record without audio, do the following:
| 4. | Switch to the Pitch workspace and click on Allow to switch to the full screen Viewer. |
The Pitch full screen Viewer is on.
| 5. | Click on the Timer  button in the bottom toolbar or press the T key on your keyboard to activate the Timer mode. button in the bottom toolbar or press the T key on your keyboard to activate the Timer mode. |
The Timer mode is now active, and the recording buttons appear in the toolbar.
| 6. | Click on the Start Recording  button or press the R key to start recording. button or press the R key to start recording. |
The recording starts.
In the red bar at the top of the screen, the Time and the Duration timers are running.
| 7. | As soon as you reach the required duration, either click on the Forward |
Simply by switching to the next panel, you stop the recording for the current panel and start the recording for the next one.
| 8. | Keep recording the duration for each panel until the end of the sequence or click on the Stop Recording  button to stop the recording, then click on the Exit button to stop the recording, then click on the Exit |
The panel duration is now edited.
Note: The No Audio ![]() icon indicates that there is no audio in the sequence.
icon indicates that there is no audio in the sequence.
Note: You can check the new recorded duration of each panel in any other workspace (Edit or Dialogue) in the Viewer Controls pane.
Recording Duration with Existing Audio
You can record the duration of each panel along with the existing audio.
To record with the existing audio, do the following:
| 1. | Switch to the Pitch workspace and click on Allow to switch to the full screen Viewer. |
The Pitch full screen Viewer is on.
| 2. | Click on the Timer  button in the bottom toolbar or press the T key on your keyboard to activate the Timer mode. button in the bottom toolbar or press the T key on your keyboard to activate the Timer mode. |
The Timer mode is now active, and the recording buttons appear in the toolbar.
| 3. | Click on the Enable Audio |
The Audio ![]() icon is displayed in the Timer mode bar at the top of the screen indicating that the audio playback is now enabled.
icon is displayed in the Timer mode bar at the top of the screen indicating that the audio playback is now enabled.
| 4. | Click on the Start Recording  button or press the R key to start recording. button or press the R key to start recording. |
The recording starts.
In the red bar at the top of the screen, the Time and the Duration timers are running.
| 5. | As soon as you reach the required duration, either click on the Forward |
Simply by switching to the next panel, you stop the recording for the current panel and start the recording for the next one.
| 6. | Keep recording the duration for each panel until the end of the sequence or click on the Stop Recording  button to stop the recording, then click on the Exit button to stop the recording, then click on the Exit |
The panel duration, along with the existing audio, is now edited.
Note: The No Audio ![]() icon indicates that there is no audio in the sequence.
icon indicates that there is no audio in the sequence.
Note: You can check the new recorded duration of each panel in any other workspace (Edit or Dialogue) in the Viewer Controls pane.
Recording Duration with New Audio
You can record the duration of each panel along with audio, such as your own voice.
To record with audio, do the following:
| 1. | Switch to the Pitch workspace and click on Allow to switch to the full screen Viewer. |
The Pitch full screen Viewer is on.
| 2. | Click on the Timer  button in the bottom toolbar or press the T key on your keyboard to activate the Timer mode. button in the bottom toolbar or press the T key on your keyboard to activate the Timer mode. |
The Timer mode is now active, and the recording buttons appear in the toolbar.
| 3. | Click on the Select Microphone |
The Selected Microphone ![]() icon turns green in the bottom toolbar and is displayed in the Timer Mode bar at the top of the screen indicating that the microphone is ready to record audio.
icon turns green in the bottom toolbar and is displayed in the Timer Mode bar at the top of the screen indicating that the microphone is ready to record audio.
Warning: When you click on the Select Microphone ![]() button, Flix 5 might not show the list of available devices. To allow Flix 5 to access your microphones, do the following:
button, Flix 5 might not show the list of available devices. To allow Flix 5 to access your microphones, do the following:
1. Click on the Select Microphone ![]() button, in the Microphone list, click on the location where the first device should be displayed, and start recording.
button, in the Microphone list, click on the location where the first device should be displayed, and start recording.
A dialog pops up at the top of your screen.
2. Click on Allow.
3. Stop recording, exit the Pitch mode, and go back to the Pitch mode again.
The Microphone Select Microphone ![]() icon now lists every available microphone.
icon now lists every available microphone.
| 4. | Click on the Start Recording  button or press the R key to start recording. button or press the R key to start recording. |
The Overwrite audio track dialog opens.
| 5. | Click on Start Recording. |
The recording of the duration, along with the audio, starts.
In the red bar at the top of the screen, the Time and the Duration timers are running.
| 6. | As soon as you reach the required duration, either click on the Forward |
Simply by switching to the next panel, you stop the recording for the current panel and start the recording for the next one.
| 7. | Keep recording the duration for each panel until the end of the sequence or click on the Stop Recording  button to stop the recording, then click on the Exit button to stop the recording, then click on the Exit |
The panel duration, along with the newly recorded audio, is now edited.
Note: The No Microphone ![]() icon indicates that there is no microphone on your machine.
icon indicates that there is no microphone on your machine.
Note: You can check the new recorded duration of each panel in any other workspace (Edit or Dialogue) in the Viewer Controls pane.


