Snapping
Snapping in the Hydra Viewer is a new feature of Katana 3.6, allowing you to snap an object's Translate or Center of Interest manipulator to a target location's individual Vertices, Edges, Faces, Center or Object. Snapping can be turned on and off using the Snapping tool button, or by pressing the V key. Snapping can also be turned on temporarily by holding the V key.
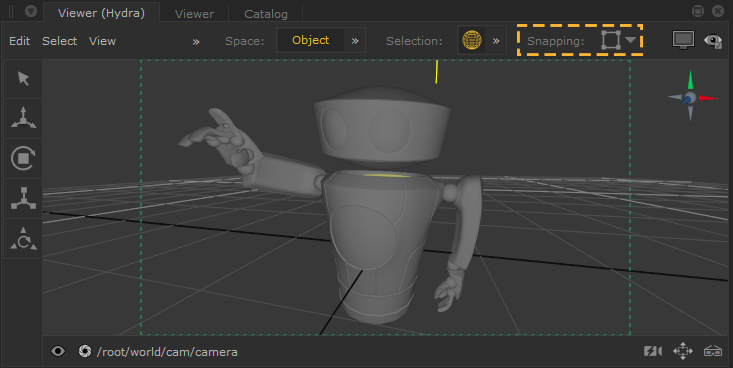
When Snapping is turned on the button appears yellow  , and when turned off the button appears gray
  .
.
Note: The symbol on the button changes depending on the chosen Snapping mode.
When Snapping is activated, this is also indicated on the manipulator handle.
|
|
|
|
Default handle |
Handle with Snapping on |

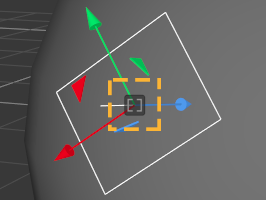
While the object's manipulator snaps to the given position, the onscreen mouse position is indicated by a cross and square brackets, known as the hit area.
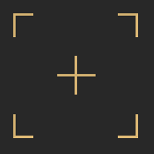
Mouse position
Note: Specify the size of the hit area by going to:
Edit > Preferences > viewerHydra > snapping
The type of snapping can be selected from the dropdown menu. You can use Shift + V to cycle through the available Snapping mode options.

Snapping Modes
|
Symbol |
Mode |
Description |
|---|---|---|
|
|
Vertex |
Snap to individual vertices. The target vertex is outlined and highlighted, in addition to the target mesh's snapping wireframe. Note: Only vertices of front-facing faces are considered.
|
|
|
Edge - Center |
Snap to the center of an edge. The target edge is highlighted in addition to the target mesh's snapping wireframe.
|
|
|
Edge - Slide Along |
Snap to, and slide along an edge. The target edge is highlighted in addition to the target mesh's snapping wireframe.
|
|
|
Face - Center |
Snap to the center of target face. The target face is highlighted in addition to the target mesh's snapping wireframe.
|
|
|
Face - Center - Oriented to Normal |
Snap to the center of a given face and orient the transformed mesh's rotation to point along the normal of the target face. The normal is indicated by a white arrow with a dashed line. The target face is highlighted in addition to the target mesh's snapping wireframe. Note: In Oriented to Normal modes, the OrientAxis and UpAxis can be specified at:
|
|
|
Object Surface |
Snap to the closest point on an object's surface. The target mesh is drawn with an outline, in addition to the target mesh's snapping wireframe being drawn.
|
|
|
Object Surface - Oriented to Normal |
Snap to the closest point on an object's surface and orient the transformed mesh's rotation to point along the normal of the closest face. The normal is indicated by a white arrow with a dashed line. The target mesh is drawn with an outline, in addition to the target mesh's snapping wireframe being drawn. Note: In Oriented to Normal modes, the OrientAxis and UpAxis can be specified at:
|
|
|
Object - Center |
Snap to the center of an object, defined by a bounding box automatically generated by the extents of the geometry. The center is highlighted with a crosshair icon. The target mesh's wireframe is highlighted.
|
|
|
Object Origin |
Snap to the origin of an object. The origin is highlighted with a cross-hair icon. The target mesh's wireframe is highlighted.
|
|
|
Lights, Cameras, and Locators |
Snap to the center of any light, camera, or locator in your scene. Geometry in the scene is be ignored by this mode. The center is highlighted with a cross-hair icon.
|


Note: The color used for drawing the target mesh's snapping wireframe can be customized by going to:
Edit > Preferences > viewerHydra > snapping > wireframeColor