UsdMaterialAssign Workflows
Converting Materials with KatanaToUsd - Example
The KatanaToUsd node allows you to create Geolib materials upstream and convert them over USD. With your materials in USD, you can use a UsdMaterialAssign node to assign these to USD Native meshes. Below is a step-by-step example on how this works:
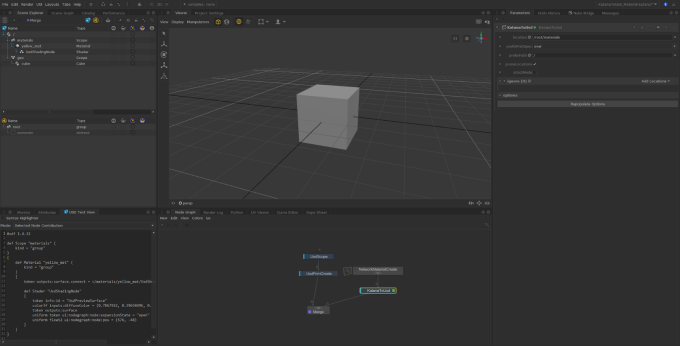
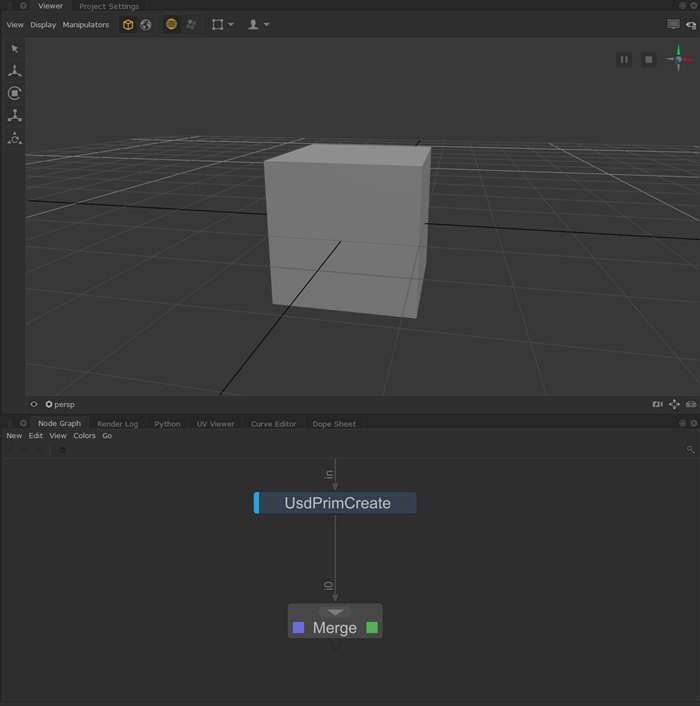
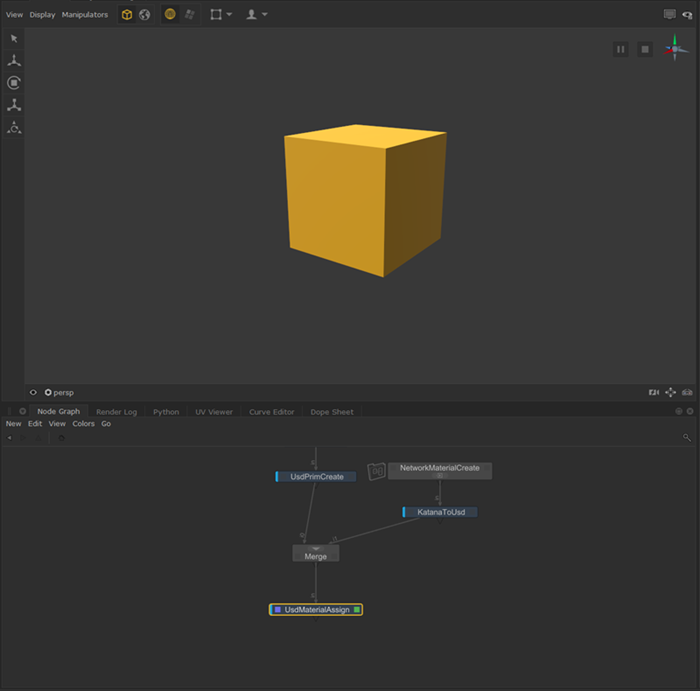
- Let's start off by bringing in our geometry. Here, we are using a UsdPrimCreate node to create a cube in our scene.
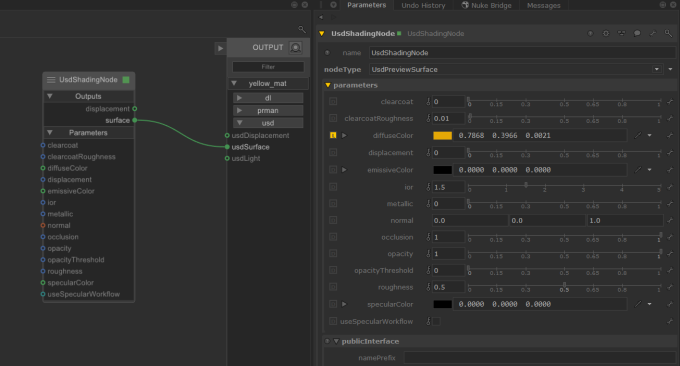
- Next, we can create a material in Katana using the NetworkMaterialCreate node. Open this node and press Shift-Tab to switch to the USD Context. From here, we can hit Tab, and type in UsdPreviewSurface. Change the color to yellow (or any color you’d like) and connect the surface output to the usdSurface input. This should create our yellow material.
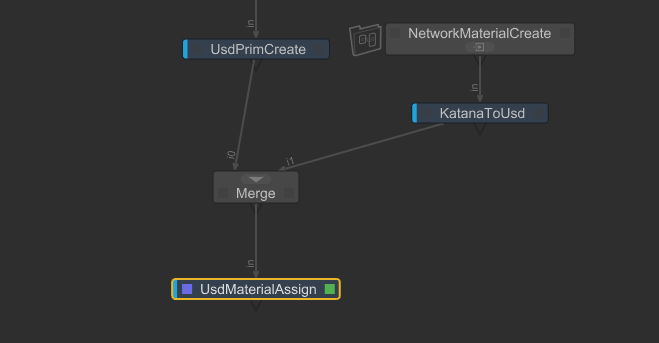
- Jumping up to node level, we can now add a KatanaToUsd node to convert our Materials from Katana data (Geolib) to USD. Set the location to your material location and connect it to the Merge node. For more information on the KatanaToUsd node, see the reference guide page KatanaToUsd.
- With our USD Material ready, we can assign it to our cube. Add a UsdMaterialAssign node and connect it downstream of the Merge node.
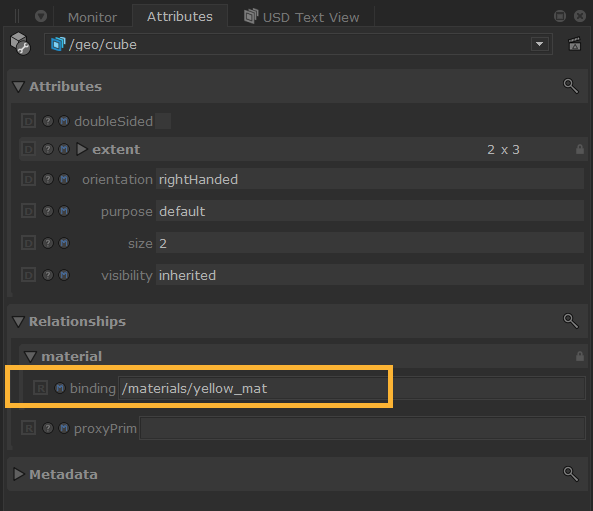
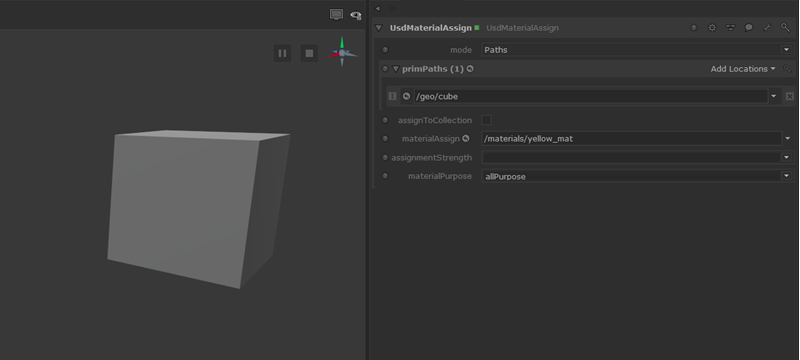
- Set the primPath to the USD mesh primitive you would like to assign your USD material to. In this case, this would be ‘/geo/cube’. Under materialAssign, we specify what material to assign to the mesh. We need to make sure to select a primitive with the material primitive type, which is ‘/materials/yellow_mat’ in our example.
- Set the view flag to the UsdMaterialAssign node and we should see our cube turn yellow! (If it stays grey, this might be because the Basic Material is turned on in the Viewer. To turn this off, in the view tab, go to Display > Basic Material and uncheck it.)
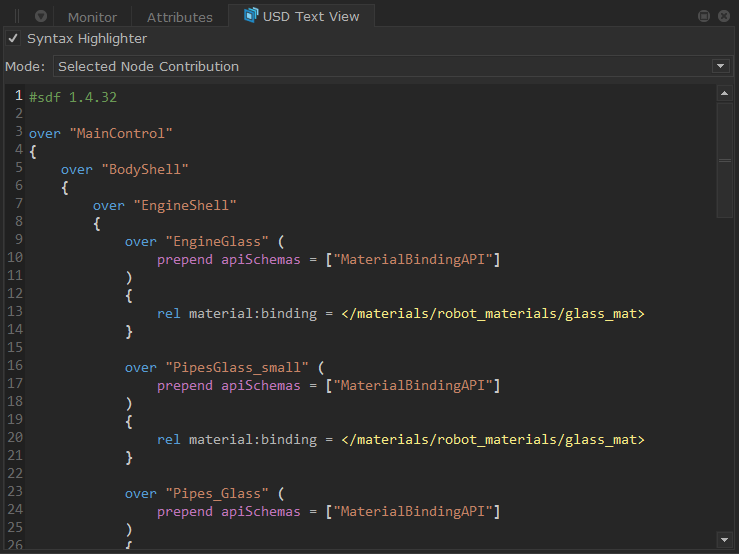
- To understand more about the material assignment in USD, we can use the USD Text View tab to know exactly what the UsdMaterialAssign node is doing to the stage by selecting the node. The material assignment is stored on the mesh primitive.
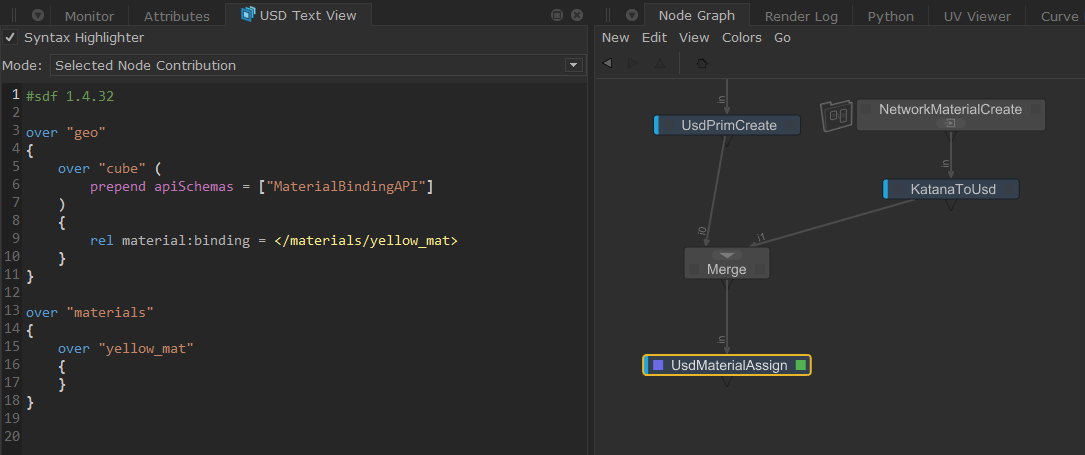
The same information can be found in the Attributes tab when selecting the cube primitive , under Relationships > material > binding.
Incoming USD Files - Example
In our previous example, we showed how to create materials in Katana, convert them to USD and assign them to USD meshes. Next, we’ll have a look at how this would work if you have saved out your scene in separate USD layers, e.g. a layer for the mesh, a layer for the materials, a layer for lights, etc. The assets we’ll be using can be found in the example projects in Katana under Help > Example Projects > Native USD > Native USD Look Dev Example.
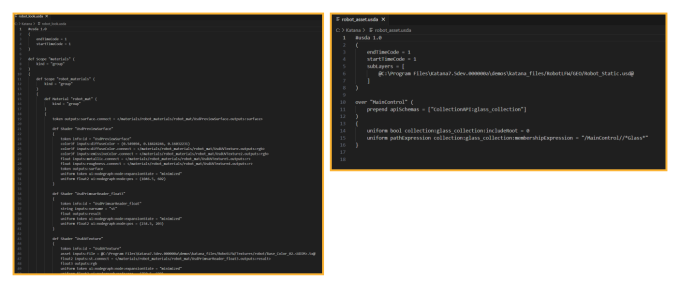
Here's a quick look at the .usda files we are using. Our first file, robot_asset.usda, consists of the robot mesh (which is sub layered in for clarity reasons) and a collection. The second file is solely made up of materials.
- Let’s use the UsdSubLayerAdd node in Katana to get both these files in our scene.
Merge both UsdSubLayerAdd nodes together by selecting them both and hitting "M".
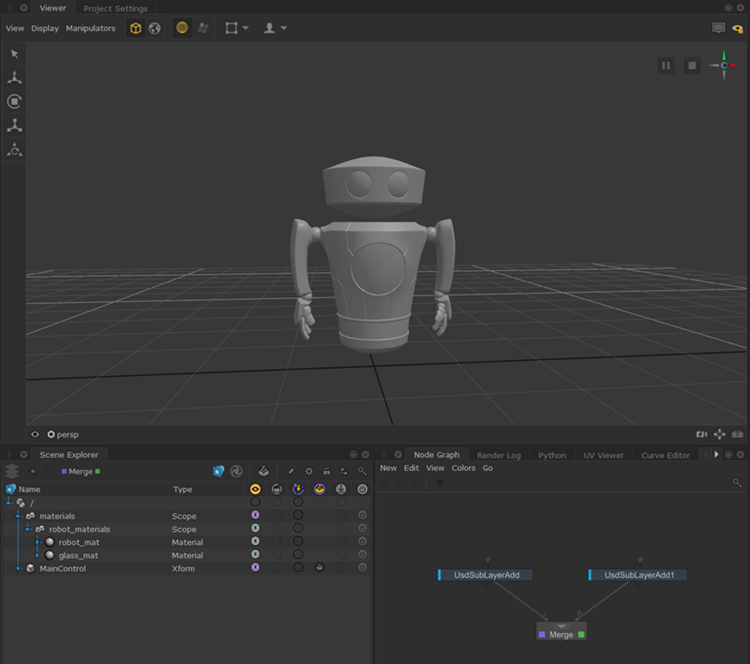
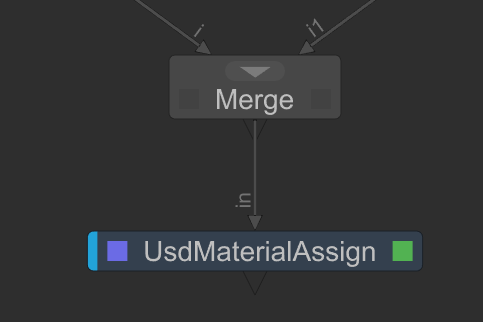
- With our scene populated, we can assign our materials to the robot. First, let’s assign our robot_materials. Start by adding a UsdMaterialAssign and connecting it downstream of our Merge node.
- Highlight the node and specify the mesh you would like your material to be assigned to in the primPaths widget. You can assign the materials to prims, as we saw in the example above.
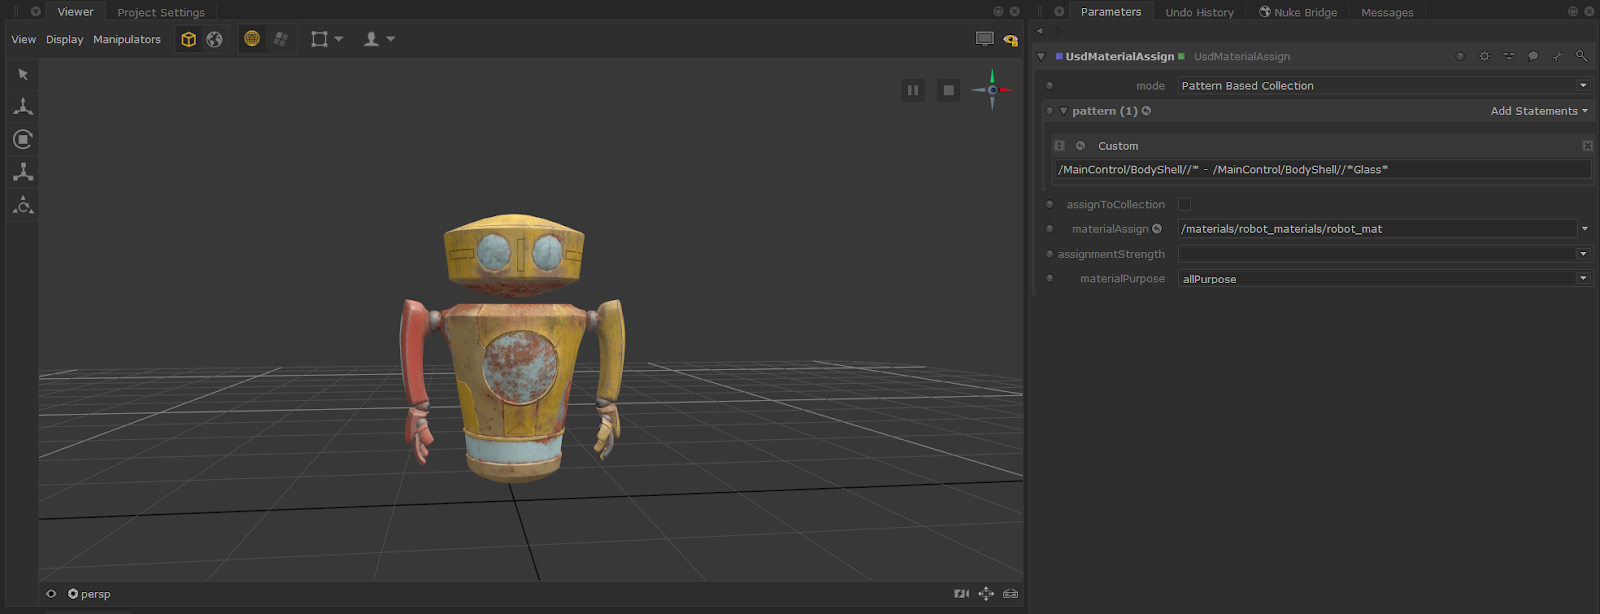
For the purpose of this exercise, we will use Pattern Based Collections to see how you can assign materials based on a set of rules. We want our robot material everywhere, except on the primitive that are made out of glass, which is where our glass material will go. We can do this by using a custom expression to include all primitives, unless it has ‘glass’ in its name. Switch the mode on the UsdMaterialAssign node to Pattern Based Collection. - Under Add Statements, we can select Custom which will allow us to create a custom expression. Insert “/MainControl/BodyShell//* - /MainControl/BodyShell//*Glass*” which translates to “include everything under ../BodyShell, except primitives with the word ‘Glass’ in its name”.
- Now we can assign our material. We’ll drag our robot_mat material into the materialAssign parameter. (If we don’t see it update immediately, that means a Basic Material is being applied in the viewer. Turn this off by unchecking Display > Basic Material in the Viewer.)
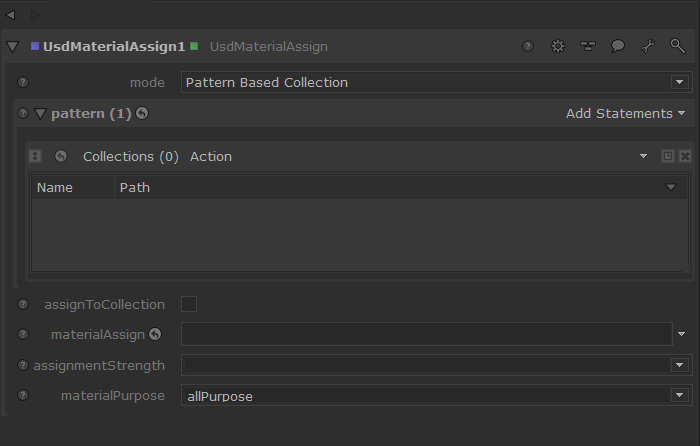
- As you can see, we have some missing sections of the lookdev on our Robot. In this step, we’re going to show another way you can make assignments, using Collections. We’ll use it to assign our glass material to specific parts of the mesh. Add a UsdMaterialAssign node downstream and connect it. Change its mode to Pattern Based Collection and Add Statement.
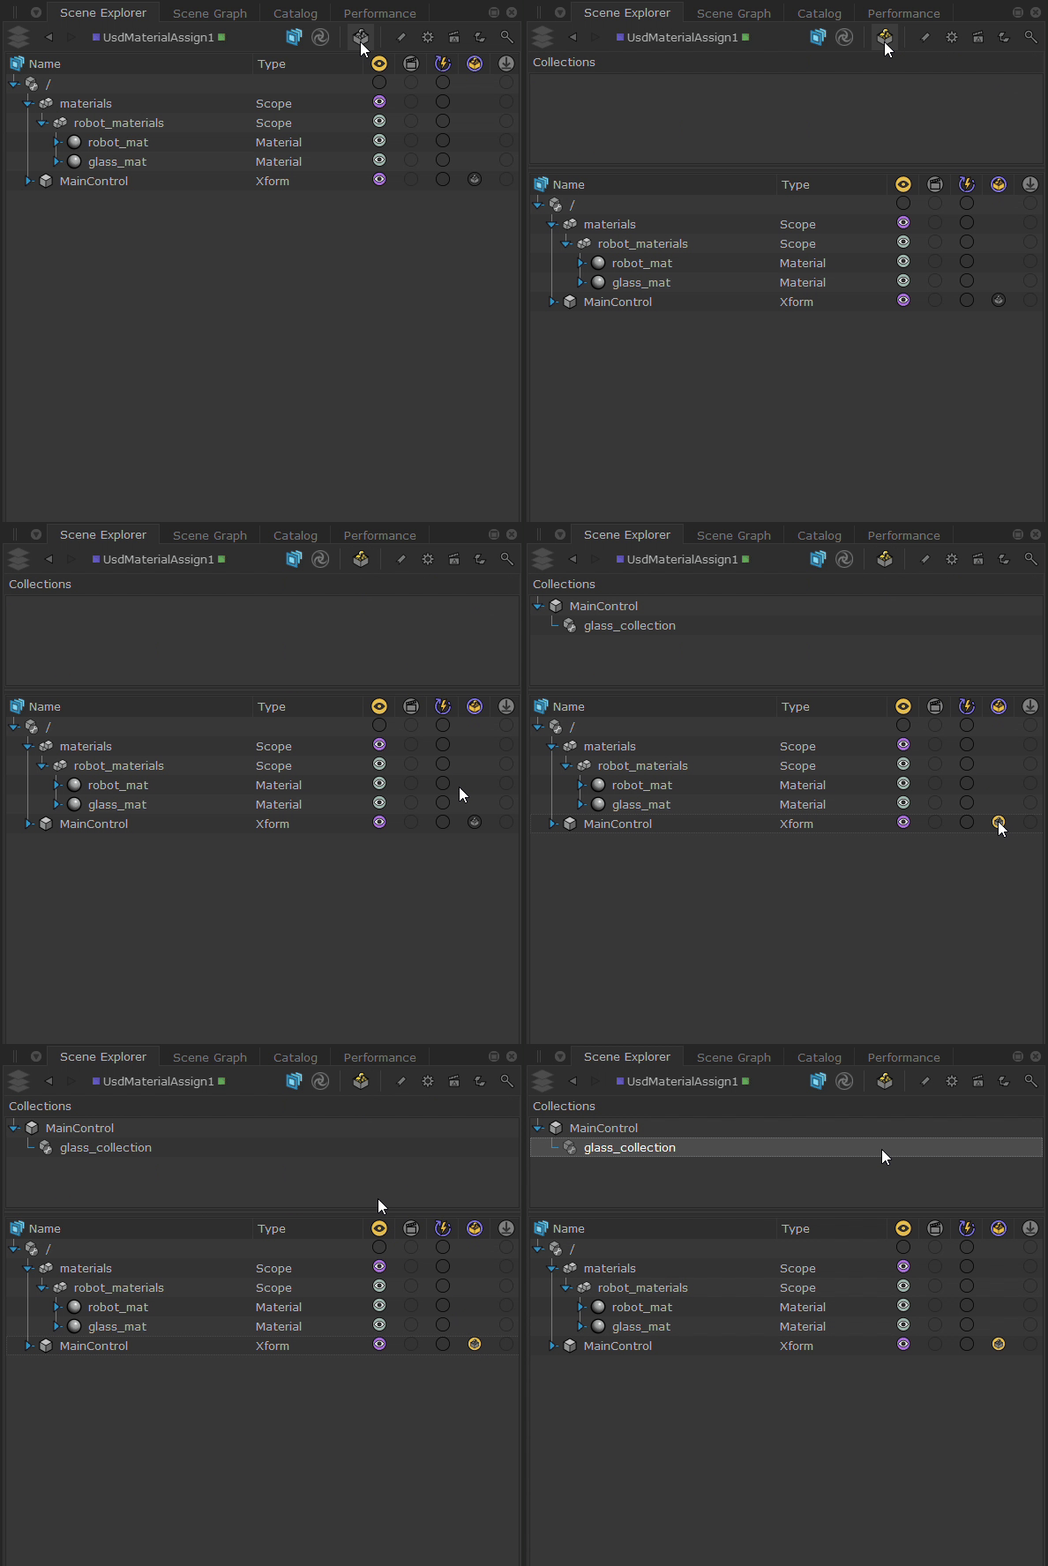
- Open the Collections panel in the Scene Explorer by clicking the Collections Icon. We can choose what Collections to show by enabling the Collections working set on the primitive it is on.
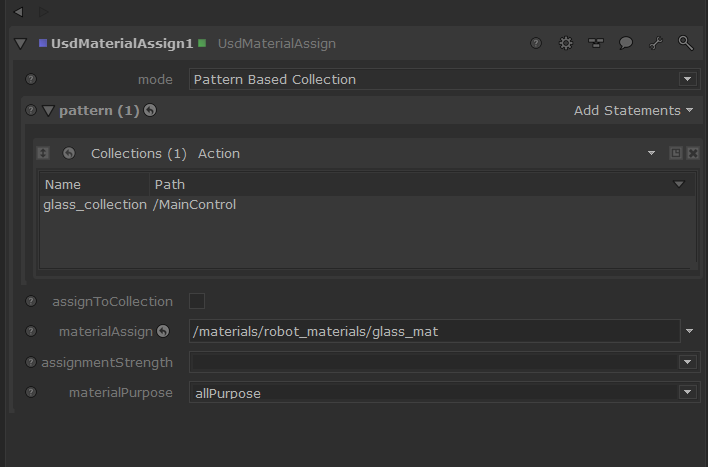
- From here, we can drag-and-drop our glass_collection into the pattern widget and assign our glass material.
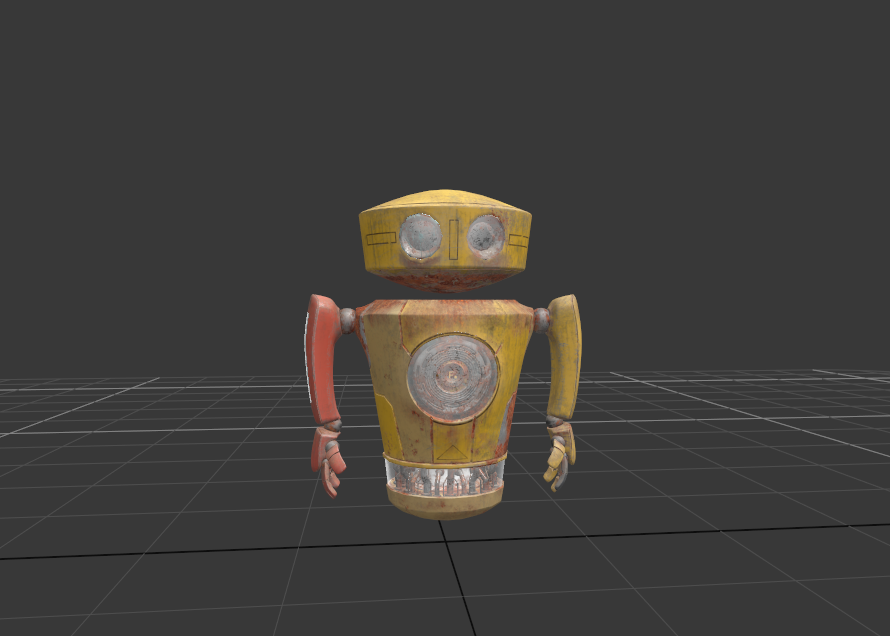
- We can now see both the robot material and the glass material assigned to our robot!
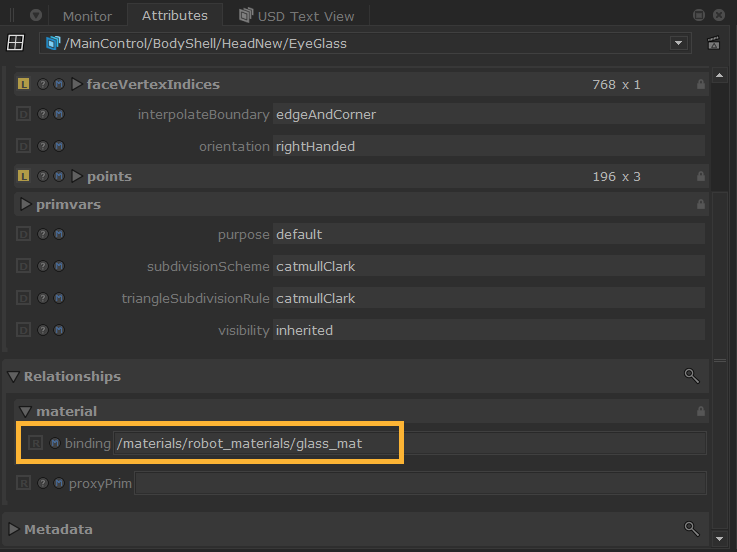
- If we take a look at the Attributes tab with a mesh primitive selected, we can see that our material binding is correctly being created on the mesh. To get a better understanding of what is happening under the hood, we can open the USD Text View tab and select one of the UsdMaterialAssign nodes.
Assigning Materials using PBC


To learn more about statements you can add with PBC, see Pattern-Based Collections with USD.
Materials and Collections
Video: Learn more about how you can make native USD material bindings to assign your USD prims to their materials - Katana 8.0 | Assign USD materials to prims.
Video: Discover how you can utilize KatanaToUsd to convert your existing material networks over to USD - Katana 8.0 | Converting Materials To USD.
