Search is based on keyword.
Ex: "Procedures"
Do not search with natural language
Ex: "How do I write a new procedure?"
Contact Support
Controlling the Way Mari Applies Paint to Your Model
When you paint, Mari saves your painting in a buffer, and then bakes it onto the surface of your model. You can learn About the Paint Buffer and transform paint in the buffer before baking, Masking What You Can Paint On, and apply Paint Blending Modes to control how paint in the buffer blends with what's on the surface when it bakes.
About the Paint Buffer
As you paint, Mari saves the painting since your last bake in the paint buffer. Then, when you bake, Mari saves the paint from the buffer, adds it to the surface underneath, and clears the buffer, ready for more paint.
While the paint is still in the buffer, you can make changes to it. If you don't like what you've done, you can erase sections using the Paint Buffer Eraser tool or just blank the entire paint buffer.
Think of the buffer as floating above the canvas. When you bake, Mari adds the paint to the current layer - but until then you can edit the buffer, move the model around underneath it, or switch to another layer and bake the paint there instead. After baking, you can set your preferences to keep the transformations for new paint you add to the buffer, or automatically reset the buffer to the Mari defaults.
Boundaries
Mari shows the boundaries of the current paint buffer as a white rectangle. By default, the paint buffer is sized slightly larger than the window (that is, it covers everything you can see), so the boundaries are not visible. As you resize it, the boundaries and current details appear.
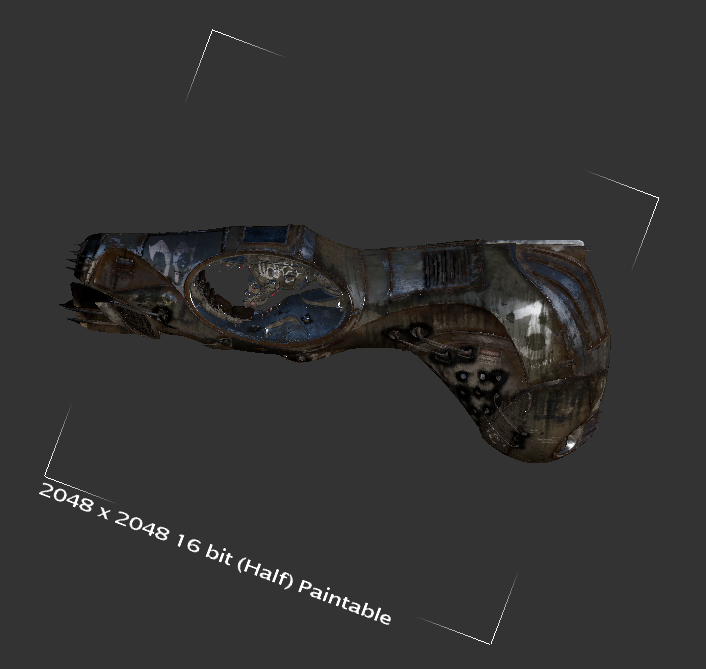
Paint buffer resized and rotated - note that depth and resolution details display underneath.
Depth and Resolution
The paint buffer has a specific color depth and resolution, which controls the color and resolution of the paint as you apply it (rather than that of the patches that you're painting onto). For instance:
• If the paint buffer has a color depth of 8-bit (256 colors), then that's the maximum number of colors that you can use when painting. Even if you're painting onto a patch with a color depth of 16 or 32 bits (65,536 or 16.7 million colors), the paint you're applying only has 256 colors.
• If the paint buffer has a resolution of 512x512, the total buffer as it appears on-screen has that resolution. Anything you paint in the buffer is at 512x512. Any patch with a higher resolution still only receives the paint at 512x512.
On the other hand, it's also true the other way around. If you're painting onto a 512 x 512 patch with 8-bit color, using a buffer at 1024x1024 and 16-bit color, Mari still saves the patch at 512x512 8-bit. The advantage to using a paint buffer with higher quality than the resulting patches is that you can “overpaint” and use the higher quality texture and color depth to ensure good results. You can use this to help smooth out transitions between colors (preventing stepping), or to ensure that your textures are sharp (that is, at the maximum resolution for the patch).
About Masking
Within the buffer, you can control the paintable area. Mari lets you mask areas on the model. Areas covered by the mask can't be painted on. It's the electronic equivalent of putting masking tape over something you don't want to paint when you're repainting a wall.
Mari includes the following mask types:
• ambient occlusion mask
• depth mask
• backface mask
• fractal noise mask
• a configurable edge mask, which masks the areas on the model that are oblique to the current view, and
• a channel mask, where you create a channel for masking, paint in it, and use it to control where you can paint on another channel.
About Blend Modes
When you bake the paint buffer, Mari (by default) adds the contents of the buffer to the surface of the layer below. If you prefer, you can set the buffer to use any one of a number of other blend modes. These correspond to the layer blending modes used in 2D graphics programs such as Photoshop® or GIMP.
The default is for Mari to add the contents of the buffer to the surface. Other blend modes available include varieties of:
• painting the numeric difference between the buffer and the existing surface
• using the contents of the buffer as input for a dodge or burn on the surface
• using the contents of the buffer as input for a hard-light application on the surface.
For example, here's the same paint splash in different blend modes:
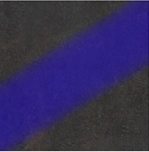
|
|
| Default (over) mode. | Burn Midrange mode. |
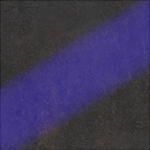
|
|
| Screen mode. | Difference mode. |
Note: See Paint Blending Modes for details of all the blending modes available.