Search is based on keyword.
Ex: "Procedures"
Do not search with natural language
Ex: "How do I write a new procedure?"
Contact Support
Importing a Sequence of Files
If your patches have a consistent naming/numbering system, you can import them as a sequence.
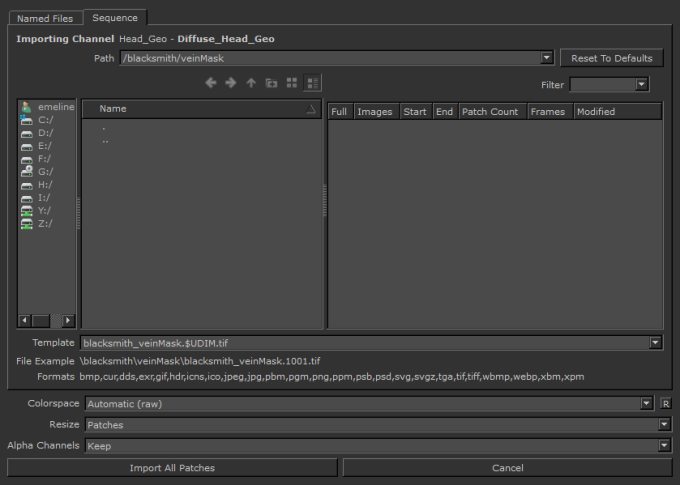
| 1. | Click on the Sequence tab. |
The tab shows all the patches on the object.
Note: The Named files tab does not display if your model contains more than 20 patches.
| 2. | Enter the location of the files to import in the Path field. |
Note: This isn’t the name of the files themselves. It’s the name of the directory in which the sequence of files exists.
You can either:
• enter the full path to the directory containing the files (or pick from the dropdown), or
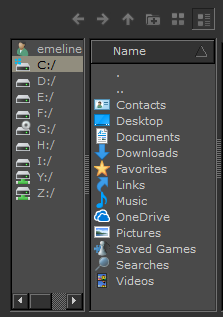
• use the navigation controls to navigate to the directory:
| 3. | When you've selected the path, the file area shows all the existing image sequences under that path. |
| 4. | You can use the Filter field to narrow down the list of textures shown. Enter filter text, and the display updates to only show the textures with that text in their name. |
| 5. | Set a Template for Mari to use when gathering the names of images in the selected sequence. |
You can either:
• Edit this line manually. As you edit, the File Example updates with the name of an example file in the sequence.
• Click on an existing set of images in the main list. The Template automatically populates with the
corresponding values.
If you edit the line manually, you can use any of the following variables, which Mari replaces with the appropriate values when it imports the images:
• $ENTITY - the name of the object.
• $CHANNEL - the name of the channel.
• $LAYER - the name of the layer.
• $NODE - the name of the node.
• $UDIM - the UDIM patch value.
• $FRAME - the animation frame number.
• $NUMBER - the number of the file within the batch (for example, “$NUMBER of $COUNT” gives strings like “22 of 28”).
• $COUNT - the total number of files in the channel.
• $[METADATA VALUE] - any user-defined variables (for example, if a patch has a user attribute called “PROJECT”, with a value of “Project1”, Mari replaces the variable “$PROJECT” with “Project1”).
Note: For more information on how the UDIM patch values are allocated, please see the section on Using UDIM Values.
Note: If you choose to import a layered .psd file, layers are imported directly into the selected channel. If attempting to import layers with the same name, Mari asks whether to update the layers or create new ones. You can now set resize details and import the textures.
| 6. | Set the Colorspace in which you want to export the data. By default, Mari selects Automatic, which is determined by the file name, size, and type of data in the channel. |
| 7. | Set how Mari handles patch/image size mismatches in the Resize field. You can select either to resize the Images to match the patches, or to resize the Patches to match the images. |
| 8. | In the Alpha Channels field, choose to either Keep or Remove the alpha when importing channels. This can help decrease the resulting file size when exporting. |
| 9. | Click Import All Patches to import the textures or, if at least once patch is selected, this appears as Import Selected Patches. |
Mari imports the images and loads them into the layer stack of the selected channel.