Search is based on keyword.
Ex: "Procedures"
Do not search with natural language
Ex: "How do I write a new procedure?"
Color Switch Node
Access: Nodes > Filter > Color Switch
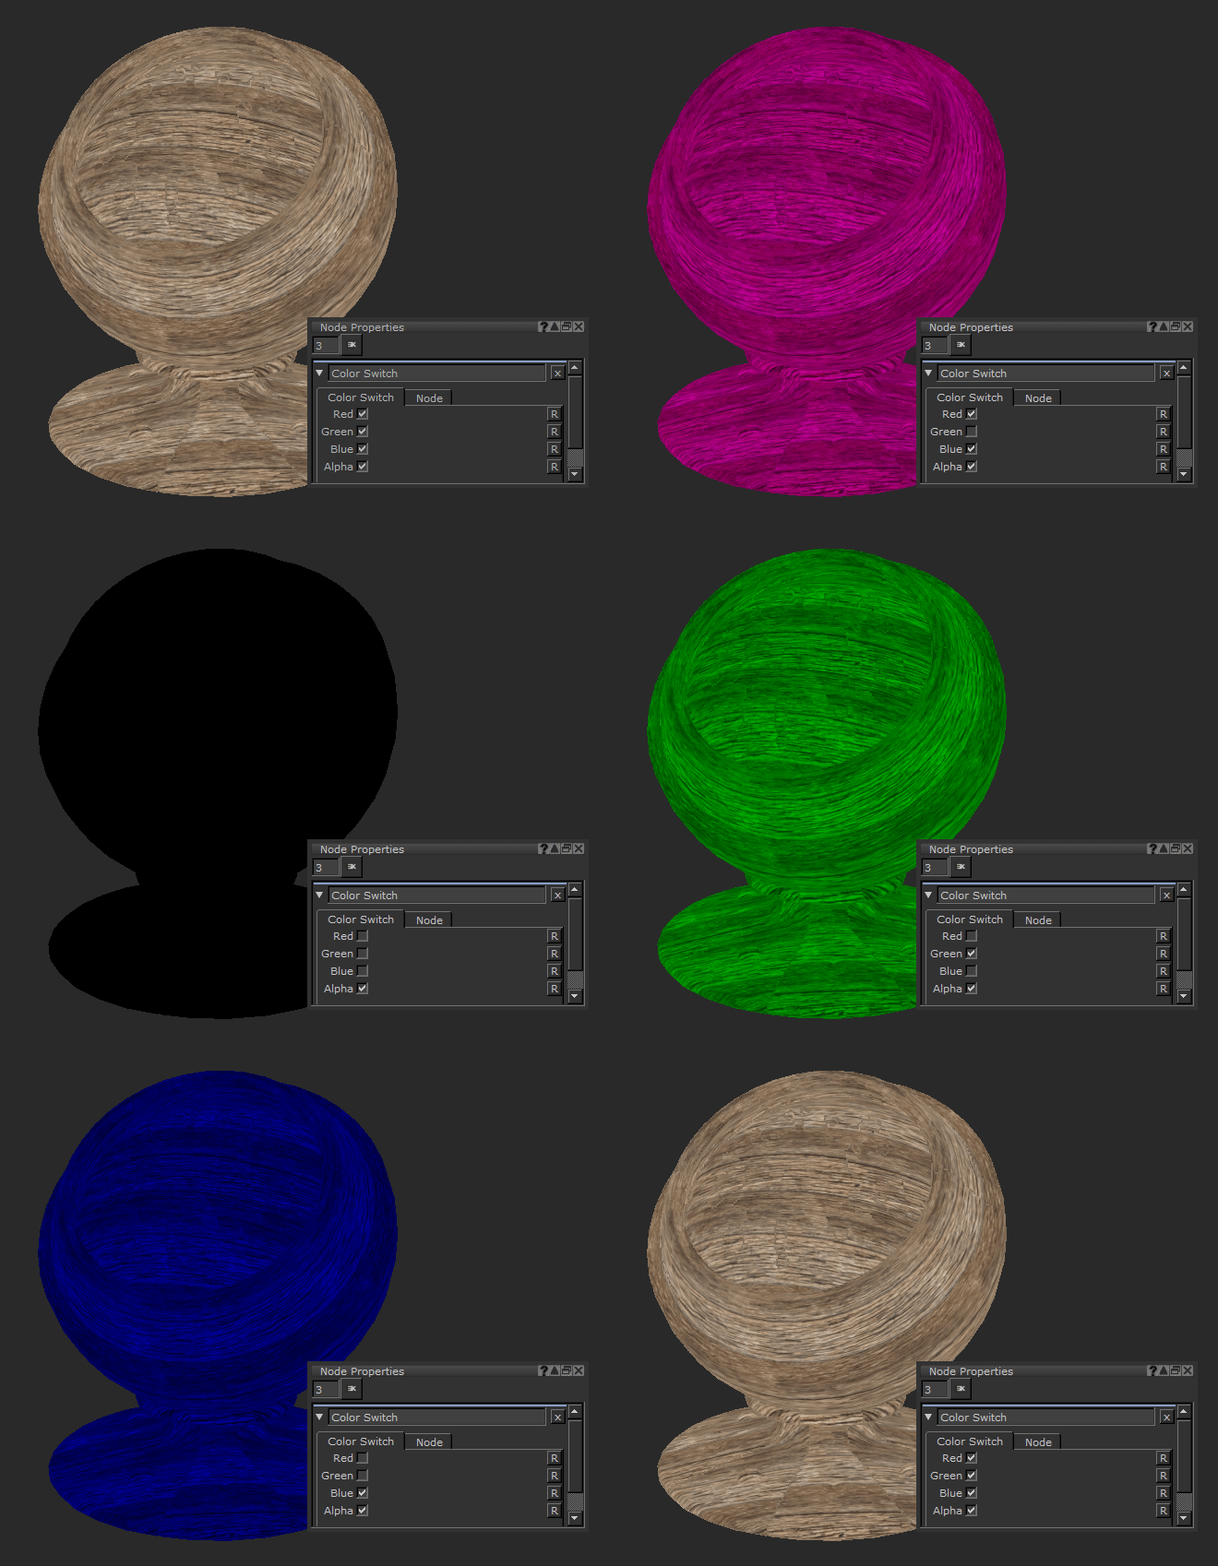
The Color Switch node allows you to switch channels on and off, removing them from the output. This is useful if you have images that you want to display in single channel. For example making a mask just red, green, or blue, so you can combine multiple channels into a single texture.
Enabling and disabling channels of a Tiled node with a Color Switch node.
Color Switch Node Inputs
Input: Removes color channels from the input.
Color Switch Node Properties
|
Red, Green, Blue, Alpha Checkbox |
Enabling or disabling the checkboxes determines which color channels you want to keep and remove. By default the all channels are enabled. |
Color Switch Node Workflow Example
Color Switching Masks into a Single Texture
One use of the Color switch node is packing multiple masks into a single image. Some pipelines require ‘channel packed’ masks and other grayscale images to optimize scene performance.
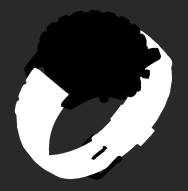
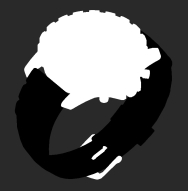
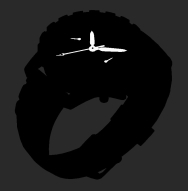
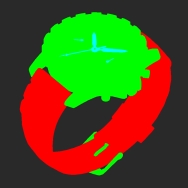
The example shows three masks from a watch asset that need to be output for render IDs. There is a mask for the rubber strap, a mask for the metal of the watch, and the third mask is the clock hands. Masks for different areas enable look development artists to tweak different parts of an object or render.
|
|
|
|
To pack these masks into a single image, you need to put the three grayscale images into the R, G, and B channels of an image. Using a Color switch node allows you to do that.
The Color switch node allows you to strip out the channels of an image you don’t need, leaving you with a single color that you can blend together.
Using a Color switch node means you can turn each mask into pure red, green, and blue, and then merge them together. You need two merge nodes in order to achieve this, both with the blend Mode set to Add. The values of the Base and Over inputs are added together and produce this result:
Since the inputs are only in a single channel when this map is exported and used for Render, you can split the channels out in your shader setup, using either the R, G, or B of the image for different masks. You can achieve this with any single-channeled map, such as Bump, Specular Roughness, or Metallic maps.
To see how to deconstruct a channel packed texture, see the Shuffle node.
Related Nodes
Sorry you didn't find this helpful
Why wasn't this helpful? (check all that apply)
Thanks for your feedback.
If you can't find what you're looking for or you have a workflow question, please try Foundry Support.
If you have any thoughts on how we can improve our learning content, please email the Documentation team using the button below.
Thanks for taking time to give us feedback.
