Search is based on keyword.
Ex: "Procedures"
Do not search with natural language
Ex: "How do I write a new procedure?"
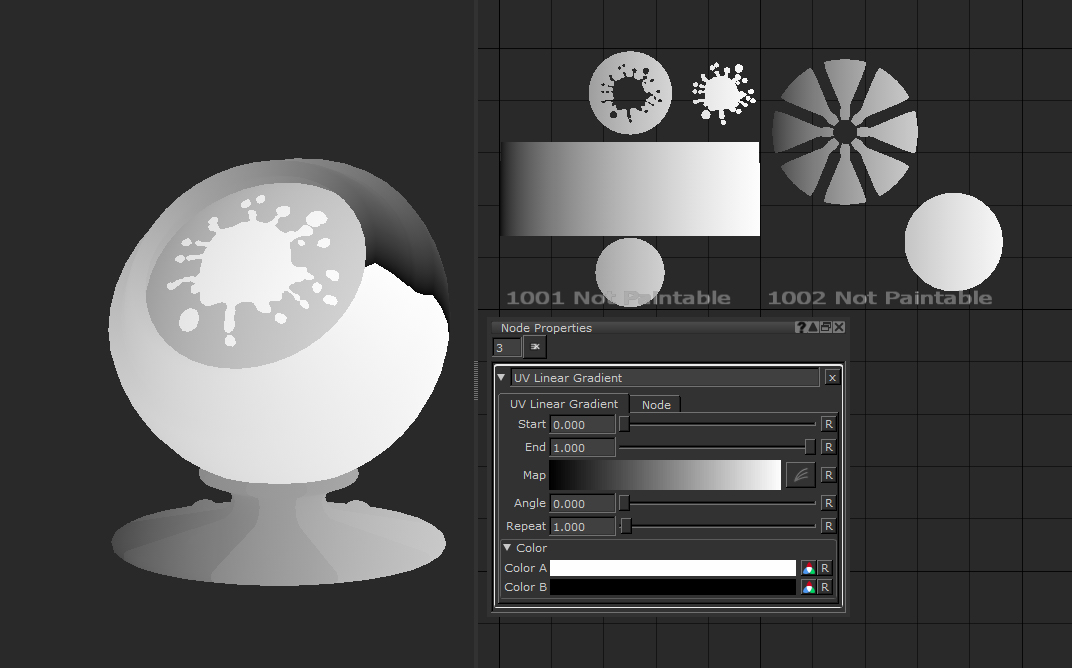
UV Linear Gradient Node
Access: Nodes > Procedural > Pattern > UV Linear Gradient

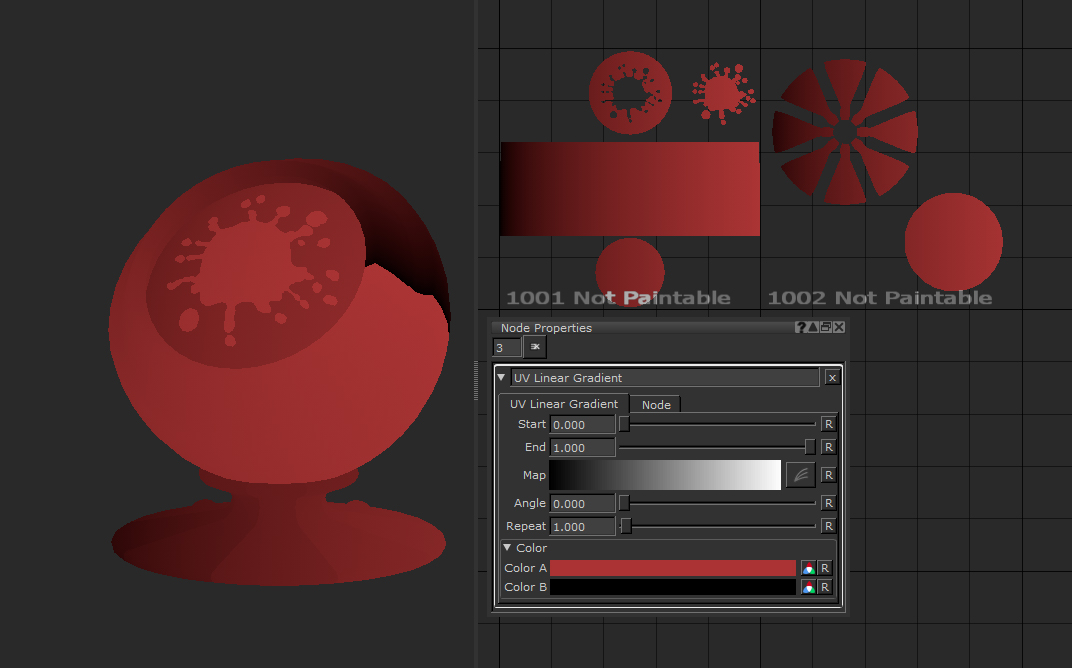
UV Linear Gradient default settings on the Shader Ball.
The UV Linear Gradient node is a great way to applied graduated colors across your objects. The node gives you a lot of options to change the result and it is a really handy node for creating quick masks based on the way your objects UVs have been laid out. By editing the properties you can make looser or tighter gradients and with the provided ramp options you can add extra levels of fidelity to the output.
UV Linear Gradient Node Properties
|
Start text field, slider |
Changes the UV location of the start of the gradient. 0 is the edge of your mesh’s dimensions. Increasing it causes the start point to move further along your UVs. The slider has a cap of 0 but you can type in minus numbers to push it further away, stretching out the gradation.
Default is 0. |
|
End text field, slider |
Changes the UV location of the end of the gradient. 1 is the edge of your mesh’s dimensions. Decreasing it causes the start point to move further along your UVs. The slider has a cap of 1 but you can type in larger numbers to push it further away, stretching out the gradation.
Default is 1. |
|
Map Curve editor |
By clicking the curve editor icon you can change the curve of the gradient instead of it being a linear 0 to 1 ramp.
Default is a black to white linear gradient. |
Colour
|
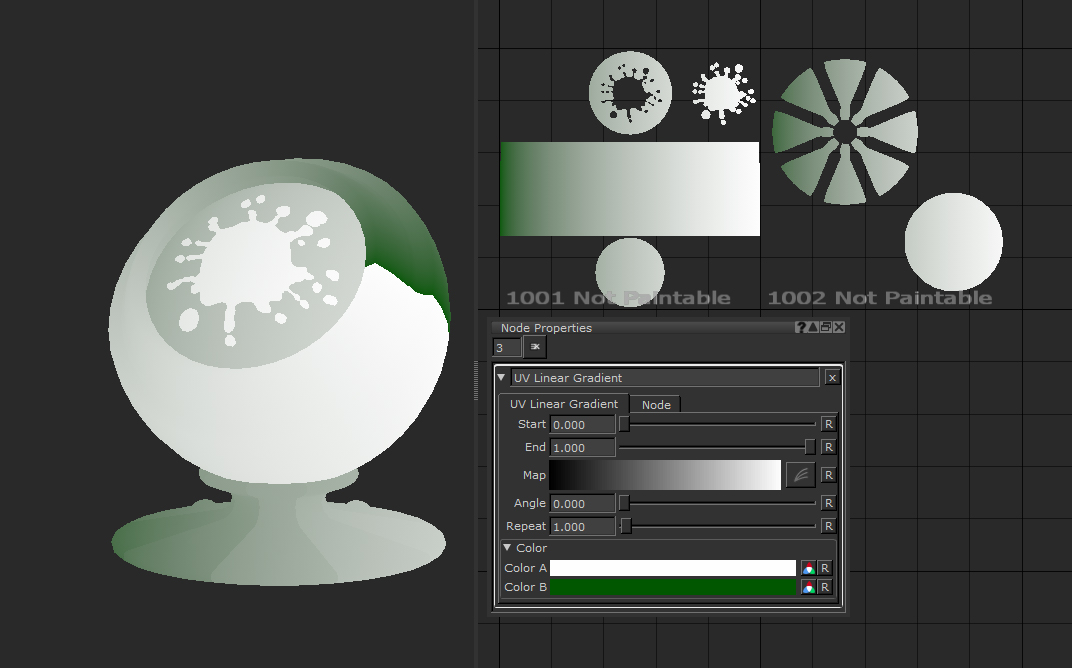
Color A |
Changes the start color of the gradient.
|
||||
|
Color B |
Changes the end color of the gradient.
|
Related Nodes
Sorry you didn't find this helpful
Why wasn't this helpful? (check all that apply)
Thanks for your feedback.
If you can't find what you're looking for or you have a workflow question, please try Foundry Support.
If you have any thoughts on how we can improve our learning content, please email the Documentation team using the button below.
Thanks for taking time to give us feedback.