Search is based on keyword.
Ex: "Procedures"
Do not search with natural language
Ex: "How do I write a new procedure?"
Wood Node
Access: Nodes > Procedural > Plant > Wood
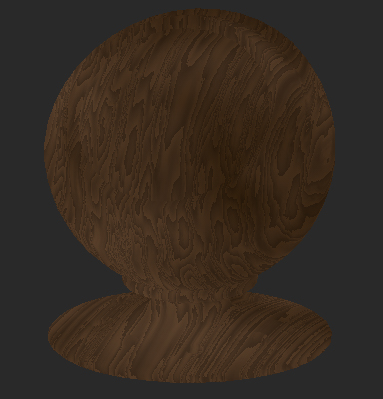
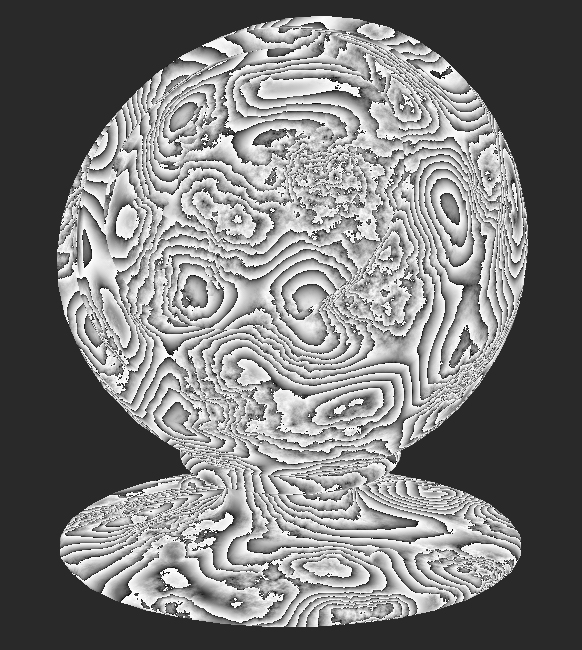
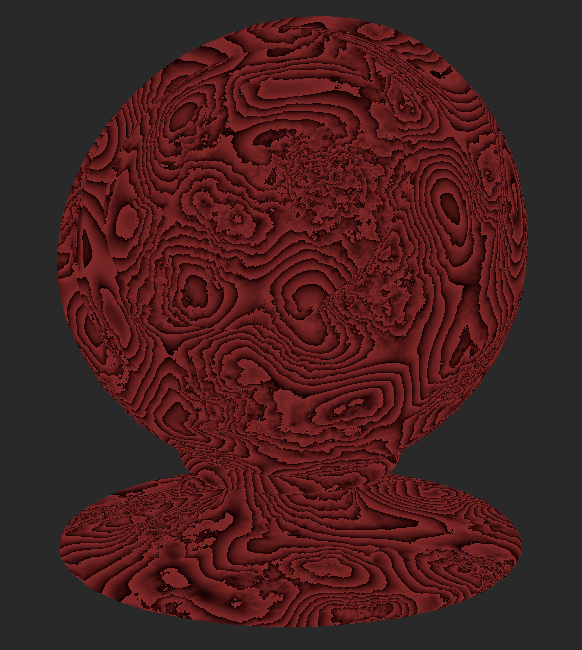
A procedural wood texture built using the Wood node as the base node.
The Wood node is a procedural noise which emulates the grain of wood. It is a powerful procedural noise and has quite a few options to help you get the exact result you are after.
While creating a wooden effect is the most obvious use of this node, due to its striated nature it can be a great way to create other effects such as emulating layers of rock on a cliff texture or ripples in a sandy floor.
It is also useful for merging in organic detail to textures or masks. Since it uses 3d space by default, if an object is updated, even if the UVs are changed, the noise is still applied in a similar manner causing no repainting to be needed.
Wood Node Inputs
Position: The node works in a 3d space, but by adding a node to the Position input you can manipulate how the wood noise is applied. Other nodes could be the UV node to use a UV space rather than 3D space, or the position node.
Wood Node Properties
|
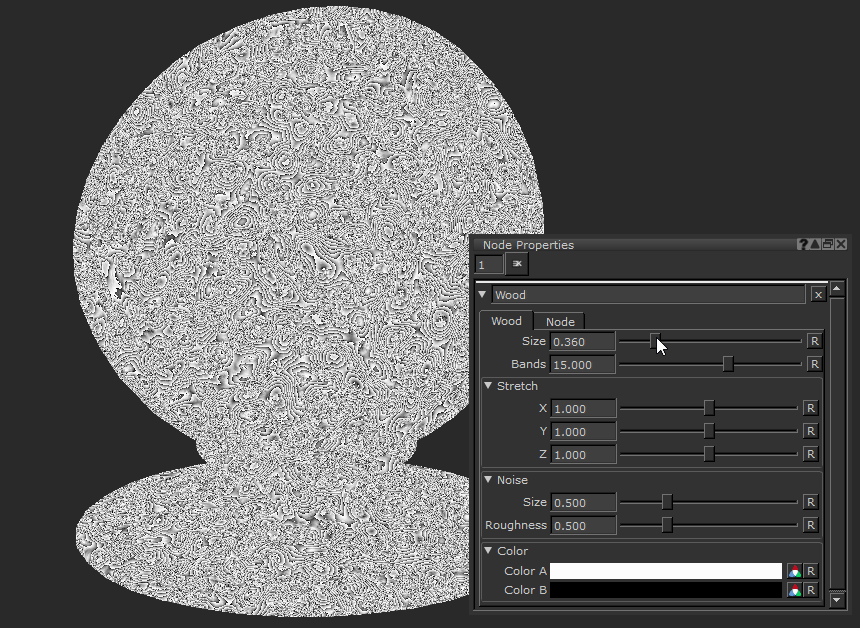
Size text field, slider |
Changes the pattern frequency of the overall noise.
Default is 0.5. |
||||
|
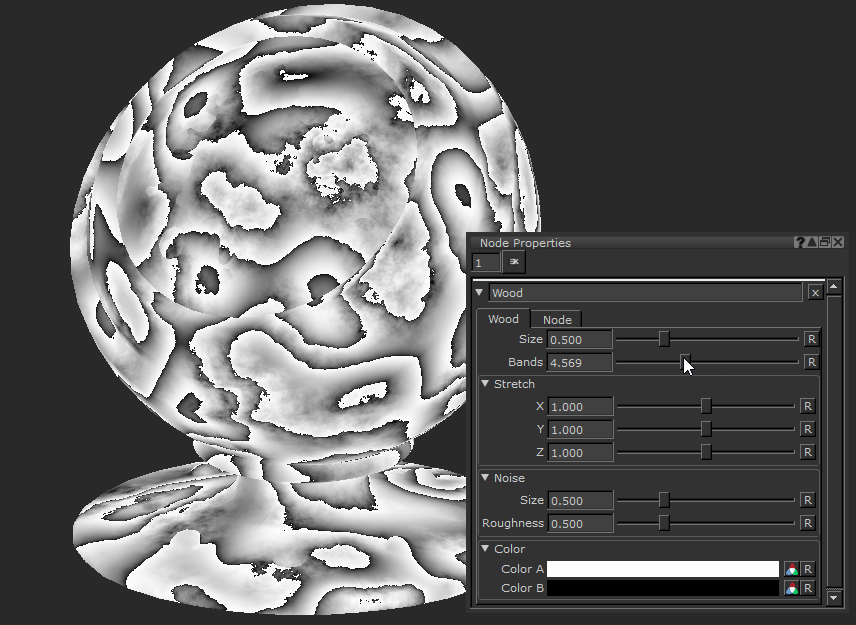
Bands text field, slider |
Changes the number of wooden rings and bands in the noise. Raising this number creates more frequent wood ring effect.
Default is 15. |


Stretch
|
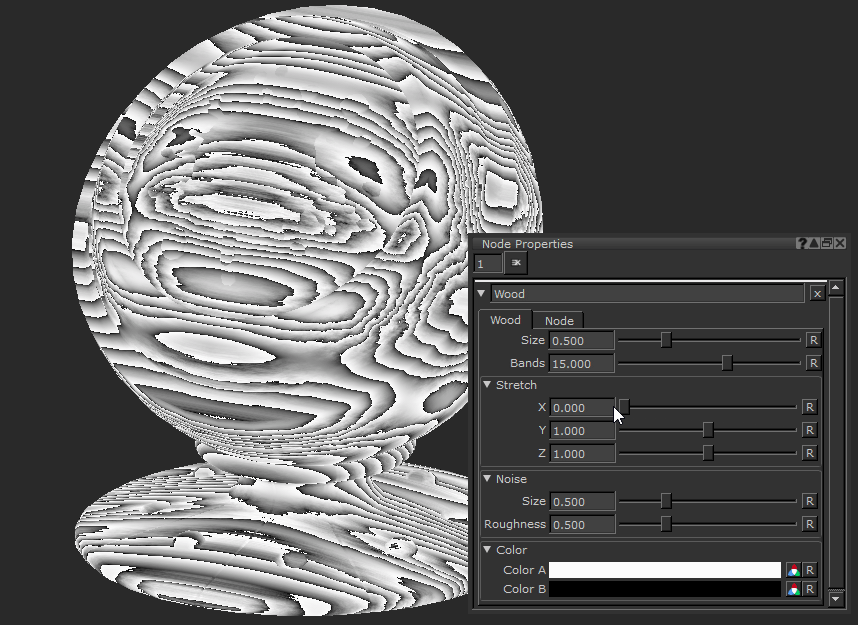
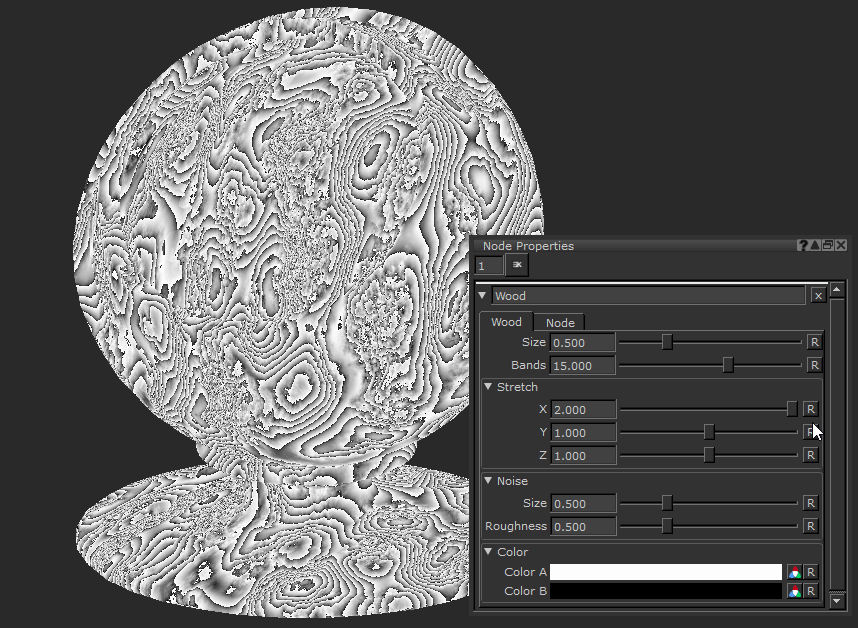
X text field, slider |
Changes the pattern scale in the X axis. Raising the value creates a more squashed up pattern whereas lowering it stretches it along the X axis.
Default is 1. |
||||
|
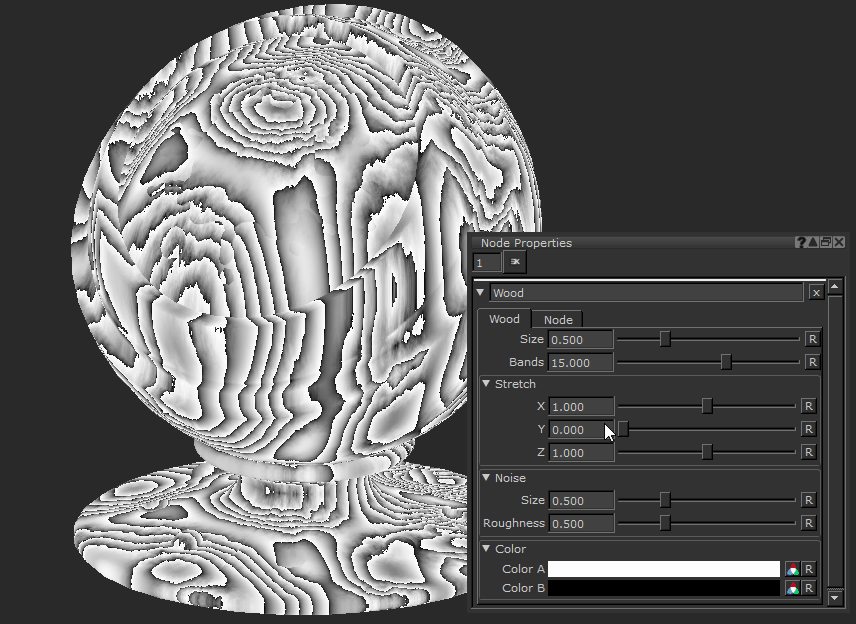
Y text field, slider |
Changes the pattern scale in the Y axis. Raising the value creates a more squashed up pattern whereas lowering it stretches it along the Y axis.
Default is 1. |
||||
|
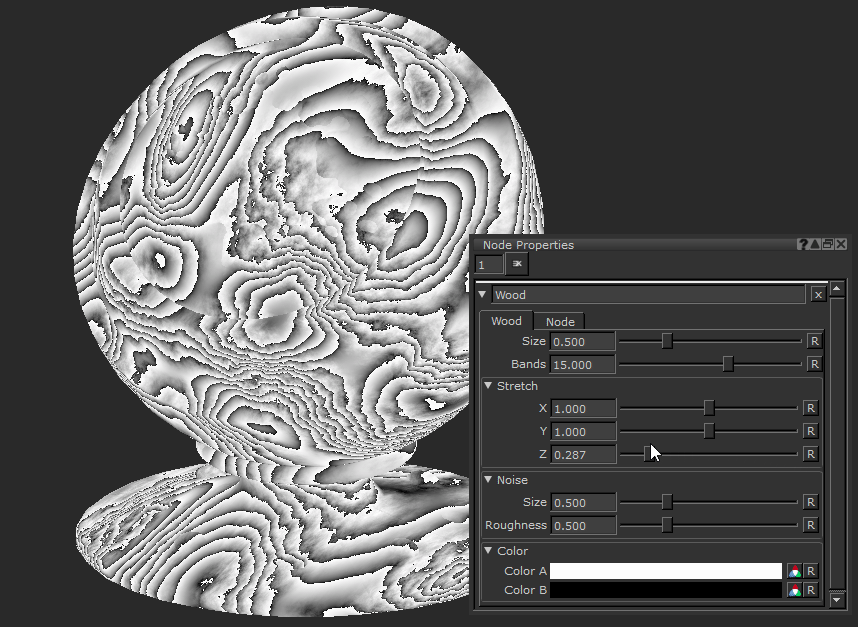
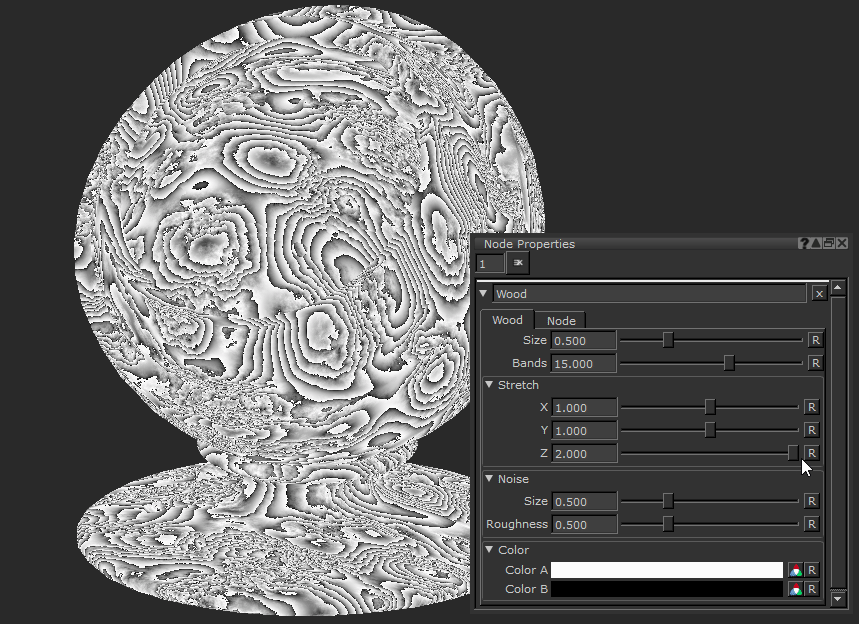
Z text field, slider |
Changes the pattern scale in the Z axis. Raising the value creates a more squashed up pattern whereas lowering it stretches it along the Z axis.
Default is 1. |

Noise
|
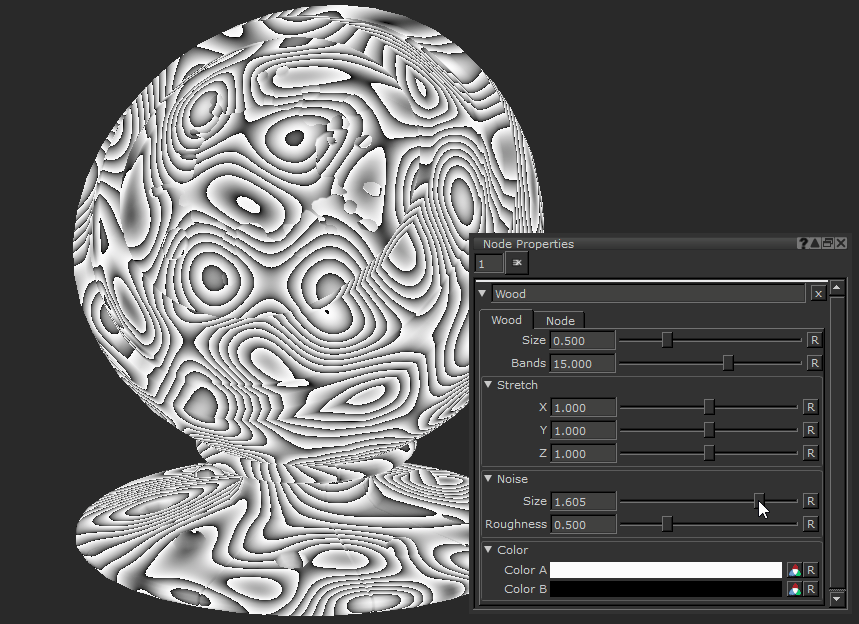
Size text field, slider |
Changes the pattern frequency of the noise through the bands.
Default is 0.5. |
||||
|
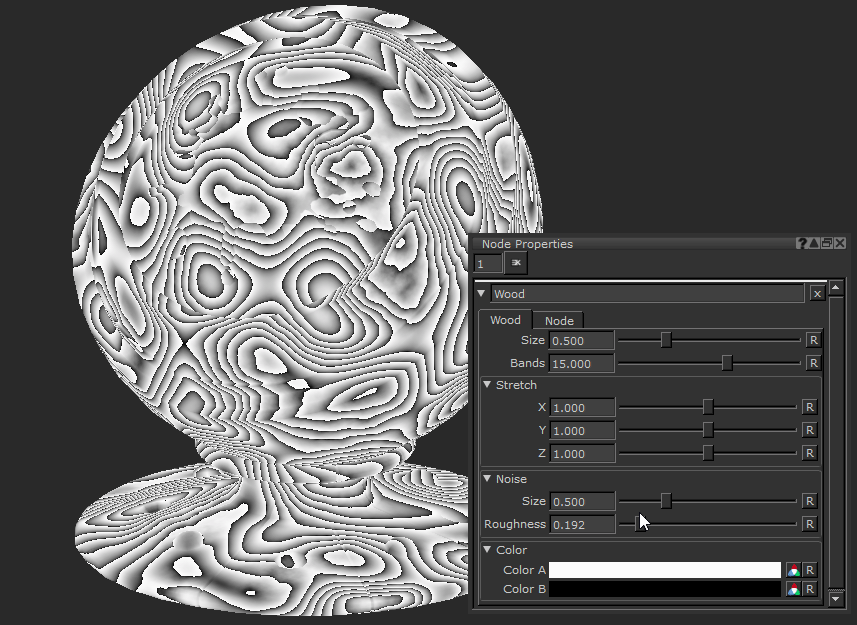
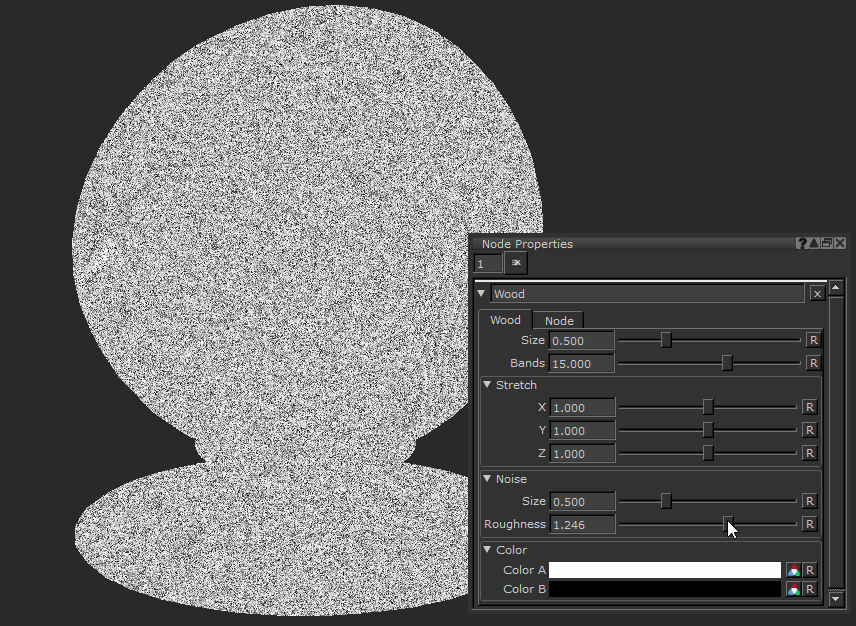
Roughness text field, slider |
Changes how granular the noise gets through the procedural.
Default is 0.5. |

Color
|
Color A |
Changes the first color of the noise.
|
||||
|
Color B |
Changes the color on top of Color A.
|
Wood Node Workflow Example
Creating a Quick Procedural Wood Texture with the Wood Node and Other Noises
Using noises is a great starting place to create procedural texture graphs. Since they don’t rely on UVs, just 3d space, if your model needs a different UV layout or gets new geometry added it doesn’t matter, the textures remain the same. Also you can share your nodes across multiple assets regardless of their UVs.
In this example we’re going to create a quick node based wood color texture that can be used on any asset as it is procedural.
First, place down the Wood node. This is going to be the base of the texture.
By adjusting the properties you can make the grain of the Wood node stretch out in any axis, and by playing with the noise options you can either make a smooth looking wood or a gritty old style grain. By reducing the black of Color B to a lighter gray, the final result is going to be less contrasted like the wood grain of a polished table top.
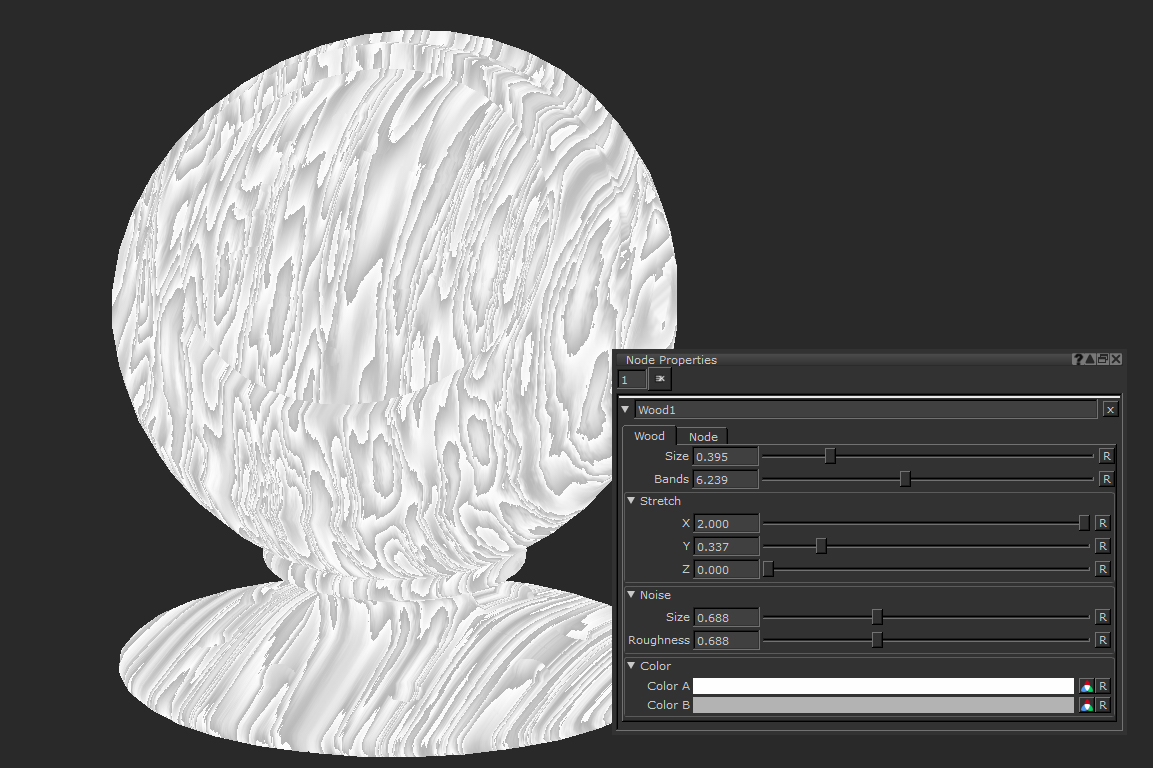
This node informs the pattern of the wood grain.
From here we want to add some color. While we could change the Color properties of the Wood node, by using a Merge node with a different procedural you give yourself more space to add variety. A cloud node is a great node for getting soft variation over a large area. By dropping one down and reducing the Roughness you get soft changes in color. Let’s also chose some colors closer to wood.

This node informs the color of our wood texture.
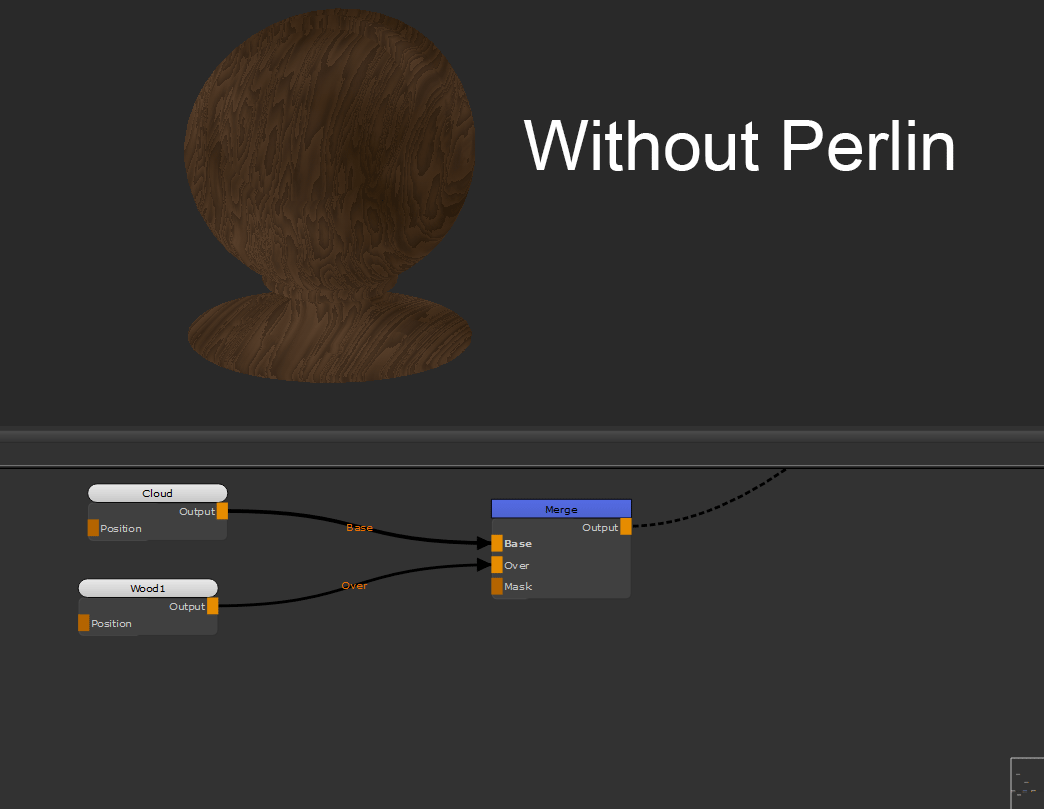
We need to merge these together next. A Multiple blend mode means we just get the darkness of the Wood node which emulates wood grain nicely. Make sure the Wood node is being multiplied on top of the colored cloud by being plugged in the Over input.
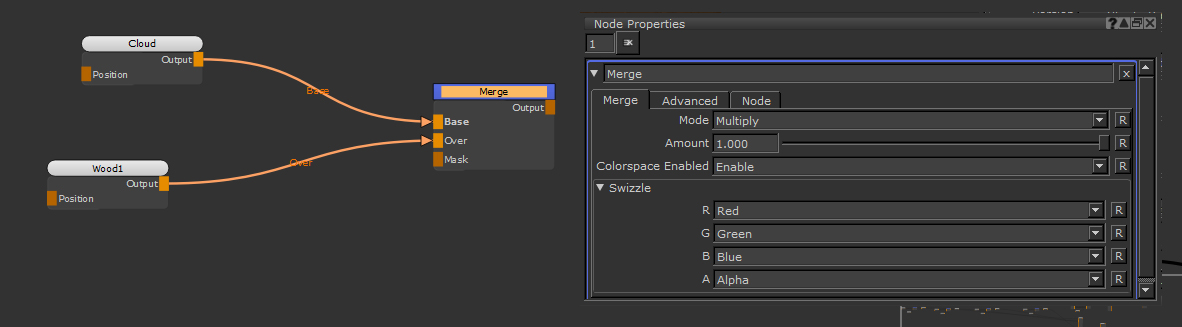
Multiplying the wood grain over the color.
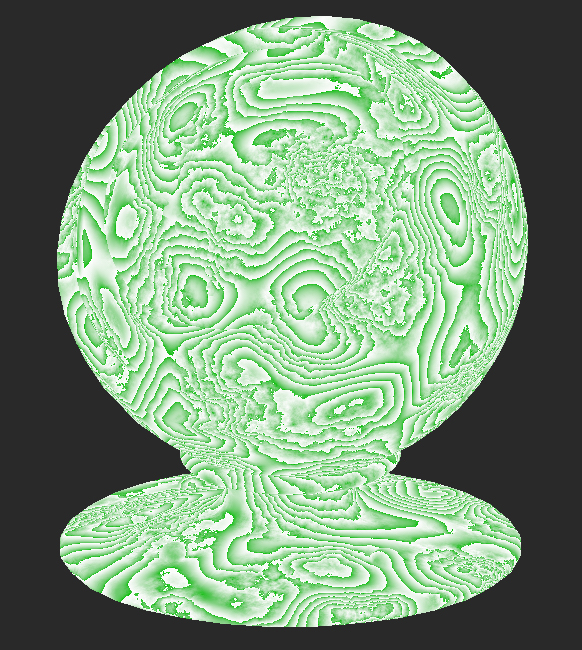
To add an extra level of realism, a Perlin node can be used as the mask. The result this has means the Wood node does not multiply evenly, in some places the effect is less obvious, breaking up the CG look which is always best avoided when texturing.
|
|
|
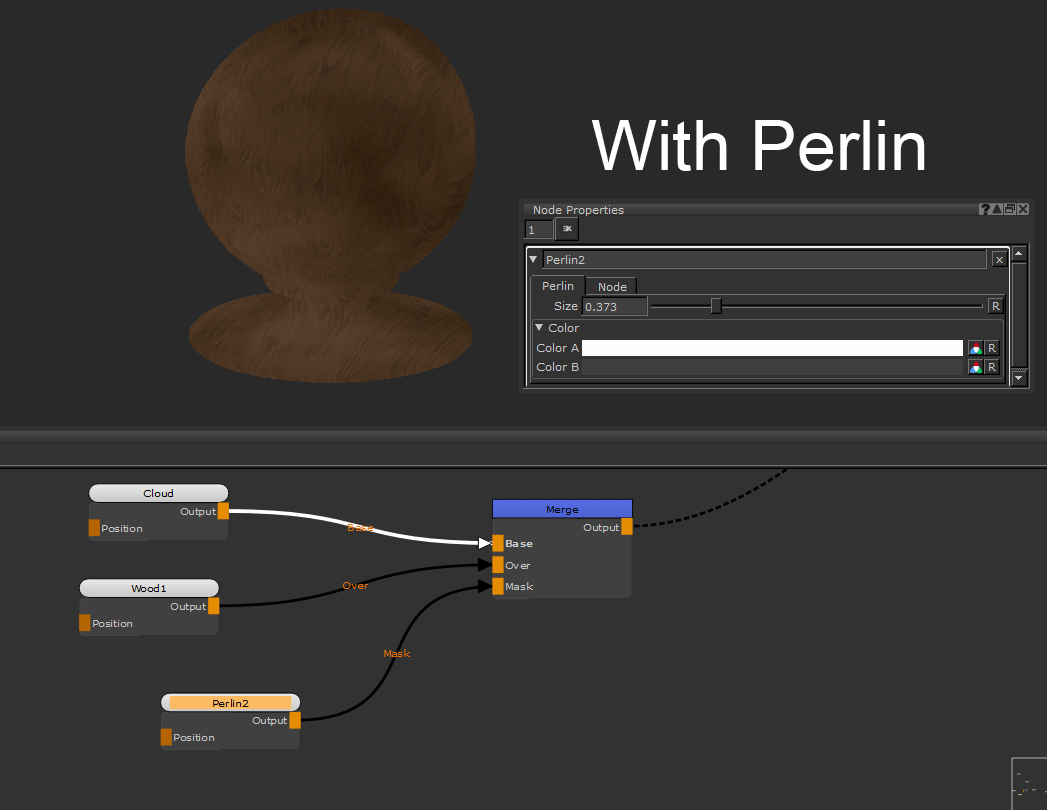
The addition of a masks help add some breakup. If you feel it’s affect is too strong you can play with the colors of the Perlin Node.
Let's add one final node for more detail. Wood often has a lot of little dots that go with the grain that the base Wood node isn’t capturing. We can use another noise to add this effect.
By dropping down another Perlin node and changing the Size to a value of 0.1 in the Node Properties, you can get a small organic spotty effect. Using another Merge set to Multiply means we can add this effect on top of our current texture. This time amount seems a little high so let’s bring it down to make it a bit more subtle.
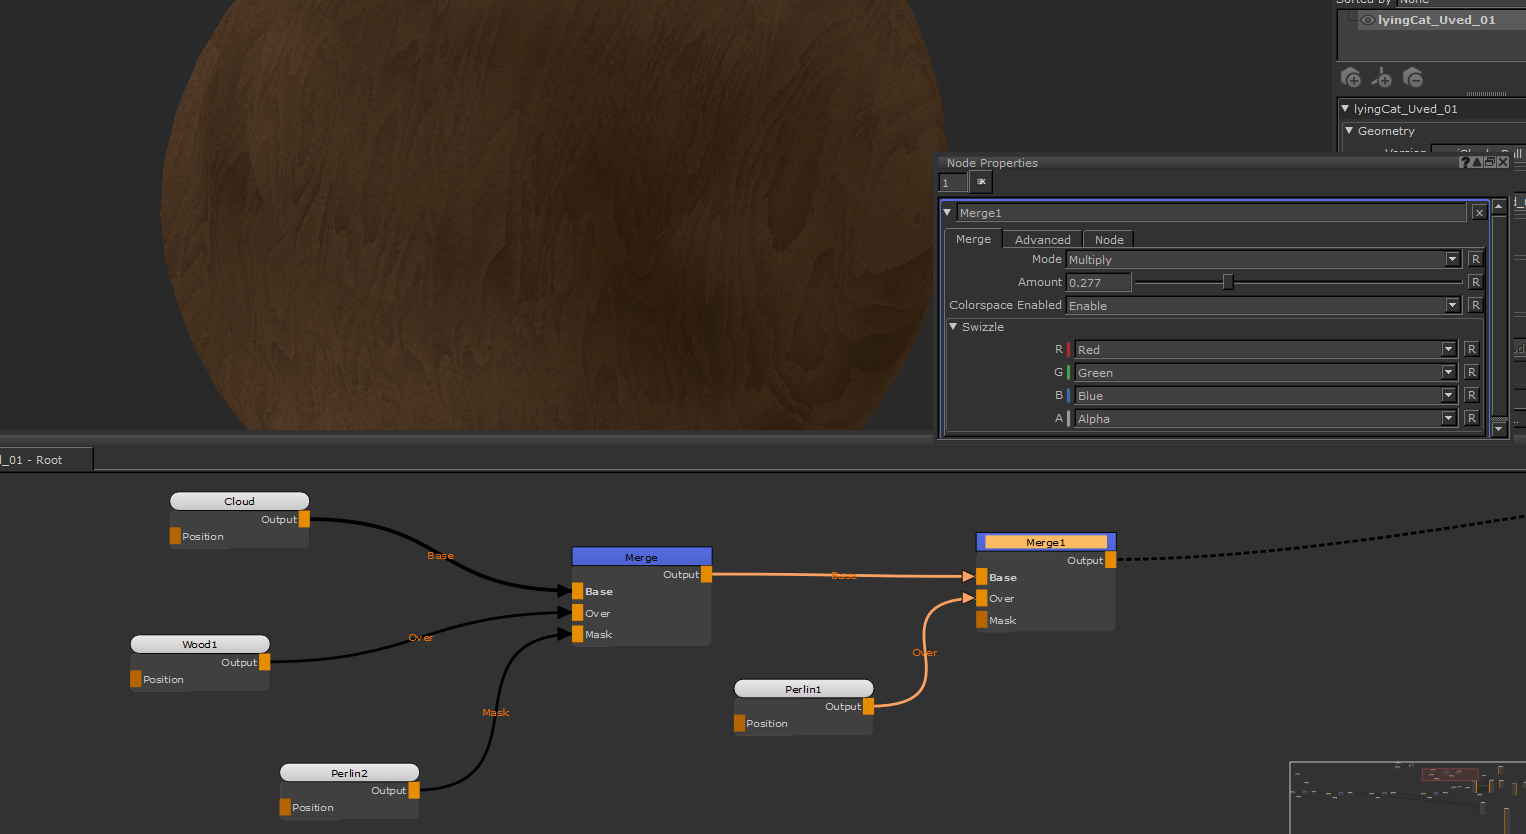
Changing the Merge node's Amount property makes the grain effect more subtle.
And there we have it, a very quick and easy procedural wood texture.
The final result.
This can be used on any object now as the UVs do not matter with procedural noises. The other great thing is if you want to have a rougher grain, or a different colored wood, it’s all really easy to change with no repainting or baking.
Related Nodes
Sorry you didn't find this helpful
Why wasn't this helpful? (check all that apply)
Thanks for your feedback.
If you can't find what you're looking for or you have a workflow question, please try Foundry Support.
If you have any thoughts on how we can improve our learning content, please email the Documentation team using the button below.
Thanks for taking time to give us feedback.