Search is based on keyword.
Ex: "Procedures"
Do not search with natural language
Ex: "How do I write a new procedure?"
Squiggle Node
Access: Nodes > Procedural > Noise > Squiggle
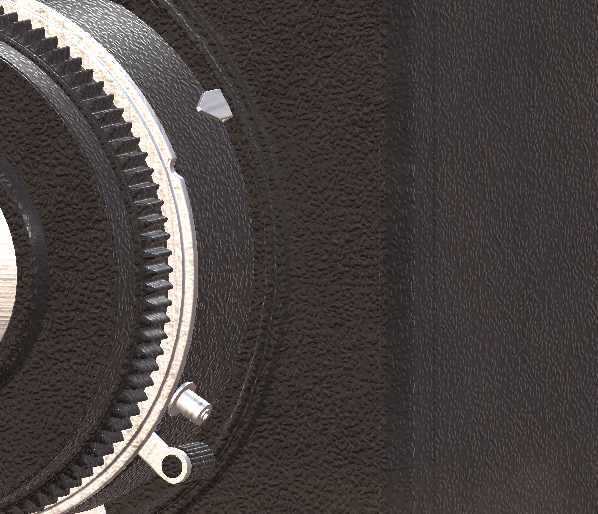
The Squiggle node creating the Bump on this matte plastic material of an old fashioned camera asset.
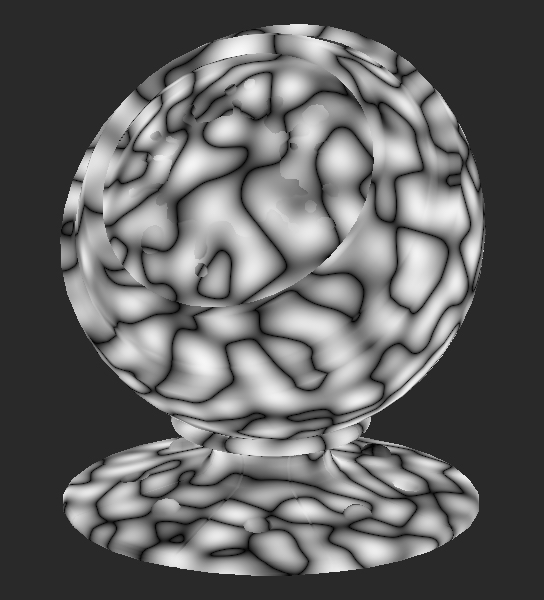
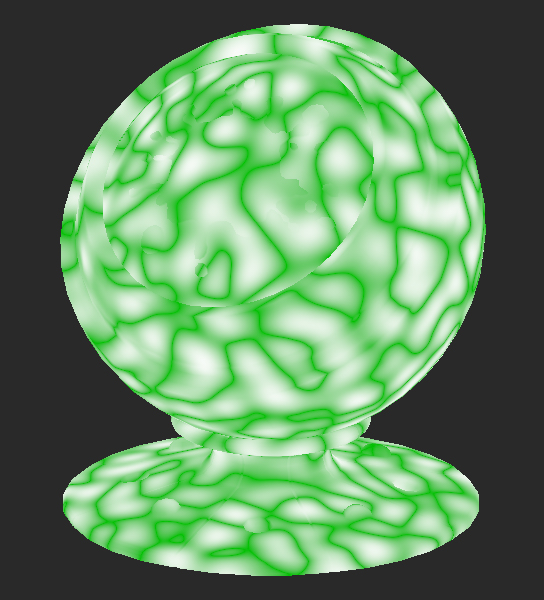
The Squiggle node is a procedural noise which applies a hand drawn scribbled looking noise through the object in 3d space.
Adjusting the node and combining it with others allows you to get unique looking textures such as pebbles, scales or cells.
It is a useful node for merging in detail to textures or masks. Since it uses 3d space by default, when an object is updated, even its UVs, the noise still applies in a similar manner causing no repainting to be needed.
Squiggle Node Inputs
Position: The node works in a 3d space, but by adding a node to the Position input you can manipulate how the Squiggle noise is applied. Other nodes could be the UV node to use a UV space rather than 3D space, or the position node.
Squiggle Node Properties
|
Size text field, slider |
Changes the pattern frequency of the noise.
0.5 is the default. |
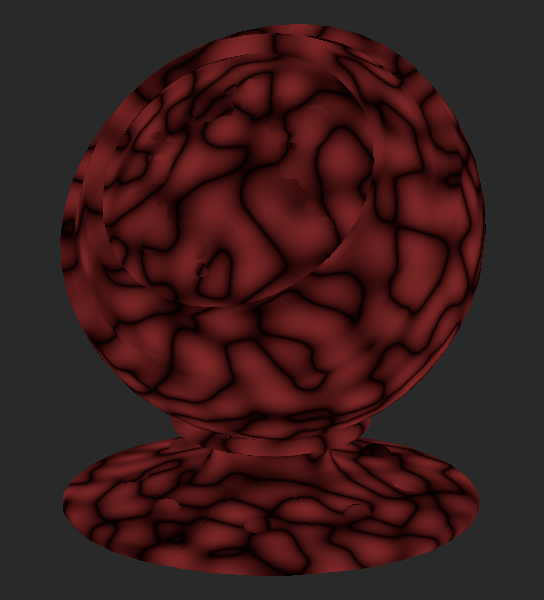
Color
|
Color A |
Changes the first color of the noise.
|
||||
|
Color B |
Changes the color on top of Color A.
|
Squiggle Node Workflow Example
Creating a Bump with the Procedural Noise Squiggle Node
The procedural noises included in Mari each have a distinct look so it’s good to take a proper look at your reference and work out how to recreate it. In this example we will take a look at using a procedural in a fairly advanced scene.
This near completed asset has been textured using the materials system. If you’re unfamiliar with them then you can go to the Material Node documentation or watch this quick Foundry Youtube Video series.
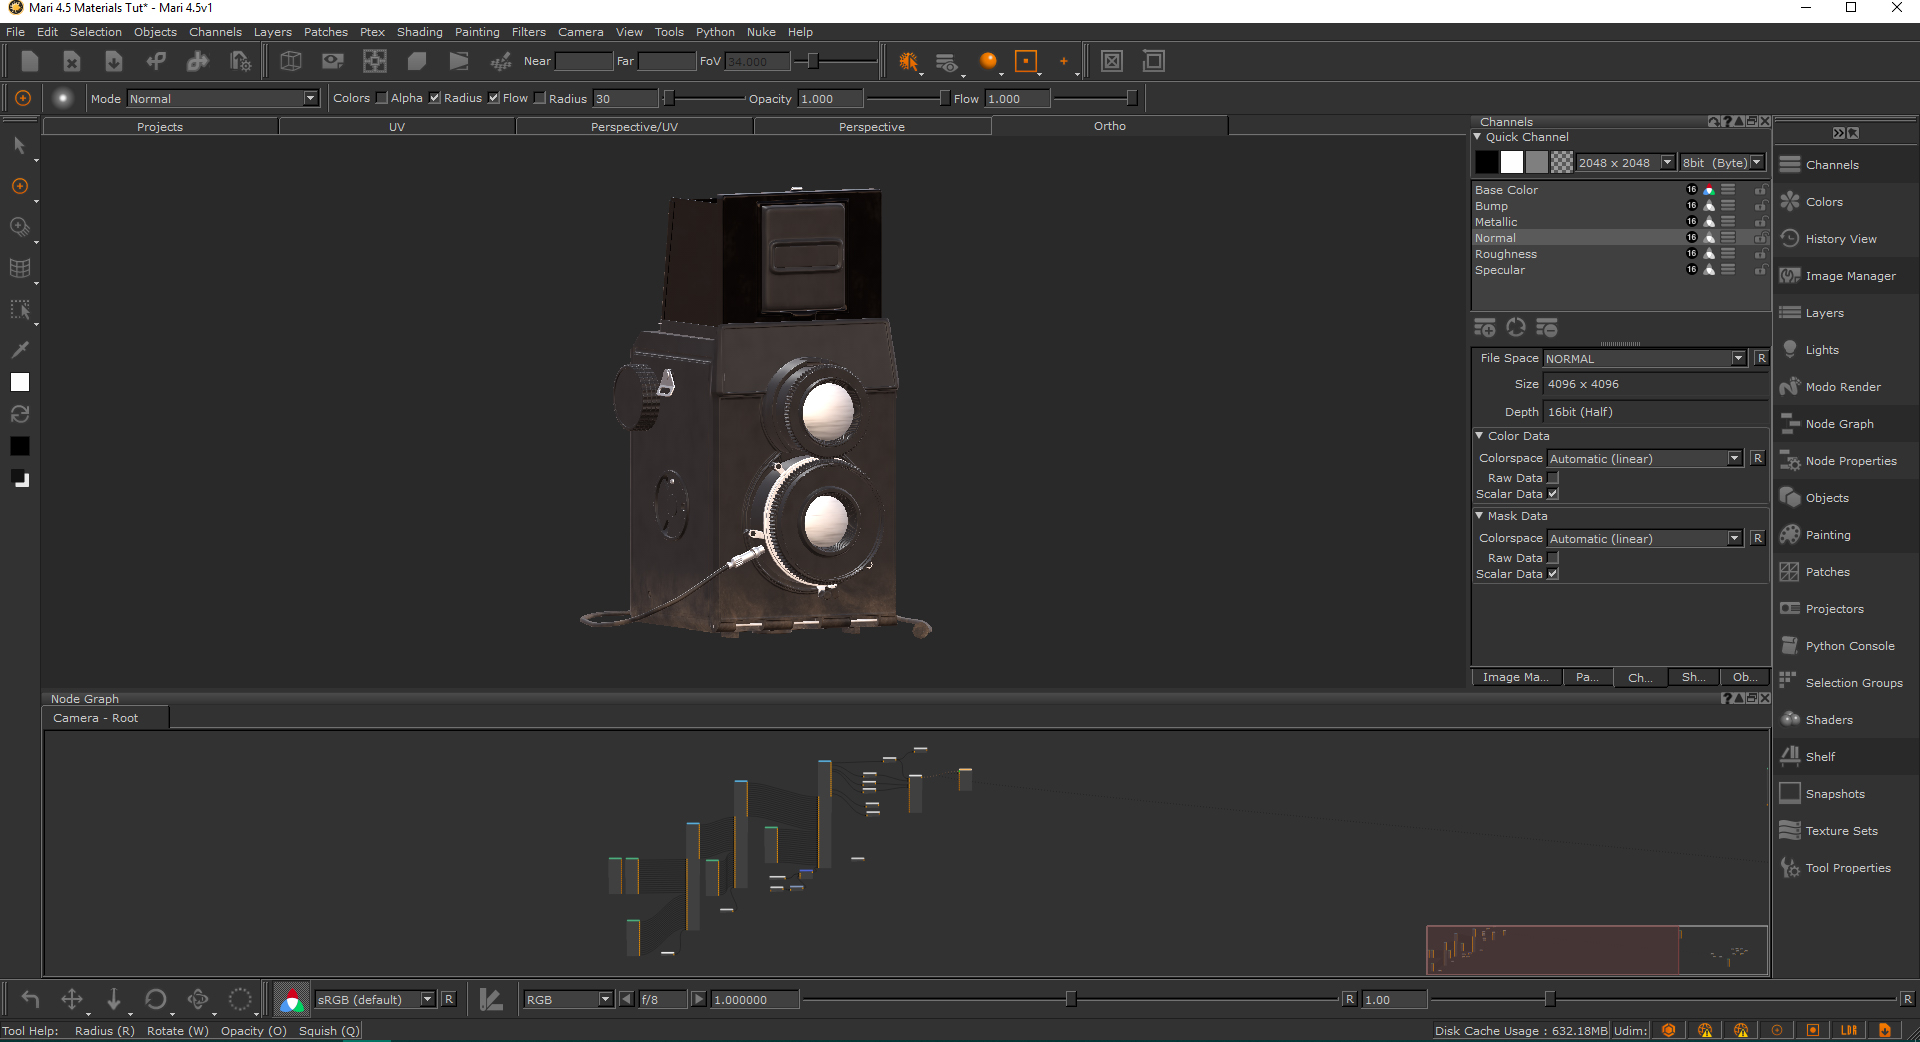
An asset textured with materials.
This camera asset has a matte plastic Material node but the bump map from it isn’t creating a bump that matches the reference. The material has a smooth finish and our reference has a distinct looking bump pattern.
While it may look overwhelming when zoomed out, it’s a very simple project. The project is just a connection of Material nodes merged together using the Multi-Channel Merge node, utilizing masks that define where different materials should go.
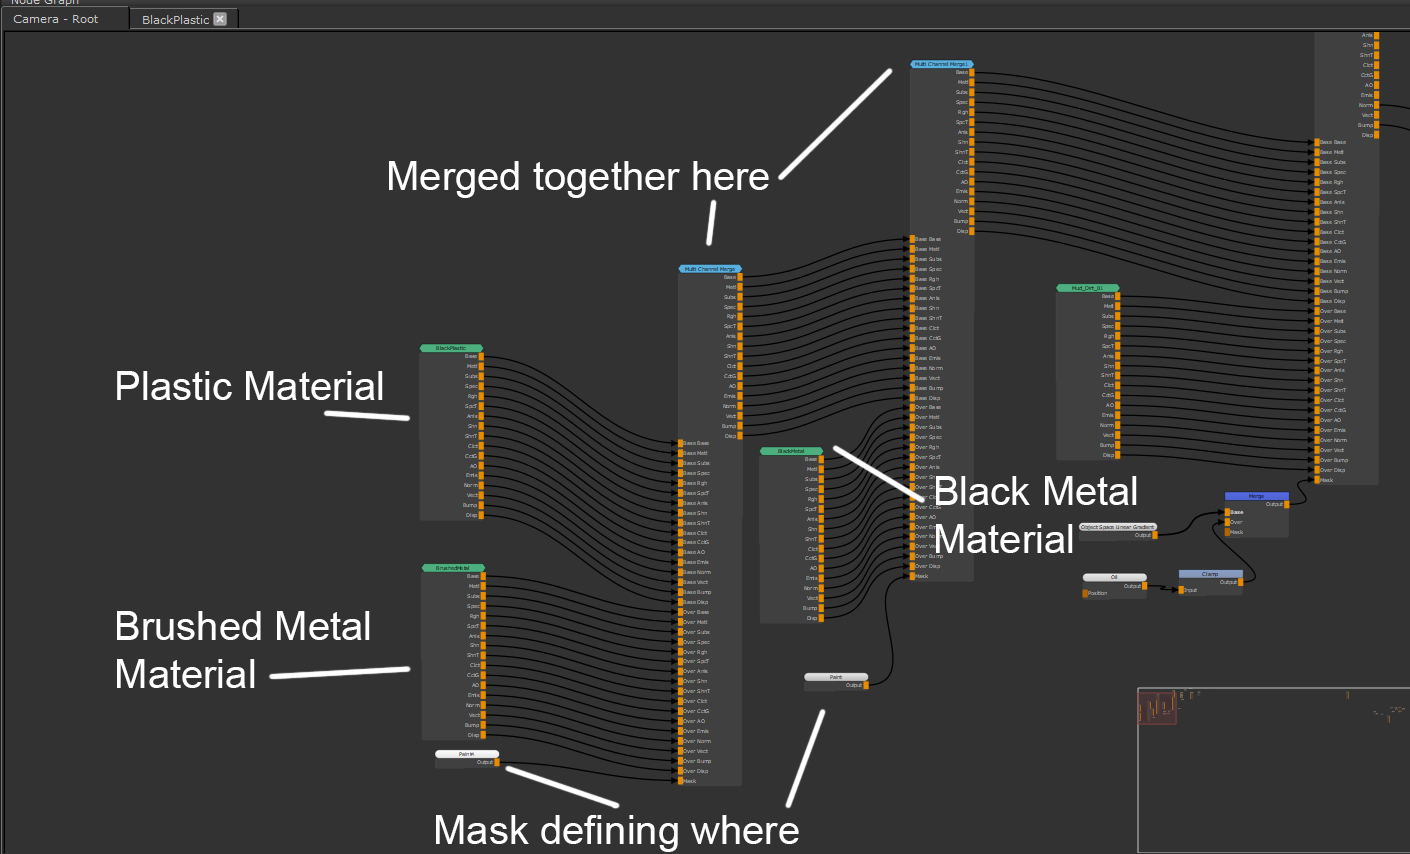
Here is a breakdown of the nodes used for this texturing so far.
Material setups can look overwhelming when starting out but they are no different than normal texture methods.
The Squiggle node is a great node to make a bump map that looks more like the real life pattern quickly. For assets that aren’t going to be seen in detail on-screen, a procedural noise is a quick way to achieve your desired look without creating your own tiled texture which takes a lot longer and can be more time consuming to iterate and update.
Since it’s a Material node it has everything set up inside so we need to jump into the node by pressing Ctrl + double-clicking on the Material node. This opens up the material tab in the Node Graph for us to enter.
Inside this Material node is a Perlin node for the bump, but in this instance a Squiggle node will be better. First, placing down a Squiggle node and plugging it in to the Bump gives a good base. Lowering the Size of the Squiggle node also helps to better match the scale of the object.
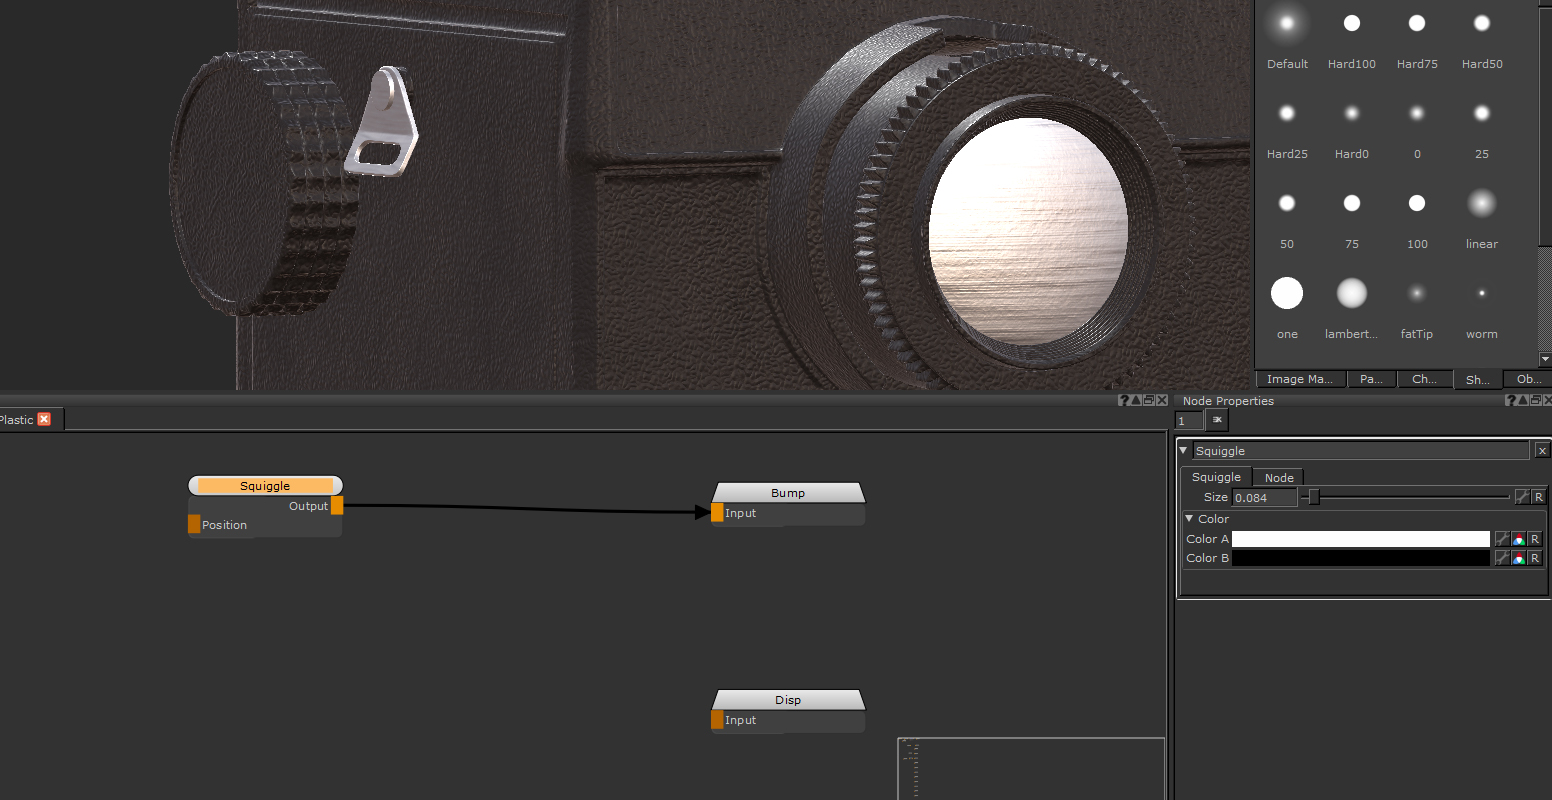
Inside the Material node a Squiggle node has been hooked up to the Bump output.
The Squiggle has a range of values giving smooth rounded peaks on the bump. The reference has flattened peaks instead of rounded ones, so using a Levels node helps to add contrast and raise the values closer to white. We can then take advantage of the Clamp feature of the Levels node to flatten off the top and help better match the reference.

Demonstrating the Levels adjustment on the Squiggle node.
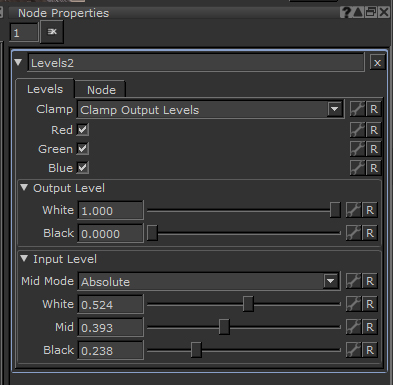
The settings used on the Levels nodes. The Clamp property has been used to flatten the top of the bump peaks.
The Squiggle node has quickly helped make the bump for this material, something that wouldn’t have been as quick to achieve with another noise or method. The final material looks closer to our reference now than it did just using a Perlin node. Each procedural noise has their own benefits. The black metal material on the top of the camera has also had a bump added in the same way, but using the Sphere node.

The final result.
The beauty of procedurals is how versatile they are. By using other nodes in conjunction with the Squiggle node you can quickly get a variety of effects.
Related Nodes
Sorry you didn't find this helpful
Why wasn't this helpful? (check all that apply)
Thanks for your feedback.
If you can't find what you're looking for or you have a workflow question, please try Foundry Support.
If you have any thoughts on how we can improve our learning content, please email the Documentation team using the button below.
Thanks for taking time to give us feedback.