Height As Normal Node
Access: Nodes > Filter > Height As Normal
The Height As Normal node is used to convert a greyscale texture into a normal map. The node needs a Height input so it is best to plug in a correctly balanced Bump channel. The Height As Normal node interprets values over 0.5 as bumps, and values below 0.5 as troughs.
Unlike a bump map, a normal map fakes directional data as well as height. Because of this, using your bump map through a Height As Normal node can often give better results in your shader.
Note: Height As Normal creates an approximation, and results may differ once the node is baked or the results are exported.
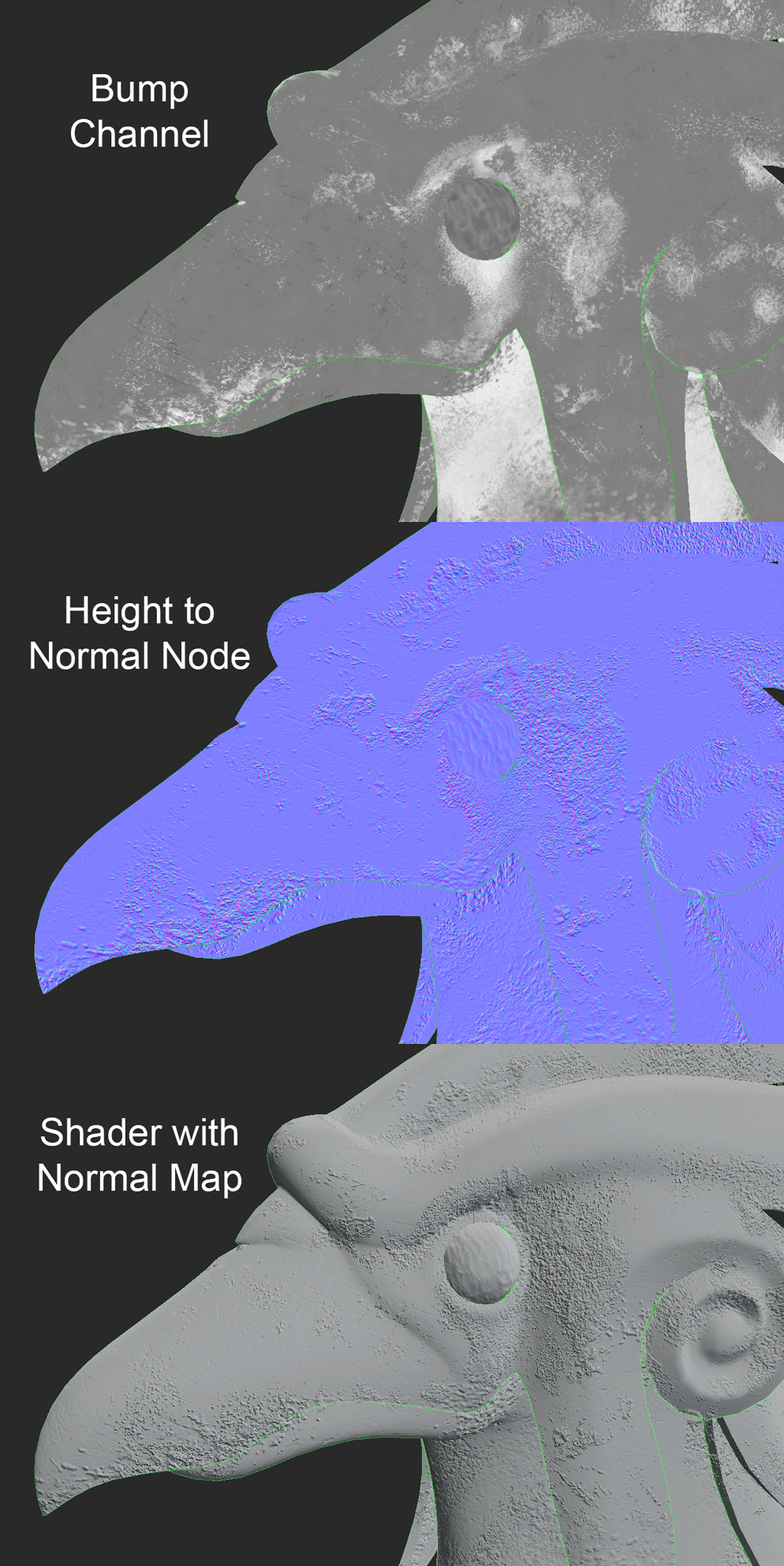
Using the Height As Normal node to convert a Bump into a Normal Map.
|
Using the Height As Normal node to convert a Bump into a Normal map. |
||
Height As Normal Node Inputs
Height: The texture from which the normal output will be calculated. Values over 0.5 are interpreted as bumps, and values below 0.5 are interpreted as troughs.
Height As Normal Node Properties
|
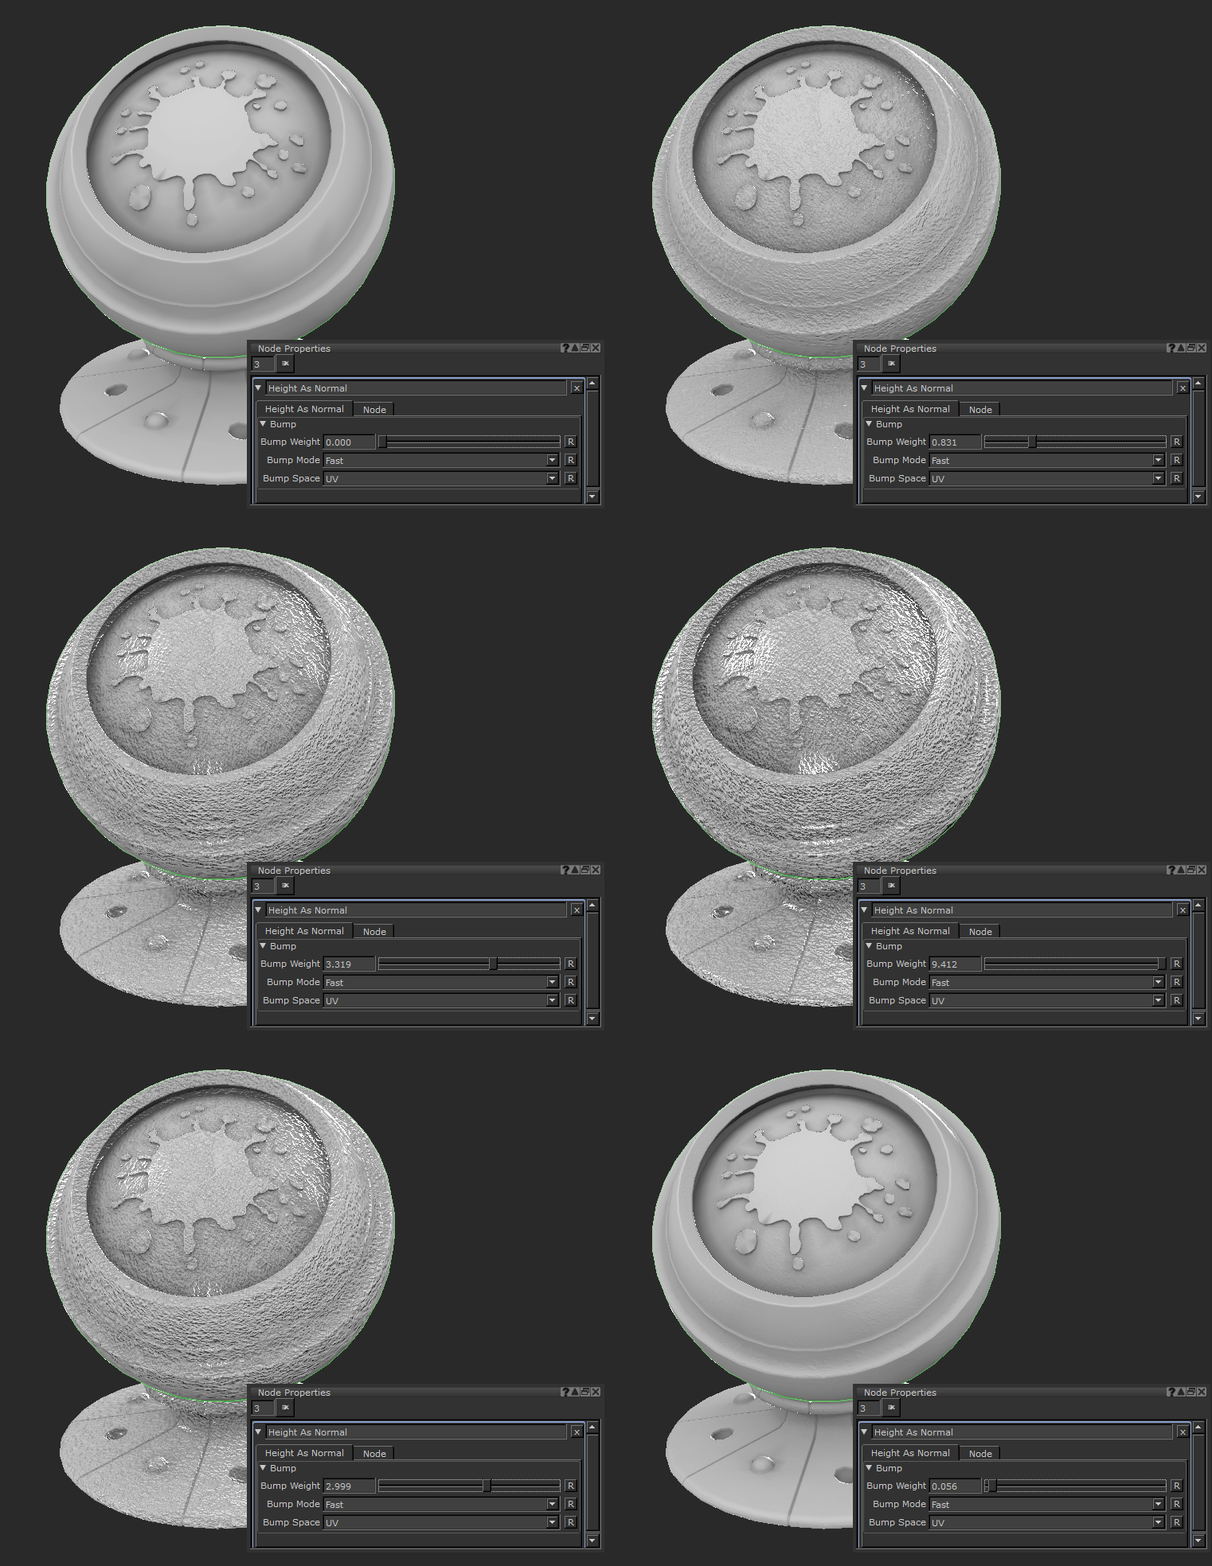
Bump Weight text field, slider Default: 0.1 |
The strength of the output Normal map. Normal maps can be hard to visualize when just viewing the map, so plugging it into a shader can give the best representation of the weight and strength.
|
|
Bump Mode dropdown Default: Fast |
Defines the calculation method of the normal. The options are Fast, Accurate or Fastest. • Accurate gives you the smoothest calculation method but takes longer to calculate which can slow down your scene and shader. • Fastest is the quickest to calculate but you can get odd results and anomalies on a per pixel basis giving you an inaccurate result. For the best scene and shader response, use Fastest and then switch to Accurate to export your textures.
|
|
Bump Space dropdown Default: UV |
Changes the Bump’s space between UV and World Space. |
Height As Normal Node Workflow Example
Creating a Normal Map from your Bump
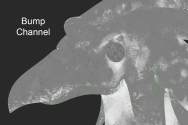
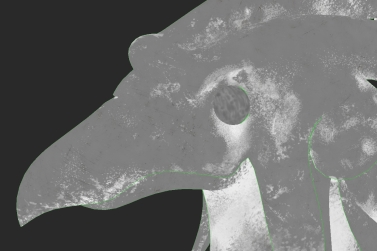
In the image below a Bump channel has already been set up.
A Bump map for this mechanical bird asset ready to convert into a Normal map.
Using a Height As Normal node you can convert the height data in the Bump map to a Normal Map.
| 1. | Input the Bump channel into the Height As Normal node. |
| 2. | Input the Height As Normal node into the Normal channel of your shader. |
In this example, the Normal channel is being plugged into a Principled BRDF shader:

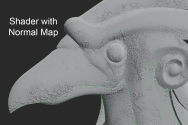
Plugging a Bump into a Height As Normal node, and then into the Normal channel on the shader.
Changing the Bump Mode to Accurate gives you the best results, and by adjusting the
Tip: It is recommended to have a shader set up with the normal when adjusting the Bump Weight slider, as viewing the flat texture does not give you the most accurate view of how the normal affects your model at render time.
For more on shader workflows check out the documentation on Principled BRDF nodes.

In the example, the Bump channel that was set up informs the mesh where the areas around the beak and eyes should raise. Converting the Bump map to normal data creates a 'facing' as well as height, which produces more realistic specularity breakup when the light hits the geometry.
