Paint Continuous, Repeating Textures with the Roller Brush
The Roller Brush tool adds a new painting mode that paints a tileable image following the direction of your brush stroke. For example, you can create seams or decals on a character’s clothing without having to manually line up each tileable texture, one by one, to mimic a brush stroke.
To paint with the Roller Brush:
In the left-hand toolbar, click and hold ![]() (the Paint tool). In the drop-down menu that appears, click Roller.
(the Paint tool). In the drop-down menu that appears, click Roller.
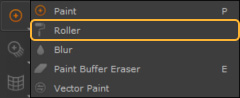
The Roller Brush tool is now available to use.
Adding Images to the Roller Brush
The Roller Brush tool can be used in conjunction with tileable images, allowing you to create seamless details with the stroke of a brush.
To apply an image to the Roller Brush:
- Activate the Roller Brush tool.
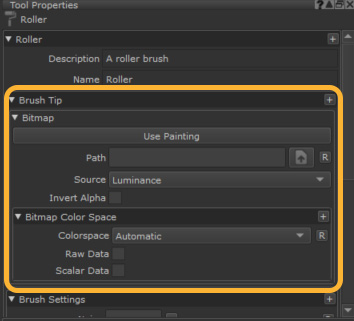
- In the Tool Properties window found in the Brush Pallet, expand the Brush Tip menu.
- Click the
 button next to Path field.
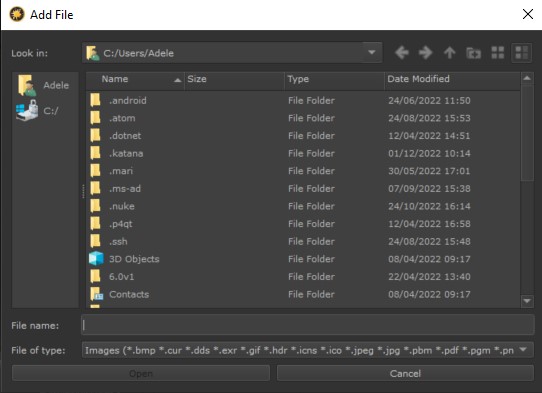
 - In the explorer window, select the image you want to use to drive the Roller Brush and click Open.
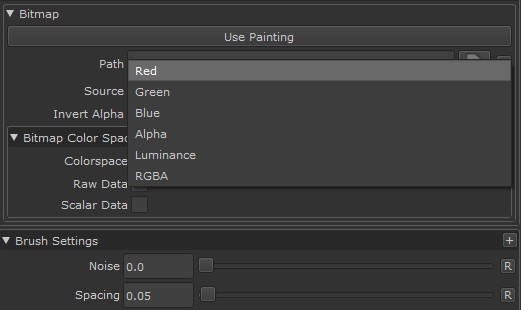
- Depending on how you are planning to use the image assigned to the Roller Brush, you may need to adjust the Source parameter.
- If using an RGB image, you can choose the image's Red, Green or Blue channels, or RGBA to use all three channels plus an Alpha channel.
- If your image has an Alpha channel you would like to use, choose Alpha.
- If using a black and white image that you would like to use as an Alpha, choose Luminance.
- When Invert Alpha is enabled, any alpha in the brush Source is inverted.
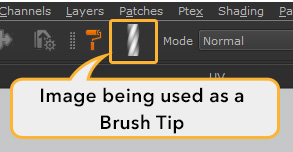
- Once a brush tip is loaded and the source is set, the brush is visible in the top navigation bar, next to the roller brush icon.
An explorer window opens.
Once an image is assigned to the Roller Brush tool, the Roller Brush can be used in the same way as Mari's default brush. Strokes made by the Roller brush can be manipulated on the paint buffer in the same ways a regular brush stroke would be, and can be baked onto your asset or cleared from the Paint Buffer using the same default commands. For more information on the Paint Buffer, see Paint Buffer.
|
|
|
|
Roller Brush tool being used with Mirror painting to create even stitches on both sides of the asset. |
Curve drawn with the Roller Brush tool being manipulated before baking on the paint buffer with the Warp tool. |
Note: When using a brush tip driven by an image, the brush tip will inherit whatever your current foreground color is. To ensure that alpha images and RGBA images are displayed properly, set your foreground color to white.
Roller Brush Settings
There are a number of settings within the Roller Brush Tool Properties that allow you to customize the behavior of the Roller Brush tool. Mari's Brush Engine dynamics can also be utilized with the Roller Brush, allowing you to create stylized strokes while you paint. For more information on Mari's dynamic brush engine, see Changing Brush Color Dynamically.
The following parameters are specific to the Roller Brush:
Repeat Direction
Repeat Direction configures Mari to tile your image brush tip Horizontal or Vertical, as well as Vertical Mirrored and Horizontal Mirrored.
Vertical tiles your image vertically along your brush stroke.
Horizontal tiles your image horizontally along your brush stroke.
Vertical Mirrored tiles your image vertically along your brush stroke, while also mirroring every second tip vertically.
Horizontal Mirrored tiles your image horizontally along your brush stroke while also mirroring every second tip horizontally.