Paint Buffer
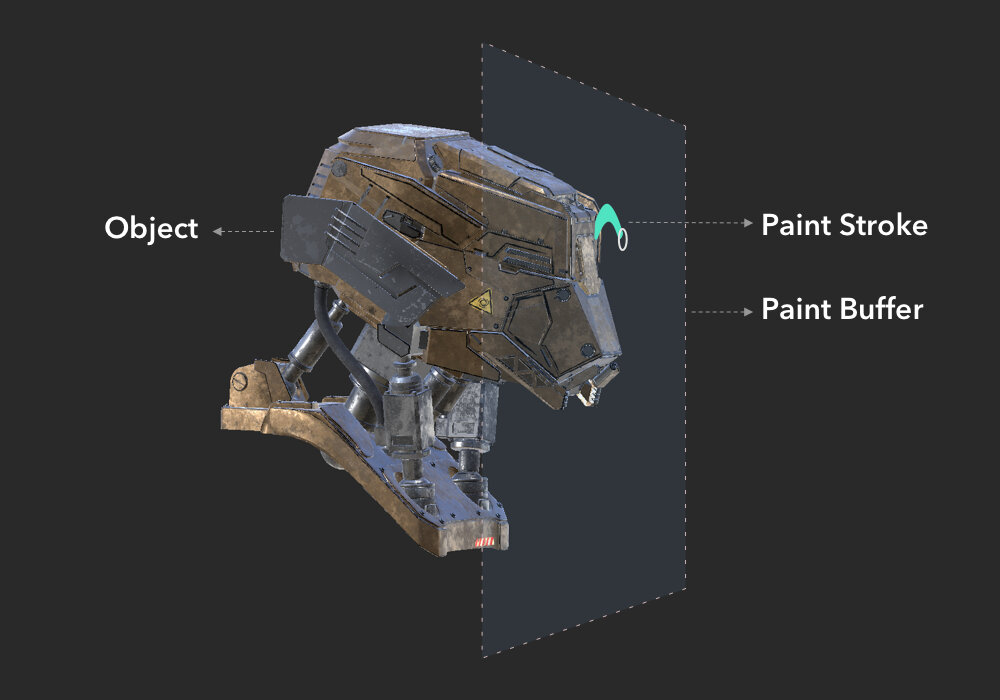
Unlike most 3D painting applications, Mari uses a projection based painting system, which is achieved by using a paint buffer. You can imagine Mari's paint buffer as a pane of glass located between the artist's view and the canvas.
The Paint Buffer is controlled by one of three Bake Behaviors, which dictate whether:
• Mari bakes and clears automatically when you change the view (AutoBakeAndClear),
• the paint buffer clears automatically once you bake (ClearOnly), or
• it needs to be baked and cleared manually (Manual).
Refer to Configuring the Paint Buffer for more information.
Before projecting paint onto objects, you paint into the paint buffer and then bake, which then applies the paint onto the surface of your object.
While the paint is still in the paint buffer, you can make changes to it. If you don't like what you've done, you can erase sections using the Paint Buffer Eraser tool (press E or see Erasing Paint) or just clear the entire paint buffer
• Masking What You Can Paint On
• Distorting the Paint with Pins
• Pulling, Smudging, Growing, and Shrinking Paint
• Applying a Color Grade as You Clone
•
Video: Watch this video to learn about Mari's Paint Buffer.
This video shows the workflow using Mari 3. Even though the Mari 4 workspace is different, the workflow remains the same. To have a look at the main UI differences, see Mari 3.3 vs 4.0.
The images below show you a basic example of how the paint buffer is used in Mari. The Bake Behavior is set to ClearOnly meaning that baking paint is done manually and the paint buffer is cleared automatically.
|
|
|
Step 1 Paint strokes applied. The paint is saved in the paint buffer. The paint buffer is moved around (press M key) and the yellow paint moves along with it as it is not baked down yet. |
|
|
|
|
|
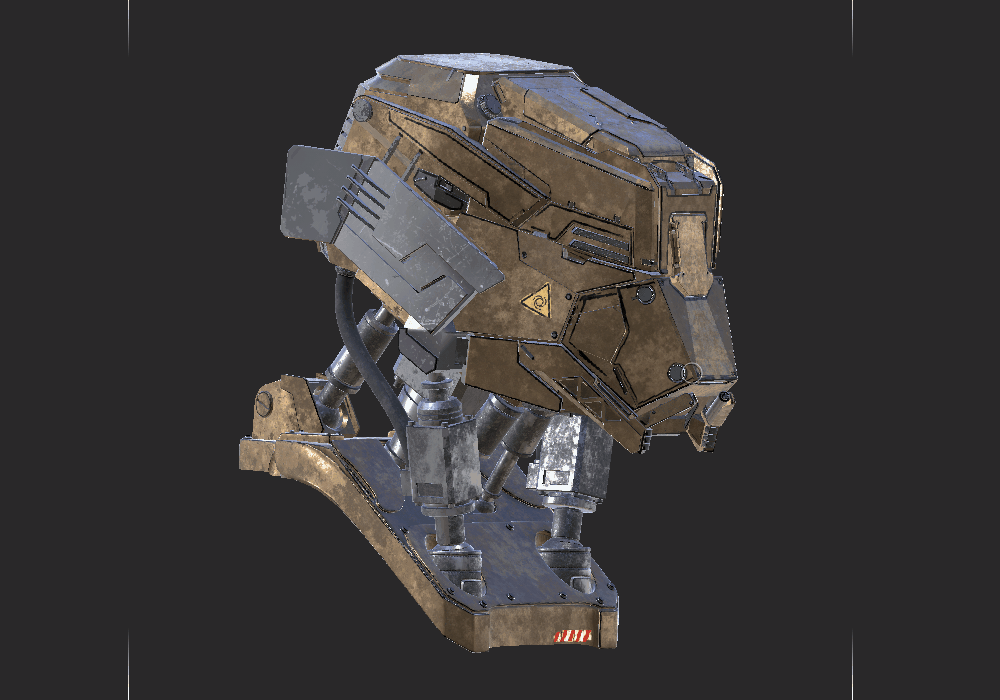
Step 2 The paint buffer is repositioned so that the yellow paint stroke is projected on the object. Then the yellow paint is baked down onto the object (press B key). The paint is added to the current layer. The paint buffer is moved around and clear of paint. |
|
|
|
|
|
|
|
|
|
Step 3 An additional blue paint stroke is applied. The blue paint is saved in the paint buffer. The paint buffer is moved around (press M key) and the blue paint moves along with it as it is not baked down yet, while the yellow paint does not move as it has been baked down onto the object as in step 2. |
|
Step 4 The paint buffer is repositioned so that the blue paint stroke is projected on the object. Then the blue paint is baked down onto the object (press B key). The paint is added to the current layer. The paint buffer is moved around and clear of paint. |
|
|