Levels Node
Access: Nodes > Filter > Levels
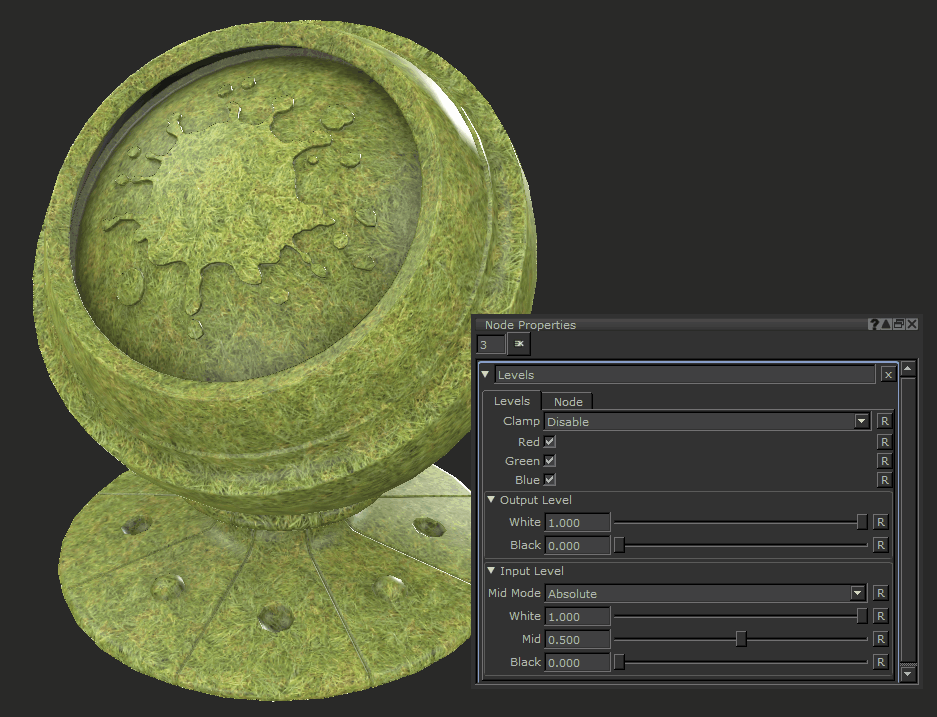
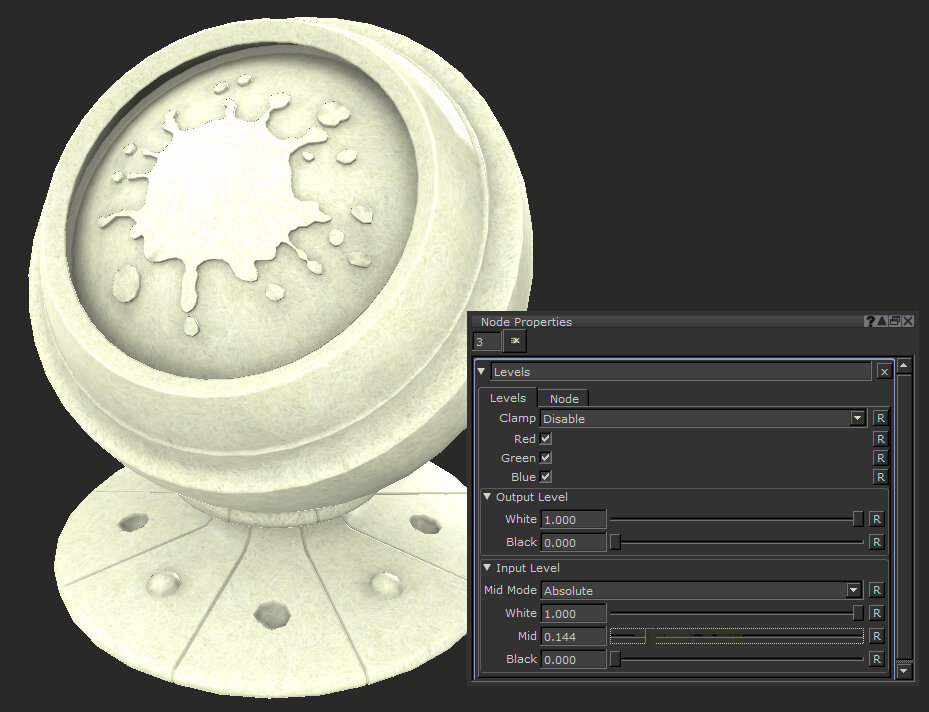
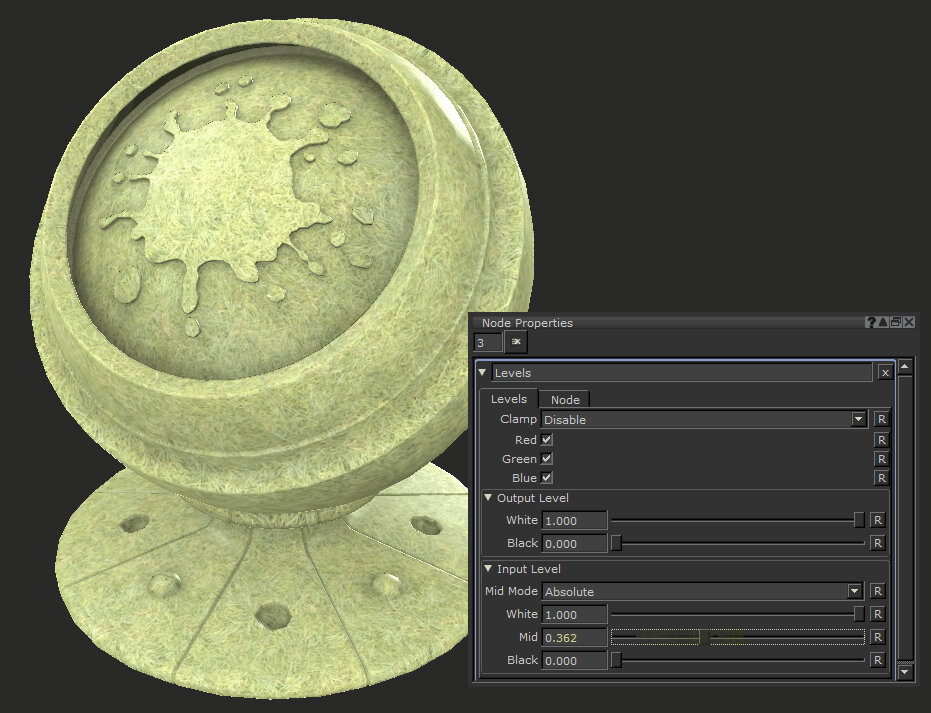
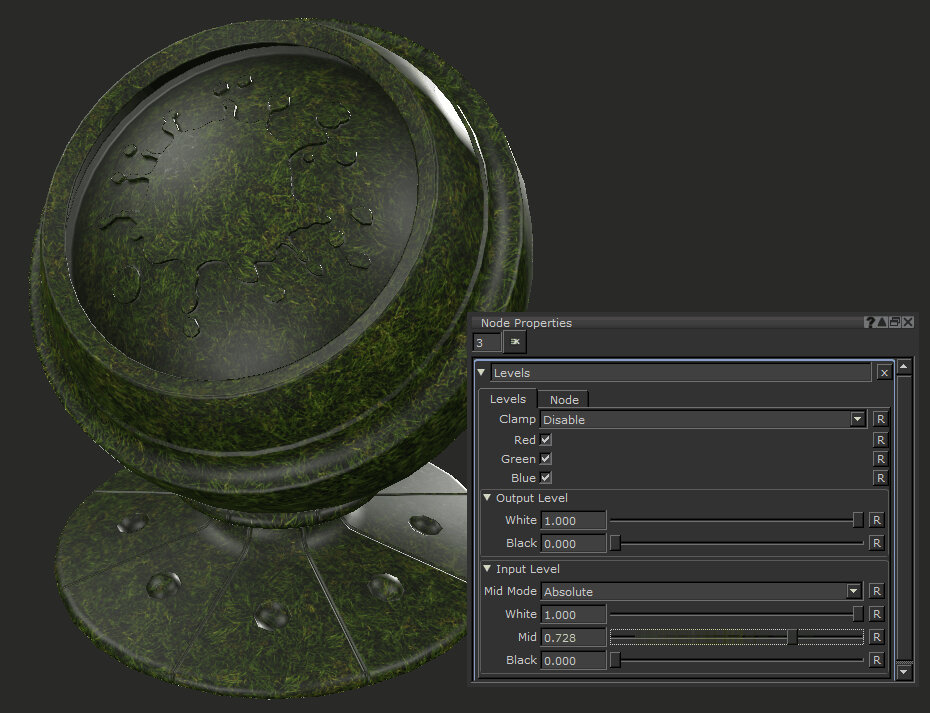
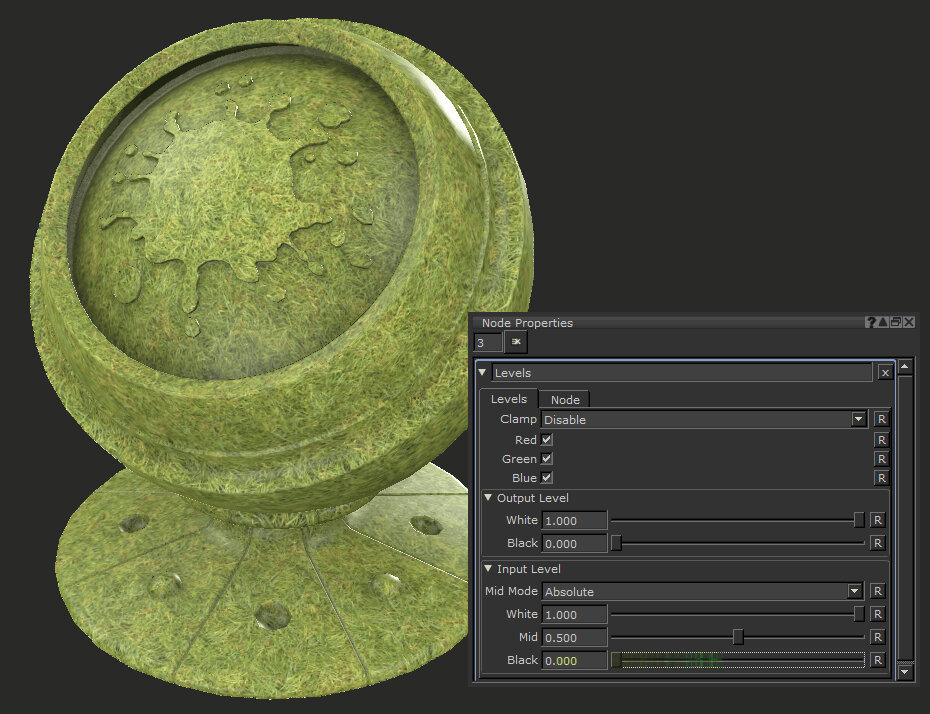
The Levels node takes your existing image color information and remaps in the input levels (color amount) to the specified output. By manipulating the white and black amounts of the input and output you can effectively manipulate the brightness of your textures.
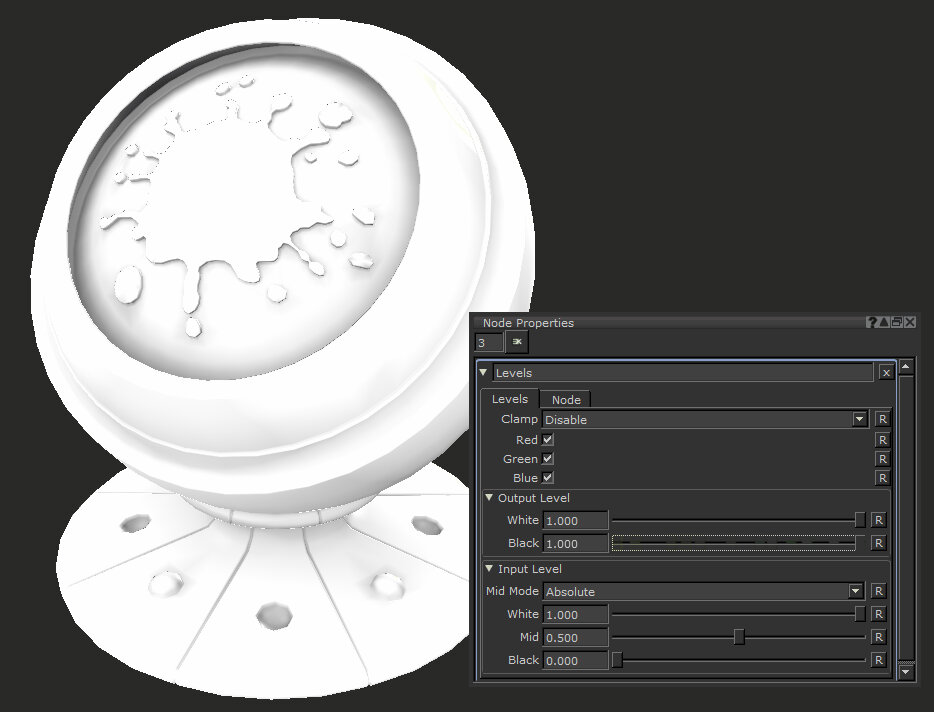
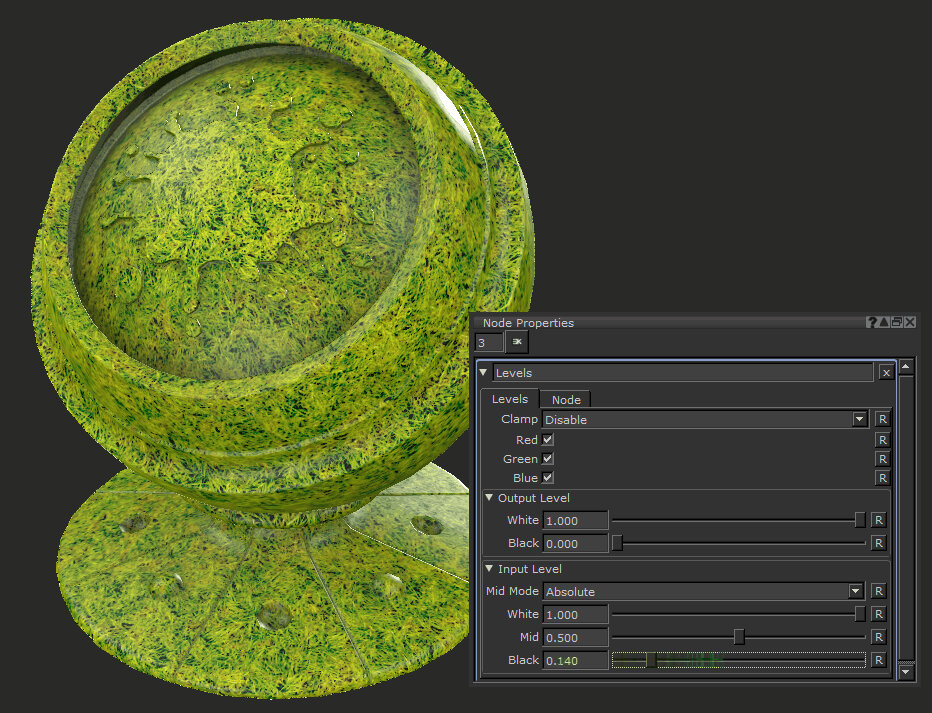
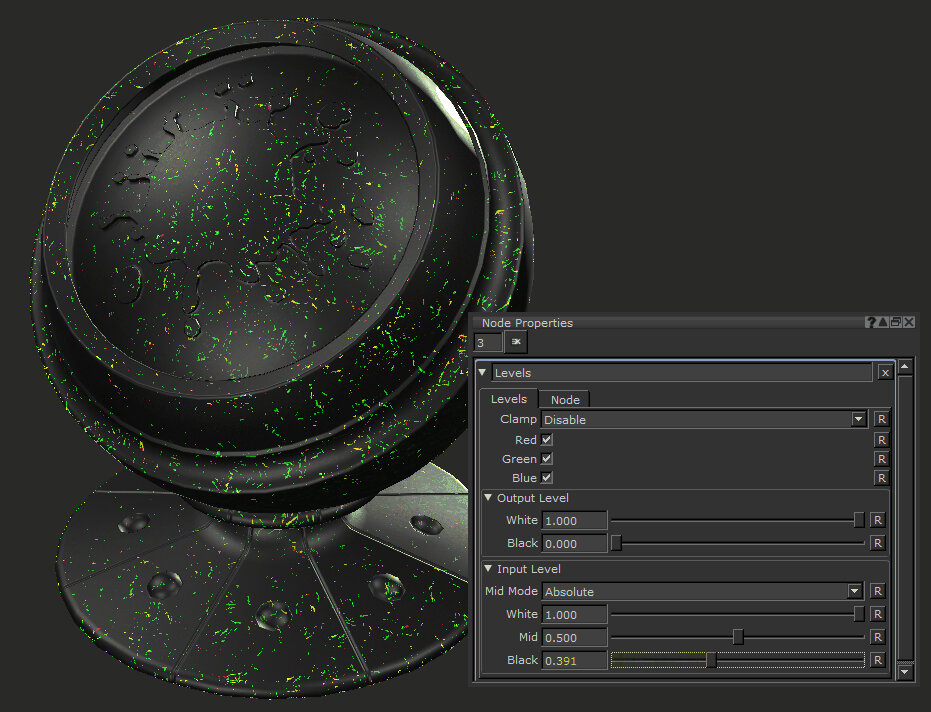
A Levels node used on a tiled image with Input Level White values of 1.0, and 0.4 being used.
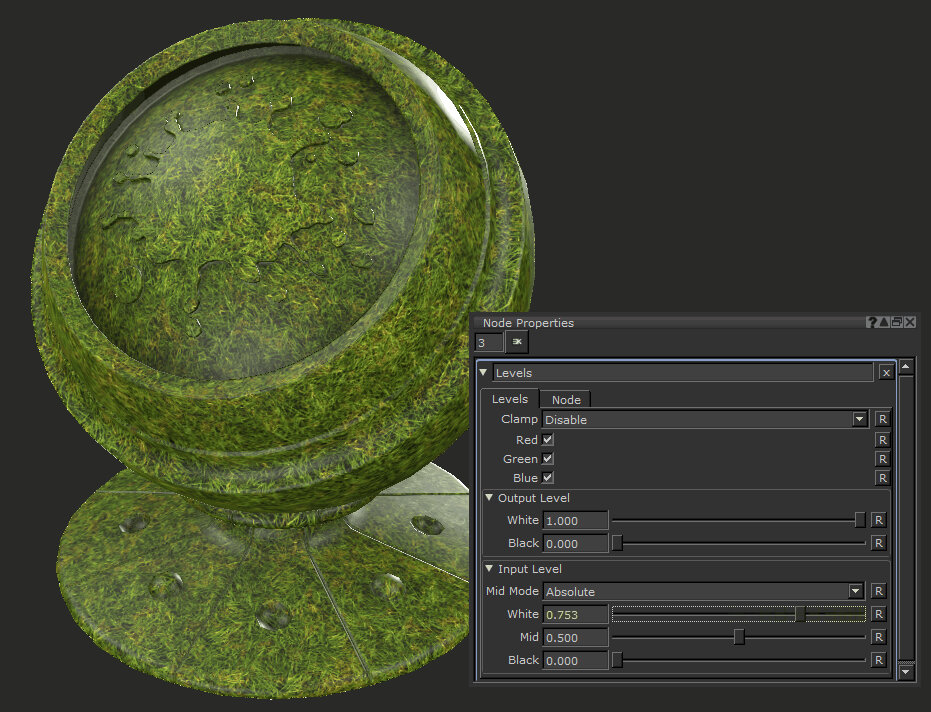
The Levels node is often used to add small color corrections, for example to lift or darken your textures, but is also very important when it comes to creating masks. By manipulating your tiled textures, projections or other elements in your project, the Levels node can really help you get the most out of your images. As well as subtle changes, you can use it to make big changes and get something completely different.
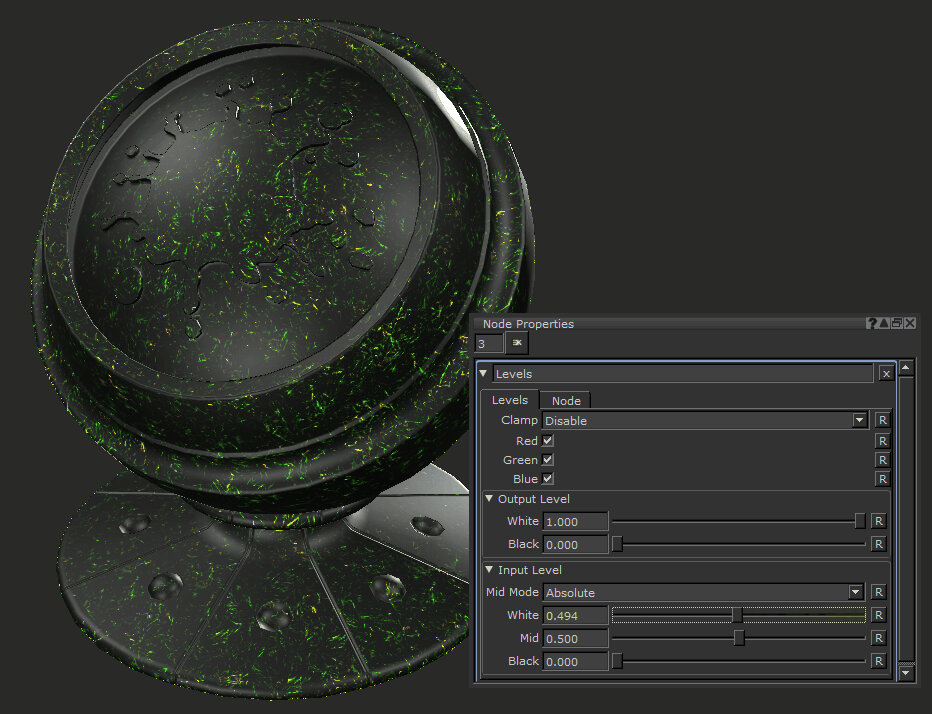
The Levels node also has the option to change single color channels if, for example, you want to darken just the Red channel in your image without changing the Blue or Green.
Levels Node Inputs
Input - Defines which nodes and textures the Levels node affects.
Levels Node Properties
|
Clamp dropdown list |
The Clamp dropdown lets you clamp values above 1 and below 0. Clamp is disabled by default, but you can change it to Clamp Output Values, or Clamp LDR ( If you are having unpredictable results from a Merge node later in your node tree, or a you change the levels of a mask that doesn't seem to behave right, then clamping may fix that. |
|
Red, Green, Blue checkbox |
Tells the Levels node which color channels of your input you want to adjust. By default the red, green, and blue channels are selected. |
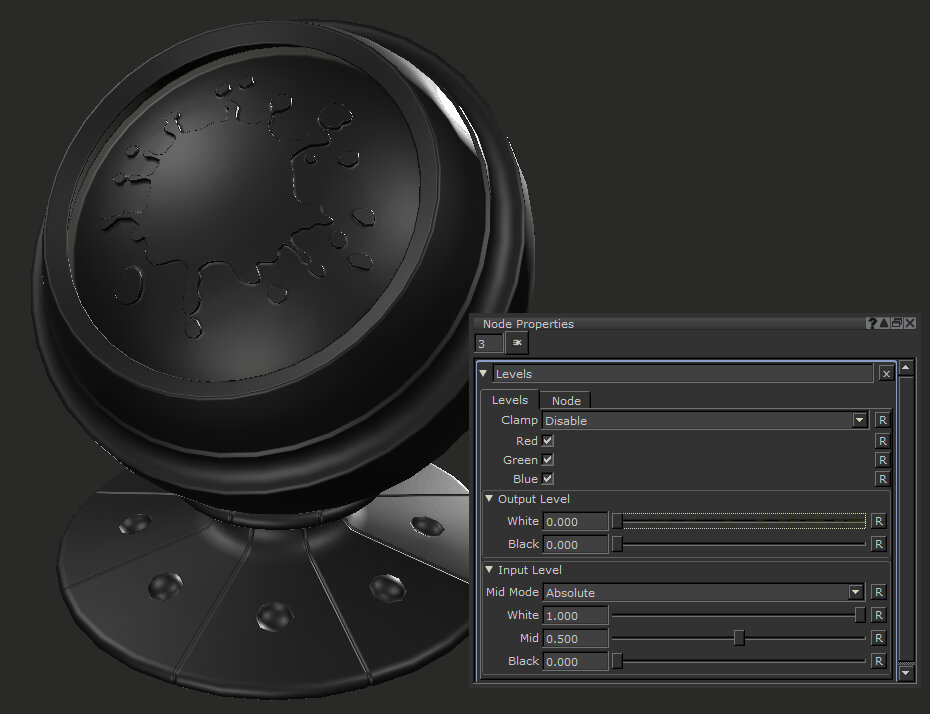
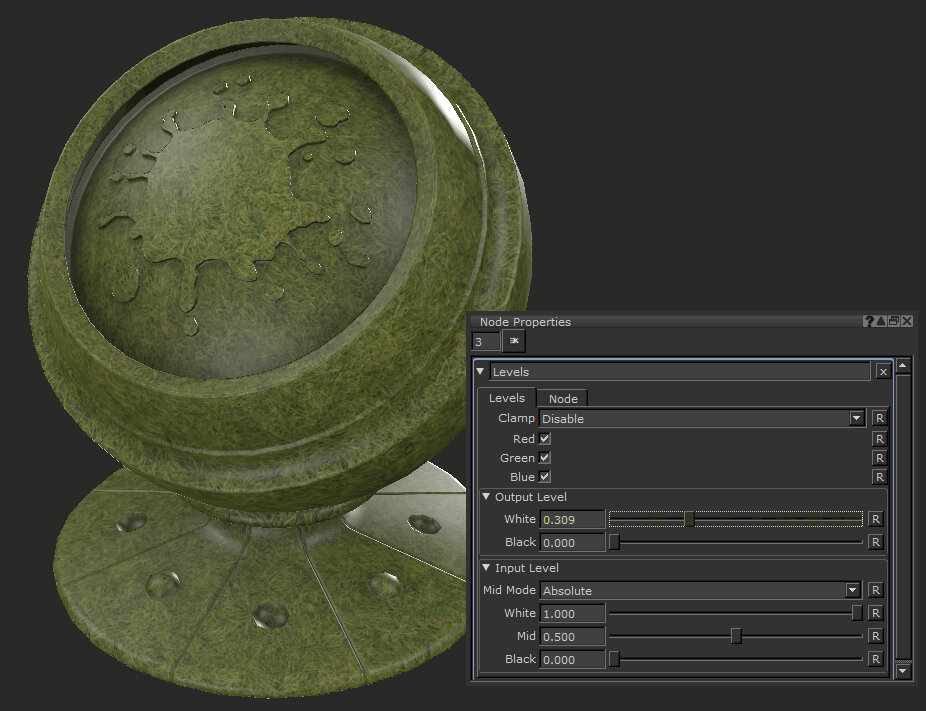
Output Level
|
White text field, slider |
Applies a negative or positive gain on the white levels of the output.
Default is 1. While the slider maxes at 1, you can increase it by typing in the text field. |
||||||
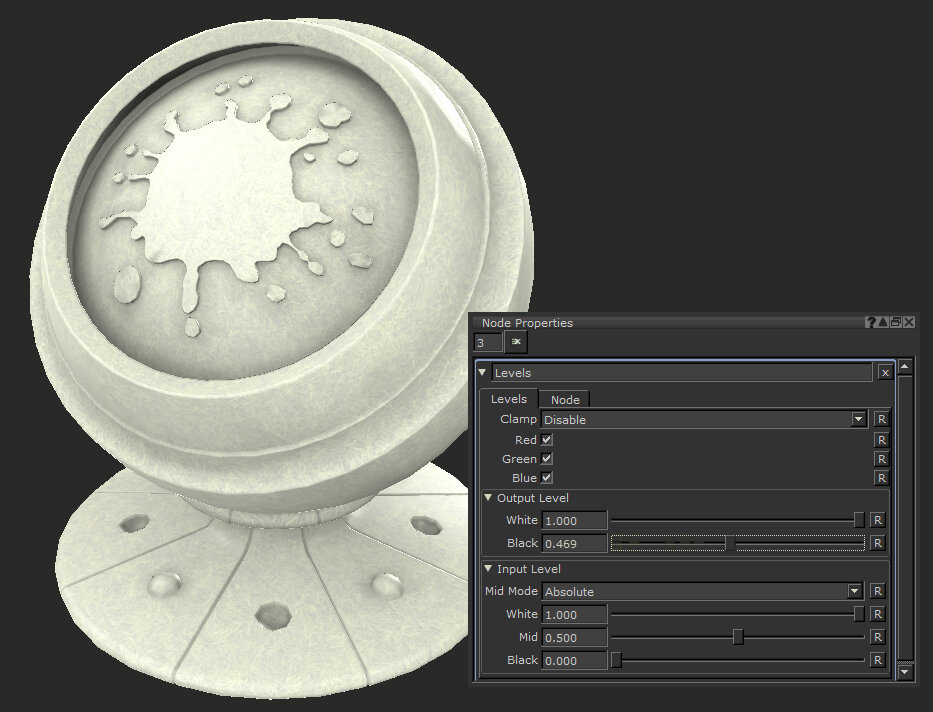
|
Black text field, slider |
Applies a negative or positive gain on the black levels of the output.
Default is 0. While the slider maxes at 1, you can increase it by typing in the text field. |


Input Level
|
Mid Mode dropdown list |
Changes the Black and White midpoint level as either Absolute color data of 0 and 1, or Relative to the black and white values you provide. For example, if WhiteInput level is 1.0, and Black Input level is 0.2, with a Midpoint defined of 0.5: In Absolute mode, the midpoint is 0.5. In Relative mode, the midpoint is 0.6. |
||||||
|
White text field, slider |
Changing the White value redefines what input value is pure white. Decreasing the White value pushes the lighter values closer to white, potentially losing information by having large areas of pure white.
Default is 1. |
||||||
|
Mid text field, slider |
Changing the Mid value redefines mid gray in your texture. Moving it lower will shift your whole texture lighter, and higher will darken your textures.
Default is 0.5. |
||||||
|
Black text field, slider |
Changing the Black value redefines what input value is pure black. Moving it up moves the darker values closer to black, potentially losing information by having large areas of pure black.
Default is 0. |
Levels Node Workflow Example
Texture Grading with Levels
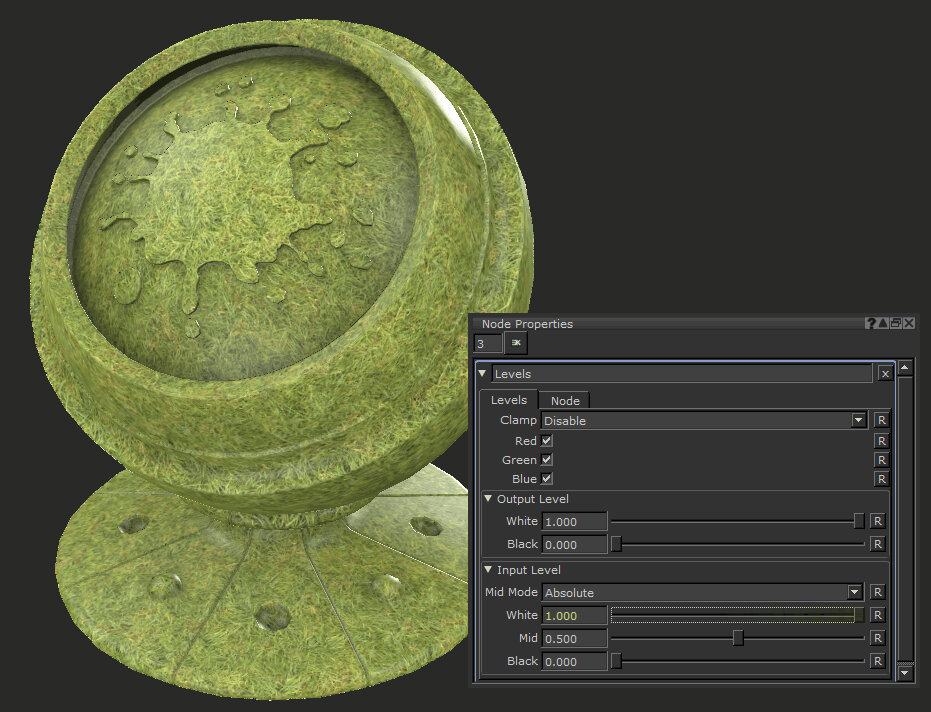
Adjusting the input levels of your White and Black up and down you can add contrast to your textures easily. Unlike a Contrast node, you have a lot more control over making fine tweaks to your dark or light values.
If you have imported image resources that need to match images from a different source (such as an on-set photography reference) a Levels node is a great way to get two images or projections to work together. The Levels node is also a good node to use in conjunction with an HSV node to adjust the Saturation Scale and Hue Shift for final color tweaks.
Creating Secondary Maps with Levels
Levels are especially useful when creating channels from other channels.

An asset which has had a Color and Bump channel already textured. Here we are using Levels nodes with different masks to tweak the values of different parts of the mesh.
The bump for the skin is converted into a Specular Roughness channel so the details line up.
Let's break down how to make a channel from another one:
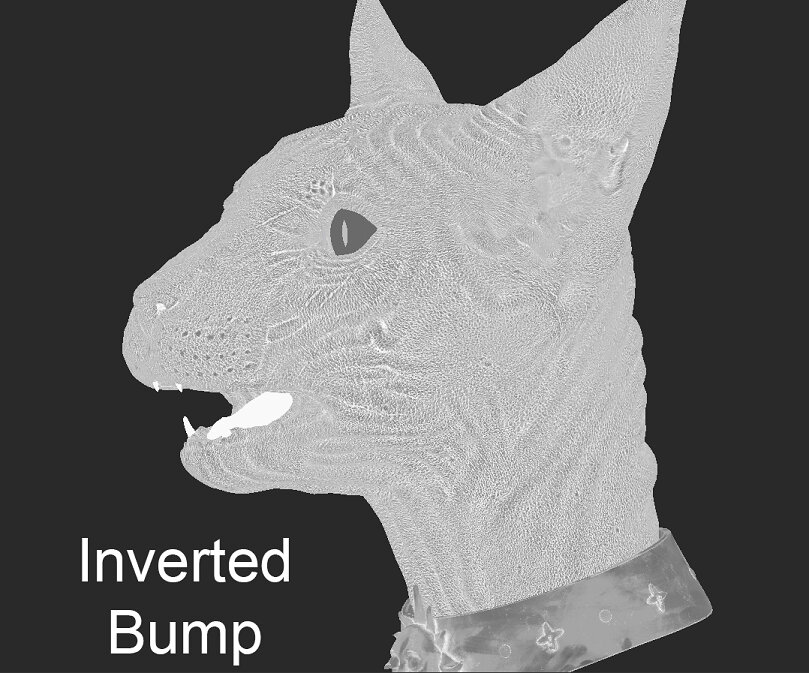
| 1. | Inverting the Bump channel gives you areas that push in to be lighter, meaning they would be more rough. |
| 2. | From there you can use Levels nodes to apply different grades to different parts of the model. |
| 3. | Since you want the inside of the mouth, the nose, and around the eyes to appear wetter, creating a mask for them and using a Levels node means you can grade them darker, making the specularity tighter. |
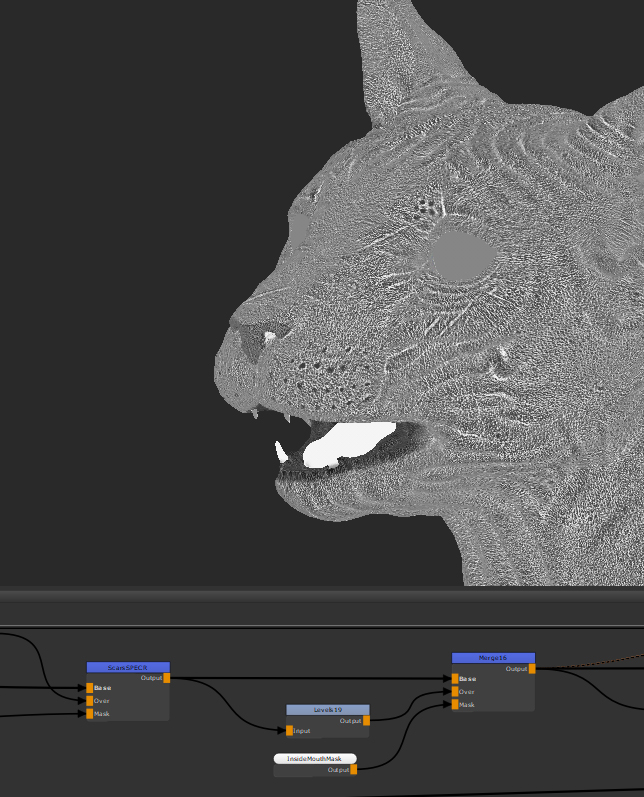
Let’s edit the mouth first. Here is the base texture:
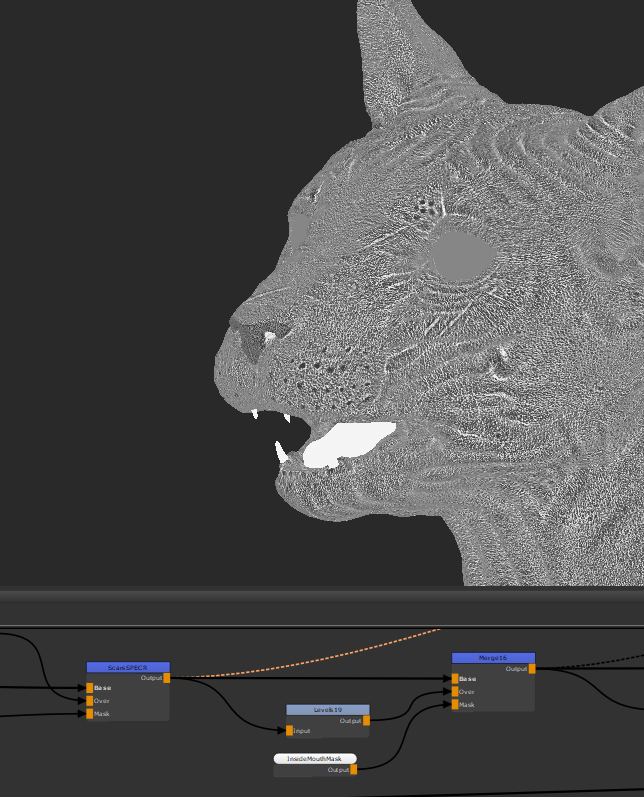
As you can see in the above image we can add a Levels node to darken the inside of the mouth, making the specularity tighter.
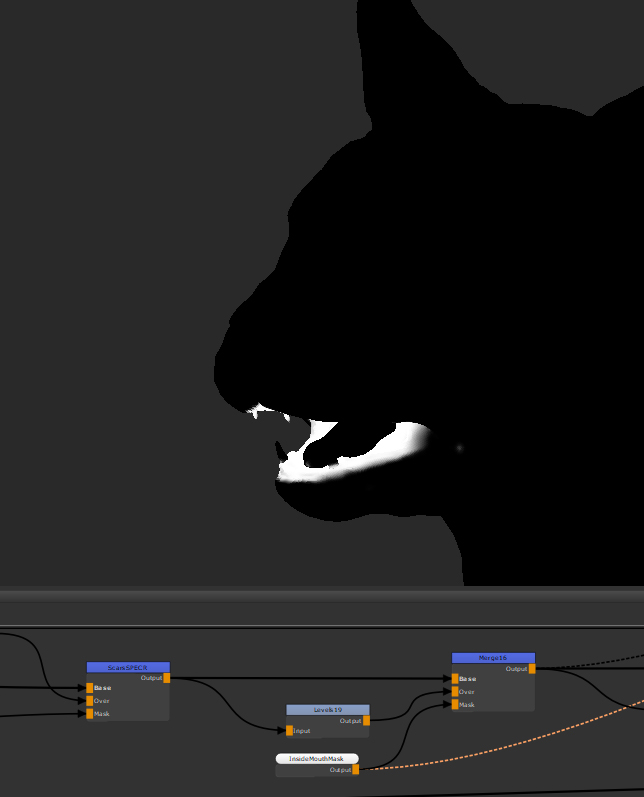
We also need to define which part of the mesh this Levels node affects. We can then use a mask of the inside of the mouth on the Merge node to only make that area darker:
|
The mask. |
The overall effect, isolated to the mouth. |
This is a great way to use the Levels node to add edits to parts of your texture. You can use multiple Levels to make a series of changes to your texture that end up changing one map to be used as another. The image below breaks down the process:
|
|
|
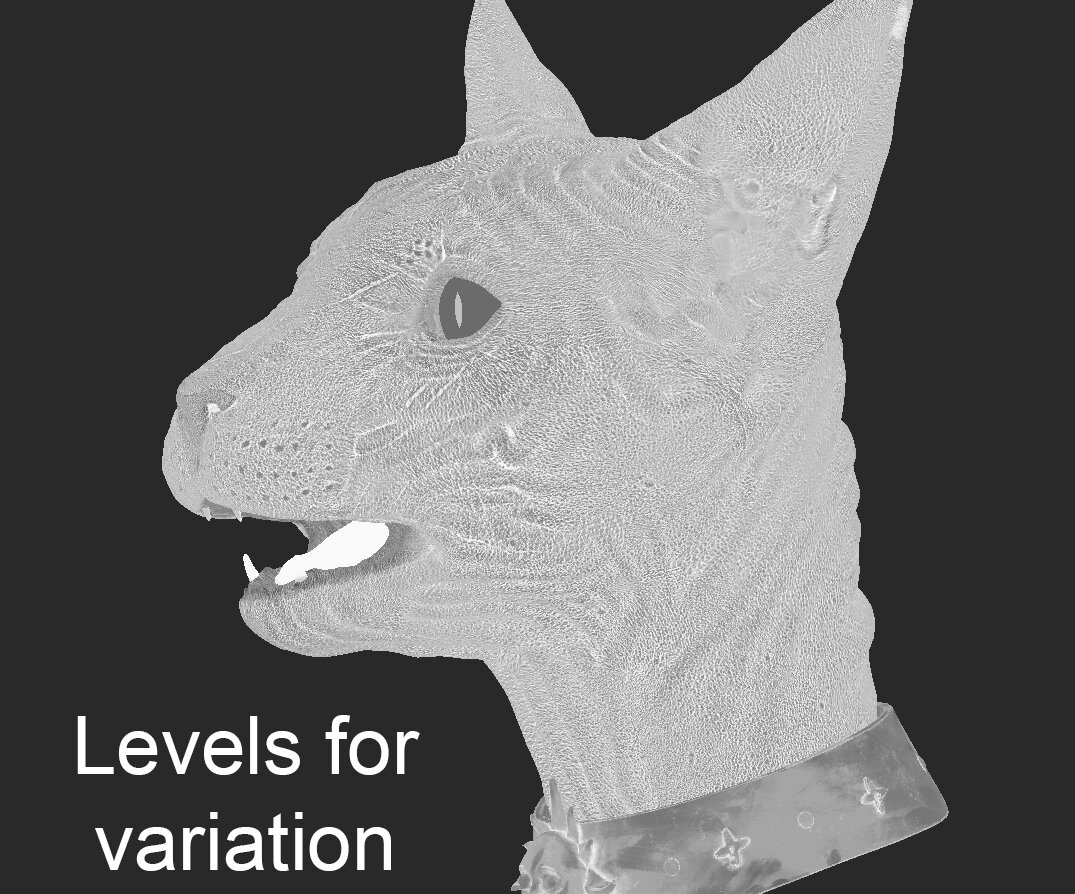
This shows you can use a final Levels node to help add more contrast or overall balance the map.
Experimenting with the Input Level sliders, you are able to add contrast and bring a wider value range in the Specular Roughness channel. Like most nodes, it’s about trying different values until you get the result you want.