Cropping and Filtering Images
| 1. | To create a new image by cropping an image from the Image Manager, click |
Tip: Clicking on the image in this window sets the foreground color to the color at the spot you clicked.
| 2. | Select the crop mode that you want to use. You can select from the following options: |
• Arbitrary - click and drag on an arbitrary area of the image.
• Fixed - enter a fixed size for the crop box (in pixels) and drag it to the area you want to crop.
• Aspect - enter a fixed aspect ratio for the crop box (in pixels) and drag it over the area you want to crop.
| 3. | Now click and drag to select the area to crop, select the Output Size and click |

The selected area appears as a new image in the Image Manager.
Tip: Mari saves a cropped image as part of the project, not as a separate file on disk - unless you specifically save it with a new filename.
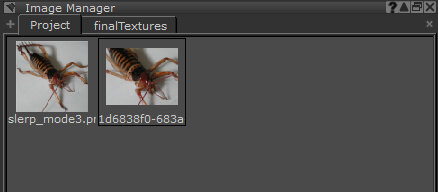
| 4. | To apply a filter to an image, click to select it in the Image Manager and, from the Filters menu, select the filter to apply. |
The Apply dialog box displays.
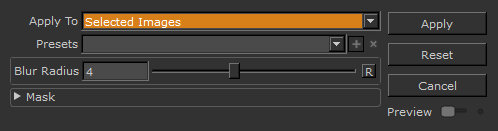
| 5. | Make sure that Apply To is set to Selected Images. |
Tip: For details of the filters available and how to apply them, see Available Filters.
| 6. | Set filter options, and click Apply. |
Mari applies the filter to the image in the Image Manager.
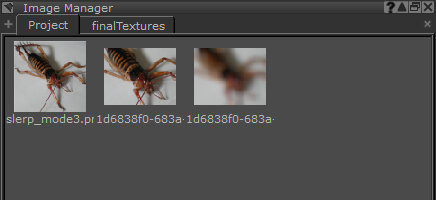
Tip: You can filter multiple images at once. Mari applies the same filter to all the selected images. Filtering an image in the Image Manager breaks the connection between the image and the original file. If you want a copy of your updated image on disk, save it with a new filename.