Warping Paint Using a Grid
The Warp tool lets you warp a selected area within your paint buffer. You create a warp box - a rectangle with between 4 and 64 control points.
|
|
|
|
Warp box with four control points. |
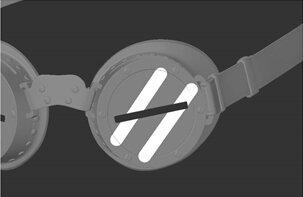
Warp box with 64 control points. |


You can then warp the paint buffer under the box by moving the control points around.
|
|
|
|
Initial transform box |
After some warping. |


To use the Warp tool:
| 1. | If necessary, paint another couple of strokes on the model to experiment with. |
| 2. | Click to select the Warp tool |
| 3. | Click and drag to create a rectangle to warp. |
The warp rectangle displays, with nine control points, and a central rotation pivot (the large point in the center).
Tip: After you draw a warp box, to replace it with another warp box: hold down Shift, click and drag.
| 4. | To warp your selection, you can do the following. |
|
To... |
You need to... |
Example: |
|
Increase or decrease the number of control points (up to 64) |
press the Up or Down arrow keys (á â). |
|
|
Move a single control point |
click and drag it. |
|
|
Move multiple control points |
click and drag out a rectangle covering the control points, then click one of the points and drag it - the other points follow. |
|
|
Rotate around the central pivot |
hold down Shift+R, then drag one or more points. |
|
|
Move the central pivot point |
click and drag it. Be careful to click on the pivot point (the big circle), rather than the central control point. |
|
|
Remove the current warp |
press ' (apostrophe). |
|


| 5. | To complete the warp, do one of the following: |
• draw a new warp box (remember to hold down Shift when dragging to create the new box),
• change to another tool, or
• bake the paint.
Tip: You cannot undo individual stages of a warp. You can only undo the warp as a whole.
Experiment: Have a play with the warp tool. Try:
•moving one point,
•clicking and dragging to select two points, then moving them together,
•using the Shift+ R to rotate points.