Variations with the Switch node
The Switch Node enables you to create multiple variations of any part of your node graph, and quickly change which upward stream is used with a simple dropdown menu. For example, you could choose between variations such as 'Clean' and 'Dirty' by choosing which input should be actively compiled by the shader.
Connecting nodes
• First, add a Switch Node and add input ports to it:
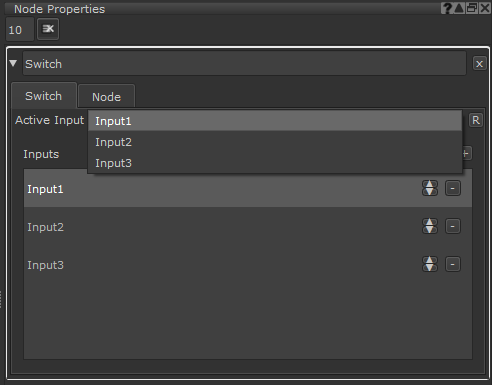
You can create inputs in the Switch node’s Node Properties, finding the Inputs list and using the  button.
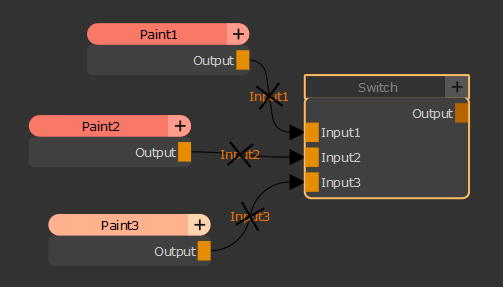
• Set up your node graph so that multiple nodes’ outputs are connected to the Switch node’s input ports.
Node connections example (with all inputs inactive):

Tip: You can rename any input port in the Node Properties by double clicking on the input names in the Inputs list.
Selecting which input to use
In the Switch node’s Node Properties, the Active Input dropdown menu lists all available inputs and allows you to select the desired input by name.

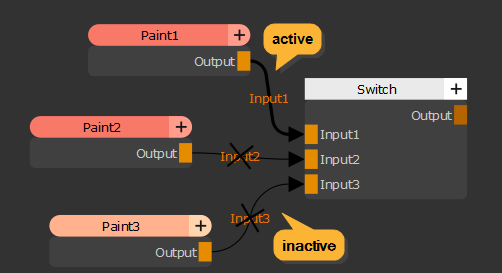
For example, if you select Input 1, Input 1 will be marked as active and Inputs 2 and 3 will be marked as inactive. Active input connection lines are shown in bold. Inactive connections show a cross on the node connection.

You can use this tool to create variations of materials and quickly switch between them, making your Mari project more versatile and efficient. To more about how to apply this to Materials, see Authoring Material variations using the Switch node.
Tip: Inactive inputs and streams are not evaluated by the shader which can help to improve performance.
Note: Inactive streams may also be referred to as ‘disabled’ streams. For more information about how to disable streams, go to Working with Nodes.
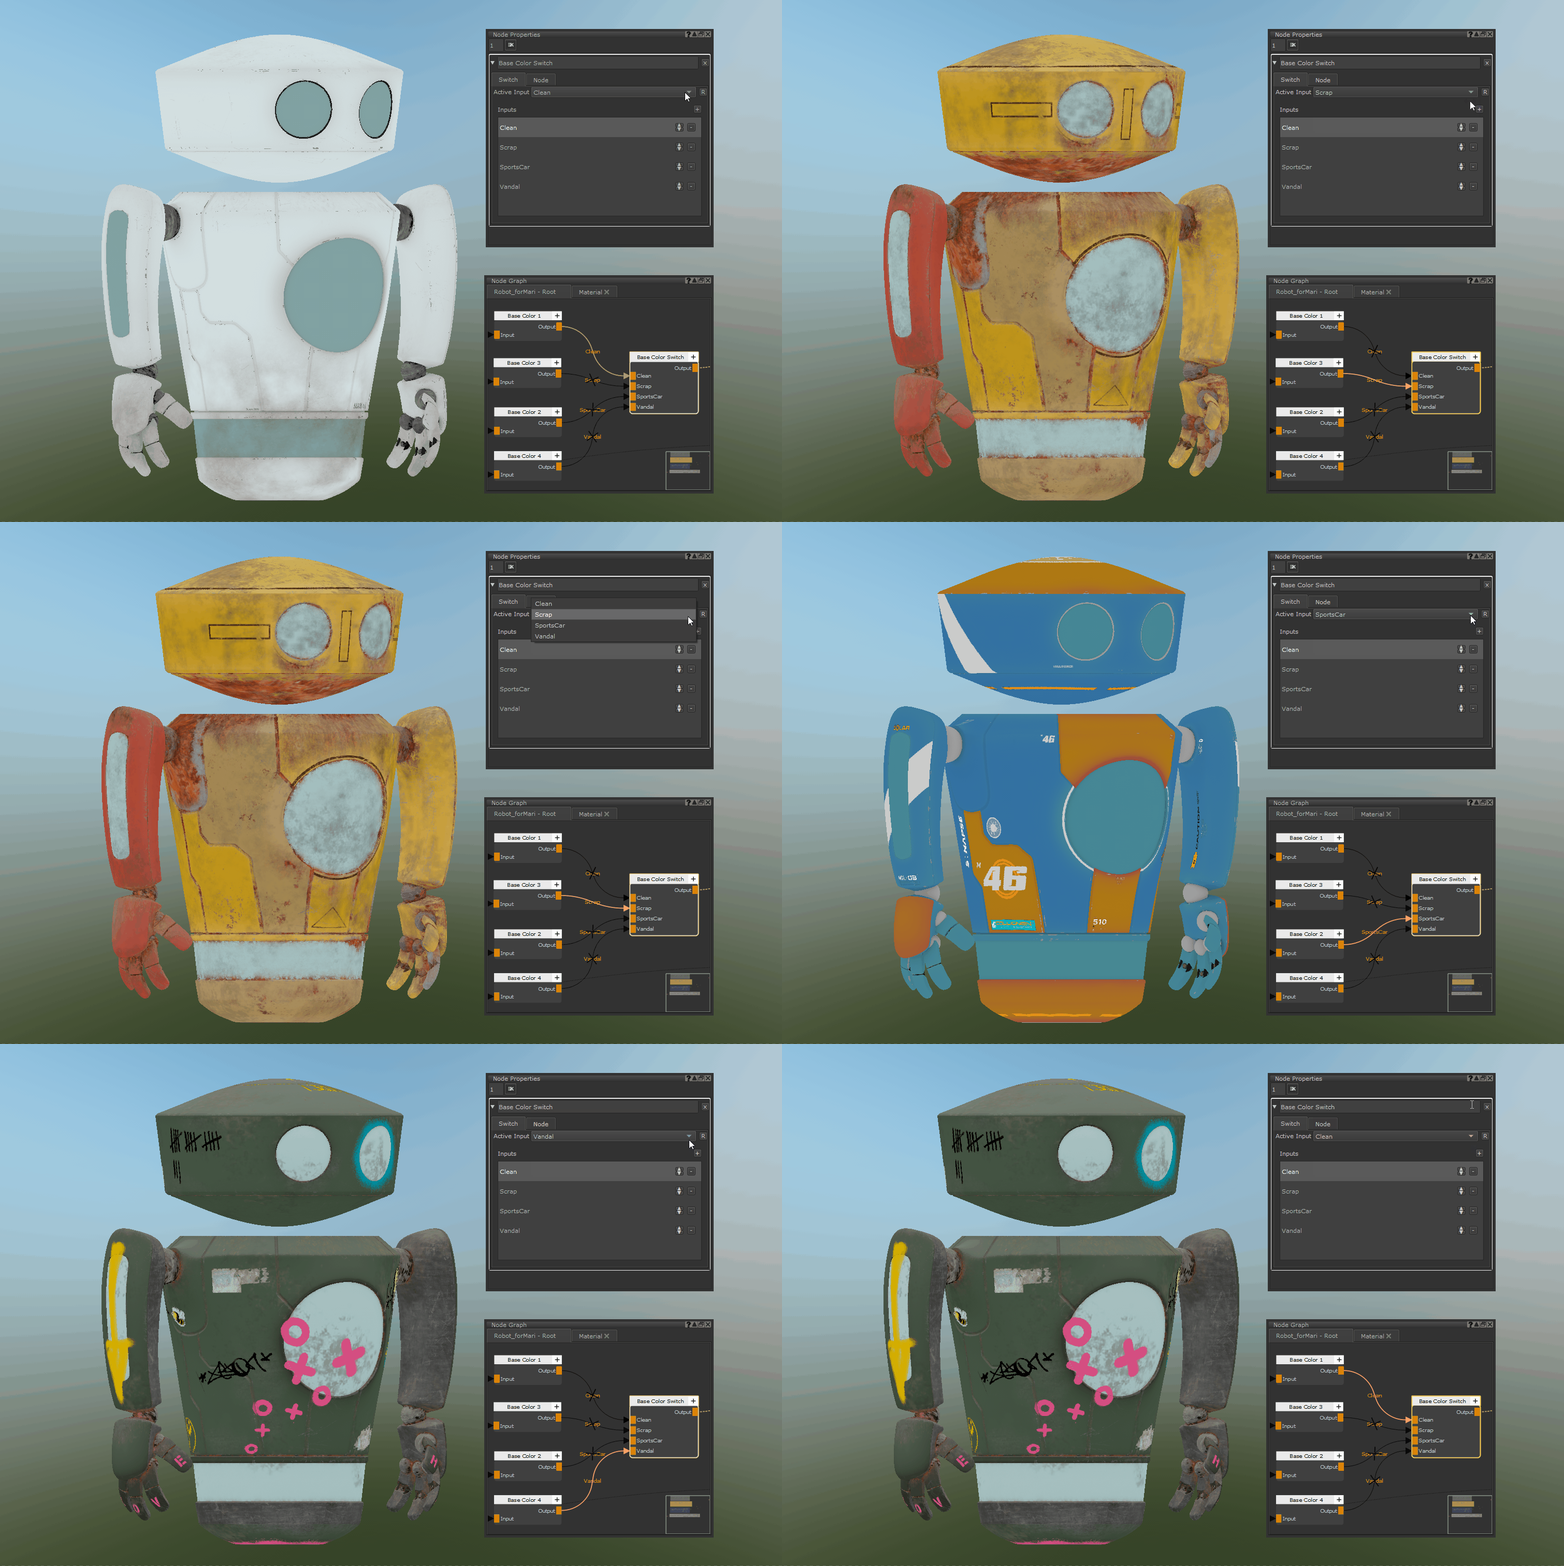
This example shows how quickly looks can be changed using this method:

