Contrast Node
Access: Nodes > Filter > Contrast
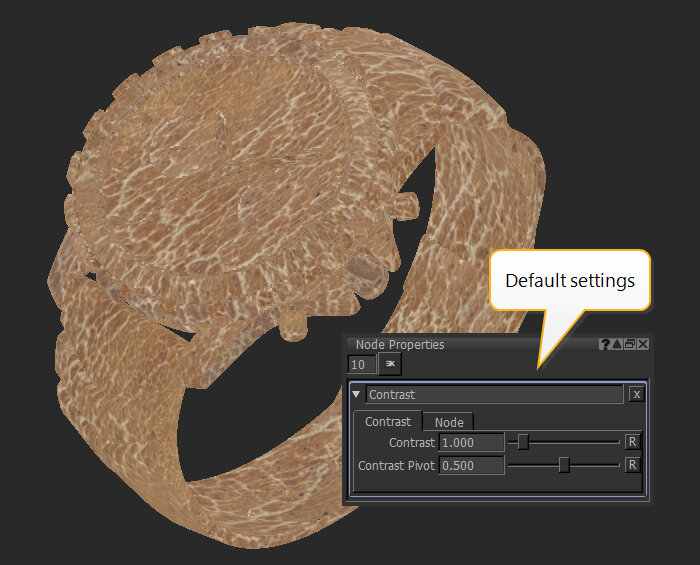
The Contrast node is a filter node that adjusts the input data by linearly adjusting the difference in luminosity between the light and dark areas of a source texture.
|
|
|
|
|
Contrast node's default settings |
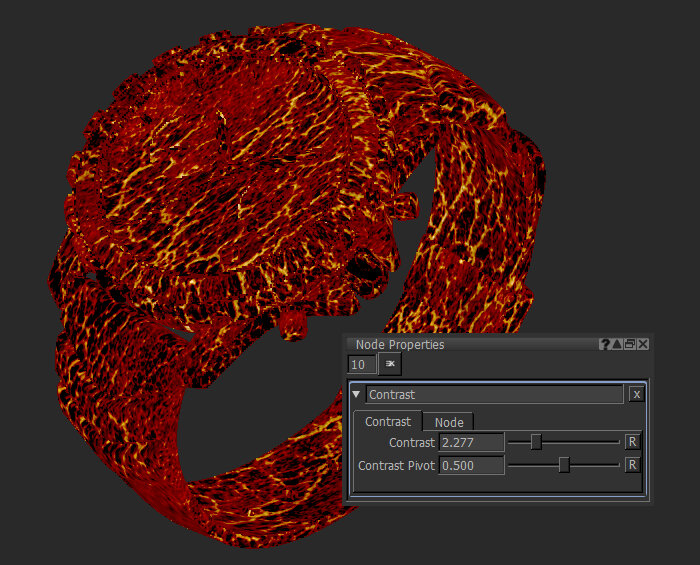
Contrast node's increased Contrast |
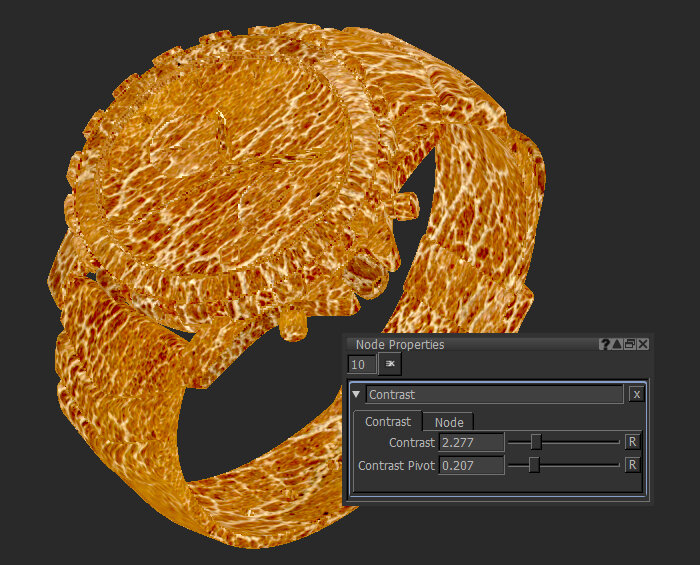
Contrast node's increased Contrast, |
Contrast Node Inputs
Input - Any nodes containing textures or paint that need to be altered can be connected to the Contrast node, for example, Tiled and Paint nodes.
Contrast Node Properties
| Contrast
floating point control |
Adjusts the difference in luminosity between light and dark areas. |
| Contrast Pivot
floating point control |
Sets the point around which Contrast is adjusted. |
Contrast: Node Graph Workflow Example
Example - Achieving Contrast Operation
In the example below, let’s use a Contrast node to emphasize the dark brown pigments of the model.
| 1. | Add a Paint node. |
Adding a Paint node.
This is the original texture.

The model has some dark brown pigments on his face.
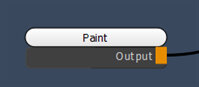
| 2. | Create a Contrast node. Connect the Paint node to the input of the Contrast node. |
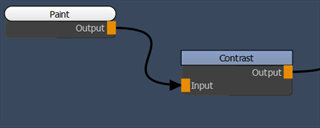
Adding a Contrast node to the Paint node output.
| 3. | Open the node Properties of the Contrast node and set the Contrast parameter of the Contrast node to 1.200. |
Notice how the dark brown pigments now look darker.
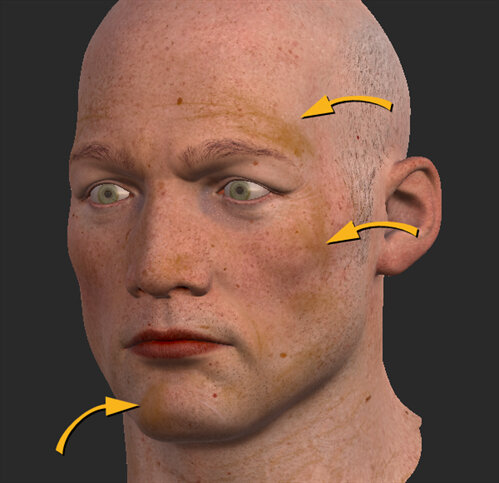
Contrast node’s Contrast set to 1.200.
The dark brown pigments now look darker.