Bake Your Decals into Your Texture Maps
Decals are a way of placing images on your models in a way that is similar to placing stickers on a surface in the real world. You can render or bake your decals into your asset's material or texture maps. One decals are placed on the surface of your asset, the textures contained by your decal can be transferred and baked onto your asset's textures and exported from Modo and applied to your asset in other digital content creation (DCC) packages or game engines.
Note: Before baking your decals, you must have a material containing your decals and a floating decal in your scene. For more information on creating, setting up, and projecting a decal, see Projecting Decals with Planar Decals.
Setting up the Surface Probe
Before baking your decal into your asset’s textures, you must create a surface probe. The surface probe lets you project a texture from a decal onto the surface of an asset so that it can be rendered or baked on the final asset. The surface probe is a Texture item In the Shader tree that allows you to determine the distance between the decal you want to bake and the surface it is baked onto. Once the distance is determined, the surface probe uses probe rays to transfer the texture present on your projected decal onto the surface of your mesh.
Before using the surface probe, you must be working with a scene that contains a target mesh for the decal to be projected onto and a projected decal that has been placed on your mesh.
To use the surface probe:
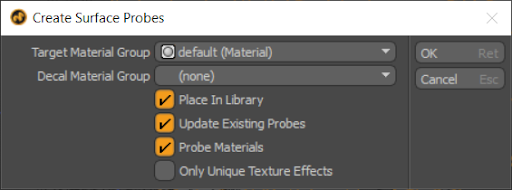
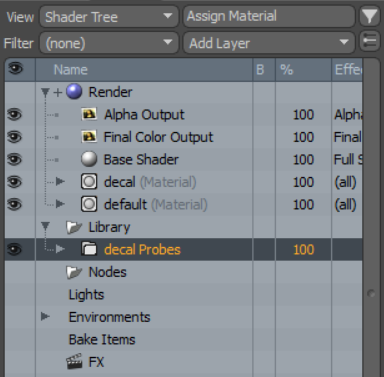
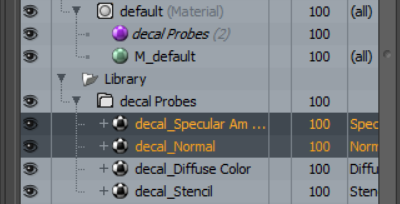
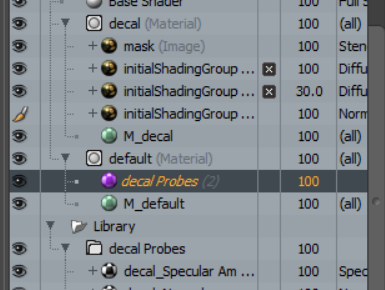
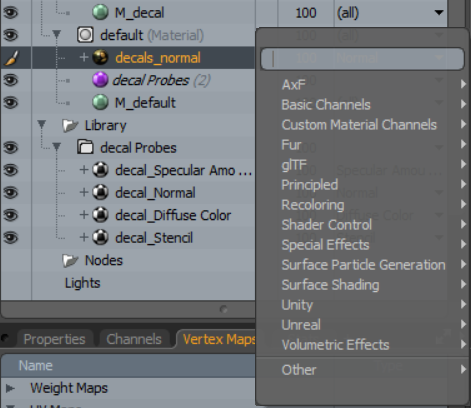
If Place in Library is enabled, a new surface probe material item is added to the material selected in the Target Material Group parameter. A new folder called Decal Probes also becomes available within the Library folder in the shader tree. The decal Probes folder contains texture layers corresponding to any layer effects within the material set in the Decal Material Group parameter.
Adjust the Surface Probe to Ensure a Clean Bake
For the surface probe to work well and prevent distortion on your decals as they bake, your decal must be close to the surface of your mesh. The Offset of your decal determines how far from the surface of your mesh your decal is sitting. The Probe Ray Max Depth determines how far the Surface Probe has to probe before hitting the surface of your mesh. To do this, you need to adjust the Offset of your decal in the Decal Planar MeshOp, and the Probe Ray Max Depth in the texture layers you want to bake. It is best for the Probe Ray Max Depth to be slightly higher than the offset in the decal planar MeshOp.
Tip: For more information on setting up and projecting decals and the settings in the Decal Planar MeshOp, see Procedurally Project Planar Decals with The Decal Planar MeshOp.
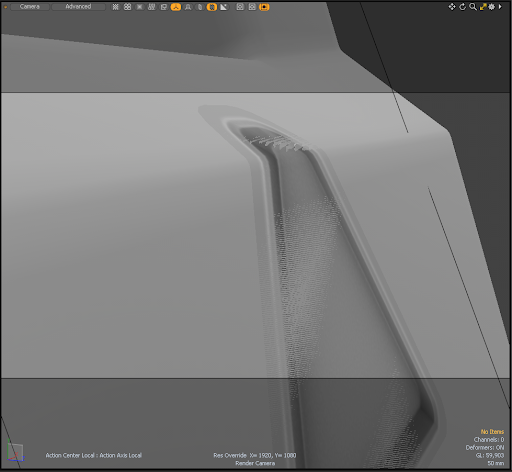
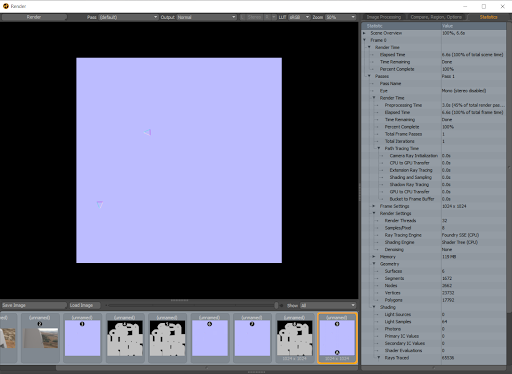
When adjusting your Offset, view your decal in the Preview renderer. Preview render lets you view your decal clearly on the surface of your mesh when it is offset by a low amount.
To start a Preview render, select Render > Open Preview. Alternatively, press F8 on your keyboard.
|
|
|
|
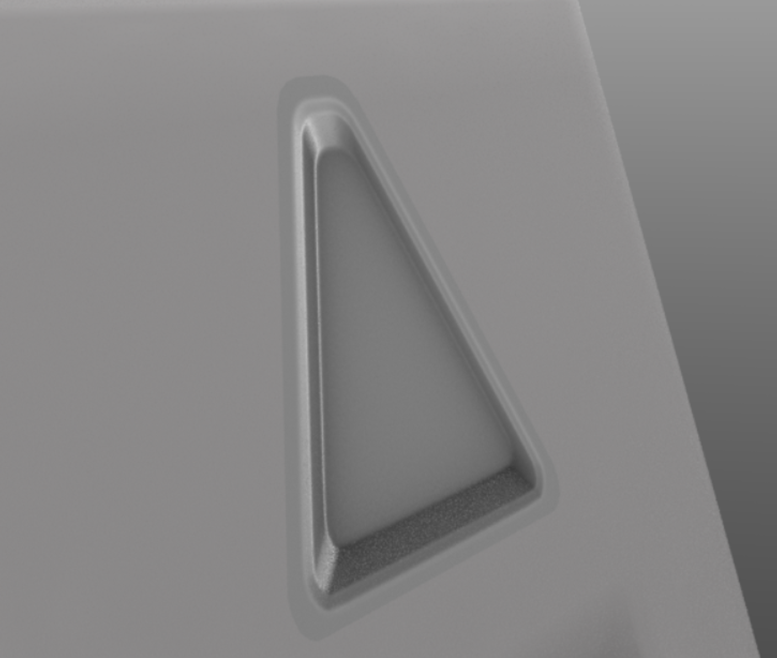
Decal with its Offset set to 1 um, viewed in the 3D viewport. |
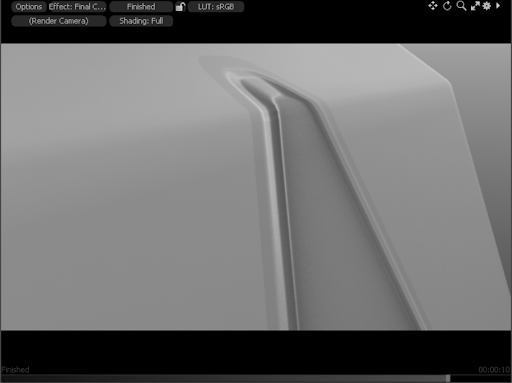
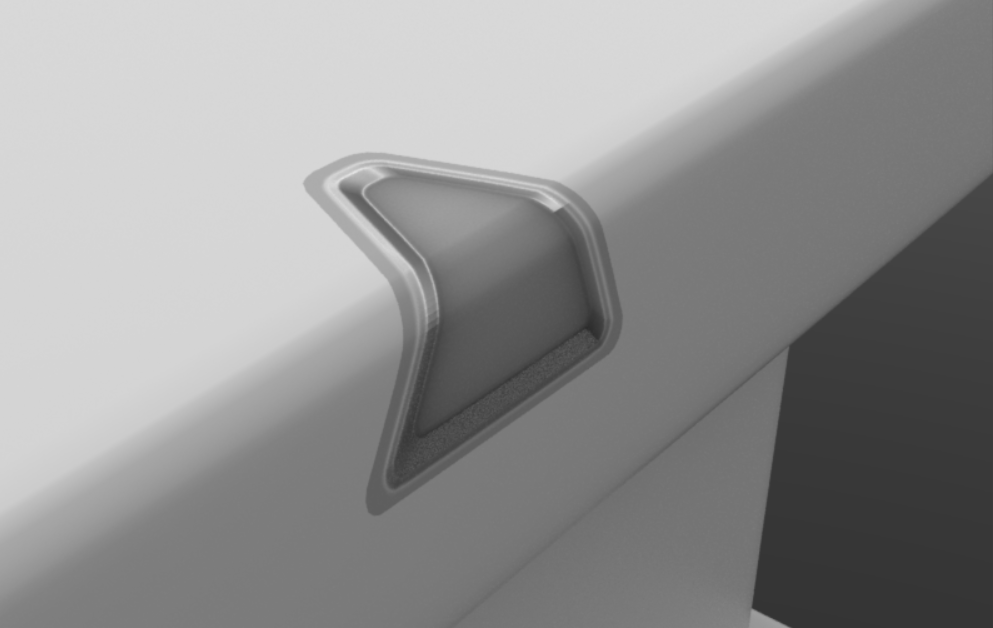
The same decal, with the same Offset amount, but viewed in the Preview render. |
To adjust the offsets of your decals:
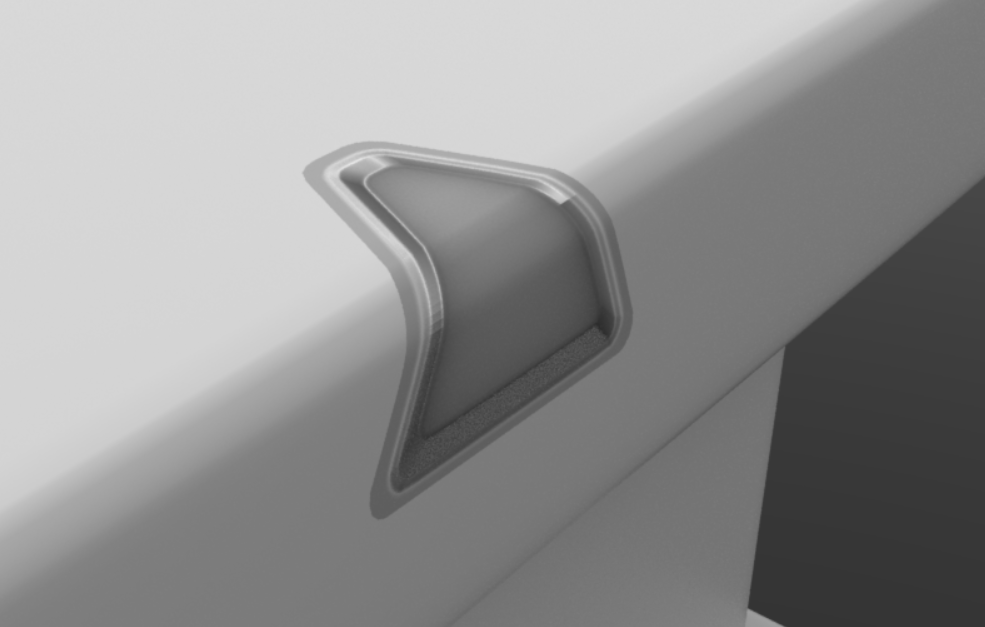
As the decal’s Offset is adjusted, the decal moves closer or further away from the surface of your mesh. If the decal is too far away, the decal may become distorted. If the decal is too close to the surface of your mesh, parts of the decal may become occluded.
The Offset amount value should be as low as possible, to allow the decal to sit close to the surface of the mesh and prevent distortion. For example, decals on flat surfaces should have their offset set to a value around 1 mm.
|
|
|
|
Decal projected with a high Offset amount. |
Decal projected with a low Offset amount. |

The Offset of your decal is heavily dependent on the geometry it is projected onto. For example, decals that cross a corner or a curved surface may need a lower offset than a decal projected onto a flat plane.
|
|
|
|
Decal projected on a corner with an Offset of 5um. |
Decal on a curved surface with an Offset of 2mm. |
Once the decal’s Offset is adjusted, the Probe Ray Max Depth must be adjusted. Probe Ray Max Depth controls how far into the receiving surface the decal needs to be projected.
To adjust the Probe Ray Max Depth of the surface probe:
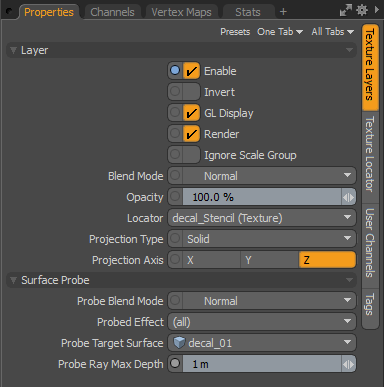
The value of the Probe Ray Max Depth should be roughly the same as your decal’s Offset value for the best results.
The Probe Ray Max Depth and Offset channels can be connected within Modo’s Schematic viewport, allowing the Decal Planar MeshOp to drive the Probe Ray Max Depth directly.
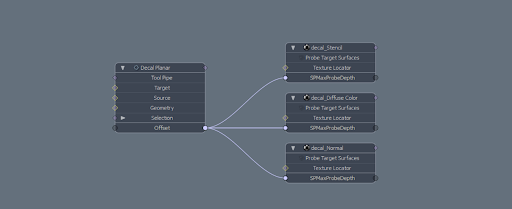
MeshOps are added to the schematic viewport by dragging the MeshOp from the Mesh Operations Viewport into the Schematic viewport. Specific channels, such as a texture's Probe Ray Max Depth are added to the schematic viewport by middle mouse-dragging a selected channel into the schematic viewport.
Tip: For more information on how to access, use and add nodes to the Schematic Viewport, see Schematic Viewport.
Bake Decals into Texture Maps to Export from Modo
After the surface probe is set up, decals are flattened or baked into the receiving surface’s material. You can then save your textures out of Modo. Baking and exporting textures with decals from Modo allows you to quickly and easily reuse and repurpose your decals in third-party digital content creation packages like Katana without needing to re-project them onto the surface of your mesh.
Decals cannot be baked onto your texture maps without a Surface Probe texture item being present in the receiving material. For more information on how to set up a Surface Probe, see Setting up the Surface Probe.
Note: When baking, make sure your UV Bake Border distance is set properly. For more information on setting your bake order distance, and baking in general, see Baking.
To manually bake your decals:
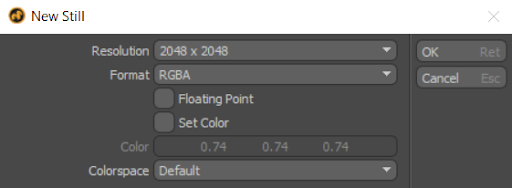

Modo automatically exports baked maps to the save location specified when the bake was triggered.
Decals can also be baked using the Texture Cache and well as the Bake Item in the shader tree. For more information, see Optimize Your Textures Using the Texture Cache and Working with Bake Items and Baking Tools.