The Data preferences determine how Modo handles file data.

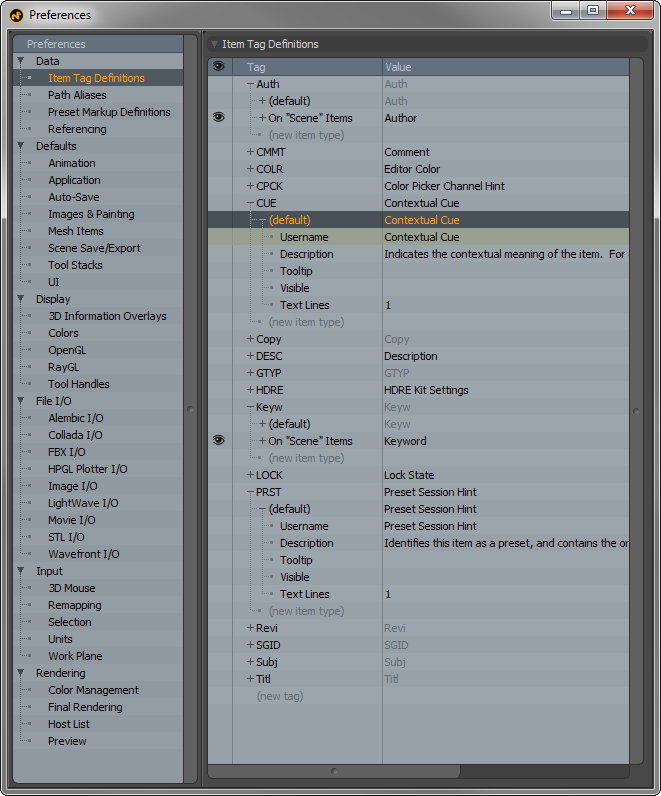
The Item Tag Definitions provides names, descriptions and tooltips for items, which show up in the Tags sub-tab in the Item Properties viewport. The tags are four-character identifiers associating arbitrary strings. Each item can have any number of tags, although only one of each type of tag. The editor also allows the number of lines to be set (for a multi line tag like Comment) and allows tags to be hidden (for internal tags used by scripts/plug-ins). The Item Tag Editor, which is actually an embedded viewport, is intended for use mostly by scripting and plug-in developers. They can be helpful to you in that they allow arbitrary information to be associated with specific item layers, such as adding instructions within a scene that applies to a certain item.

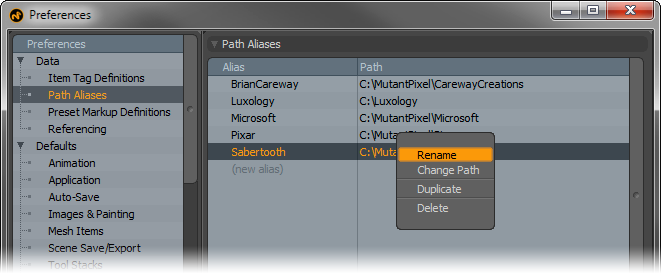
Path Aliases provide a means to easily move Modo scenes between disparate computer hardware. You can define an Alias that represents an absolute path on the local system. Any files within a scene that contain the defined path, use the alias instead. When the scene file is moved to the next system, if the same aliases are defined with appropriate paths, when Modo comes across any alias in the scene the provided path is used.
For example, Machine 1 path is C:\Animations\LostSkeleton\Scenes\. This path is defined as an alias called LostSkeleton. When files are loaded into the scene from this directory, their path is LostSkeleton internally.
Machine 2 path is /Users/Lighting/Scenes/LostSkeleton. This path is also defined with the alias LostSkeleton. You can copy the files from Machine 1 into this directory. When Modo opens the sceneand it encounters images saved in the folder LostSkeleton, the path alias defined on machine 2 is used to search for the images for loading. Only the alias itself needs to be identical, the paths do not. The content needs to exist within each location, as well.
There are also options available by right-clicking on the Alias and Path. You can rename, change the path, duplicate or delete an alias.

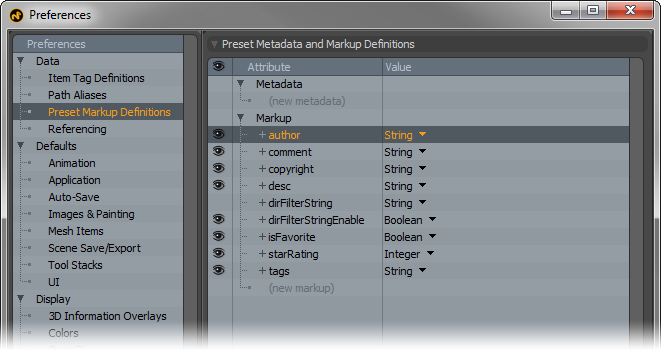
The Preset Markup Definitions are definitions assigned to assets within the Preset Browser for the purpose of adding metadata to the individual files. Adjustments to these settings appear when the Edit Markup pop-up panel is opened.

These options define the default referencing behavior of imported references. These behaviors can be modified on a per-scene basis in the Reference Override Settings dialog box. For additional information, see Import Reference. The operations include:
• Allow Channel Overrides: Changes made to any of the associated attributes of the item itself, such as changes to the transform values or item specific changes such as changing a Mesh Items subdivision level.
• Allow Name Overrides: Changes to the referenced items' names (overrides are tracked by an internal ID assigned when the items are imported).
• Allow Structural Overrides: Changes to the hierarchies of the referenced elements, meaning their ordering in parent child relationships can be changed, or their positions within the Items lists.
• Allow Deletions: Control whether or not referenced items can be removed from the master scene.
• Allow 3D Selections: Controls the selectability of the referenced elements in the 3D Viewports.
Each of these operations have four possible states governing it.
• Always Allowed: Override changes can always be made of the designated type.
• Never Allowed: Overrides cannot be assigned, editing of the referenced items is locked.
• If Allowed by Item: Overrides cannot be applied, unless explicitly set as Enabled by the reference item setting.
• Unless Disallowed by Item: Overrides can always be applied, unless explicitly set as Disabled by the reference item setting.
The latter two settings can be defined directly on the items, either within their source scenes, or as referenced items within the master scene. To do this, select the target element to control, and then in the menu bar, select Items > References > Item Override Settings, which opens a dialog box.