Flip Polygon
The Flip Polygons tool enables you to quickly reverses the normals of polygons to assist you in correcting UVs while working in the UV Viewport. You can select a mesh item or a selection of surface polygons and toggle the Flip Polygon tool off and on to see the results. The Procedural Mesh Operation, Flip Polygons, is found by clicking Add Operator and expanding Mesh Operations > Polygons.
Flipping UVs using the Procedural Modeling Method
The following is a workflow example, which demonstrates how to us the tool.
To apply the Flip Polygon tool using procedural tools:
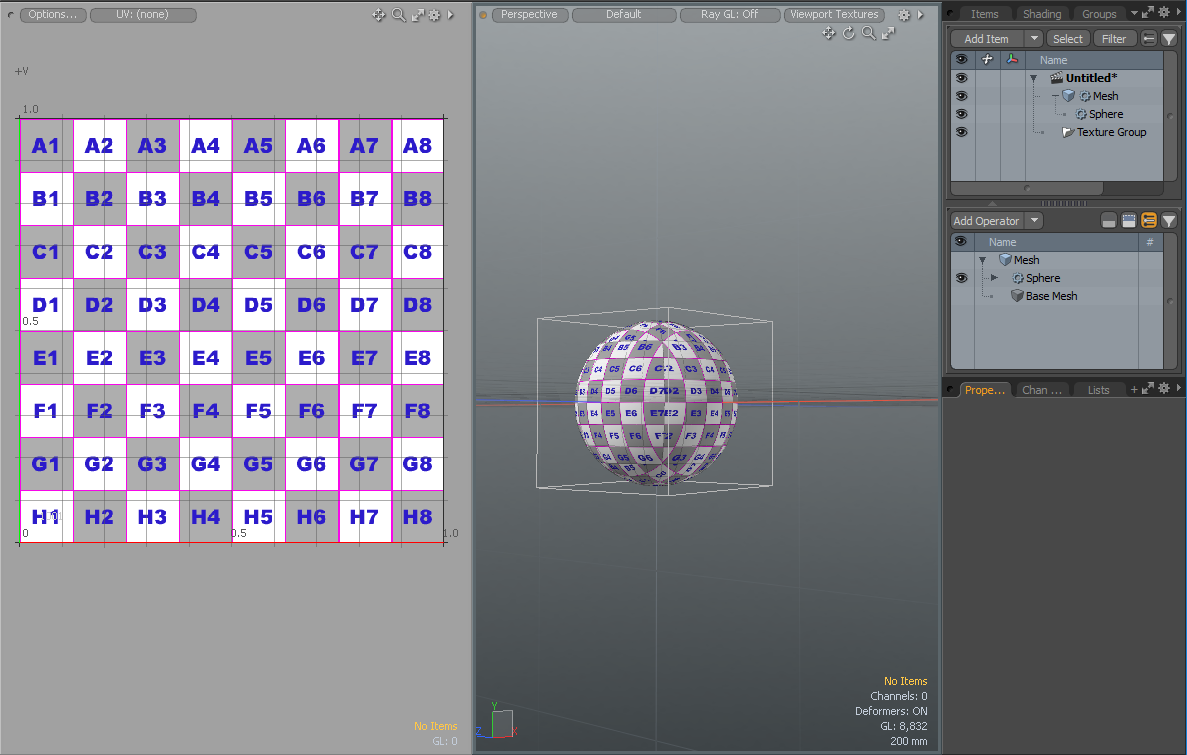
| 1. | In the UV layout, click Viewport Textures in the 3D Viewport, and select UV Textures > Grid512.png. |
The UV Viewport displays the texture.
| 2. | Open the Mesh Ops tab on the right panel. |
| 3. | Click the dropdown arrow beside the Add Operator button, select Procedural Modeling > Create > Primitives > Sphere. |
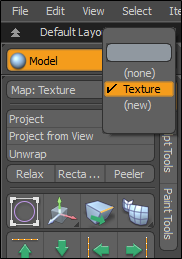
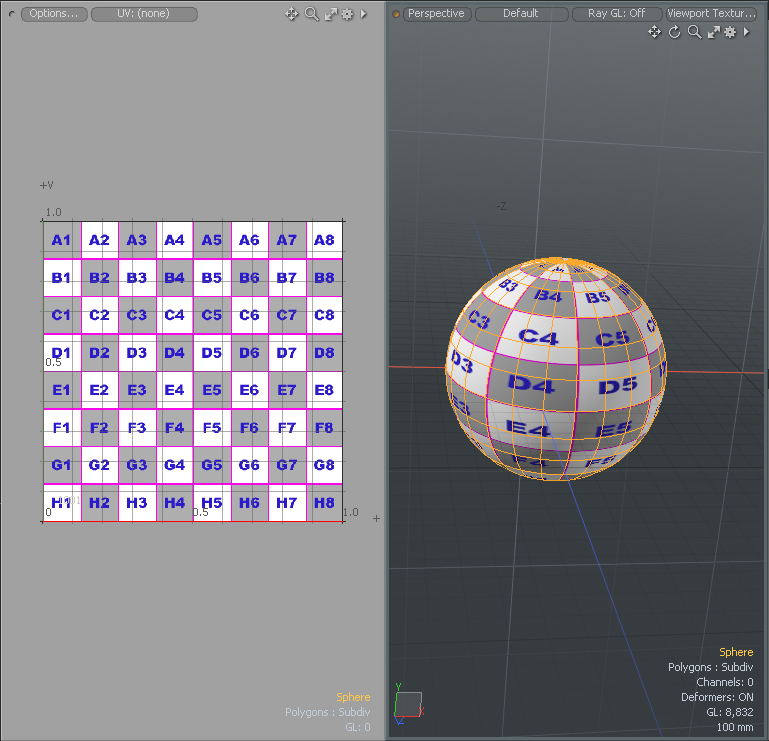
| 4. | On the Toolbox, located in the left panel, click Map:Texture > Texture. |
The Sphere is displayed in the 3D Viewport with the UV Texture.
| 5. | In the 3D Viewport, with Items selection mode enabled, select the Sphere. |
Tip: You can also select surface polygons to flip by enabling the Polygon selection mode and selecting a number of polygons.
| 6. | Click Add Operator and select Mesh Operations > Polygons > Flip Polygons. |
The properties display on the bottom right panel with Flip Polygons enabled.
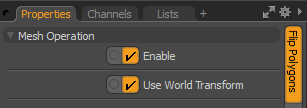
| 7. | Toggle the Enable option to view flipped UVs in the UV Viewport displayed in yellow. |
Click on the image below to view an animation.
Tip: To display flipped UVs in the UV Viewport, open the UV layout, click the Options button, and enabling Show Flipped. This option is independent, meaning you can Show Flipped and other menu options, such as Show Overlap, at the same time. 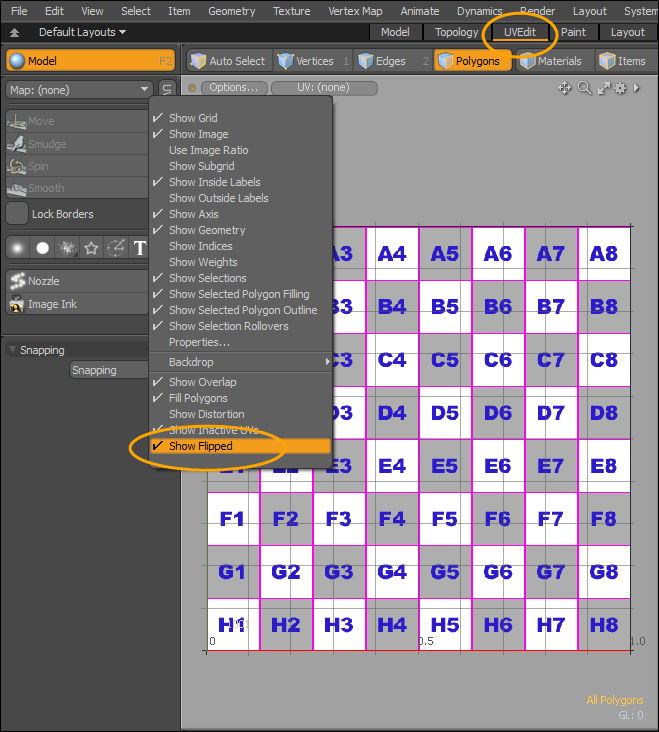
Direct Modeling Flipped UV Example
The following example walks you through the process of flipping UVs for a duplicated Mesh item, created by using the Mirror tool.
To flip UVs using direct modeling tools:
| 1. | Open the UVlayout. |
| 2. | Click the Model tab on the top left corner to open the Modeling toolbox. Alternatively, press F2. |
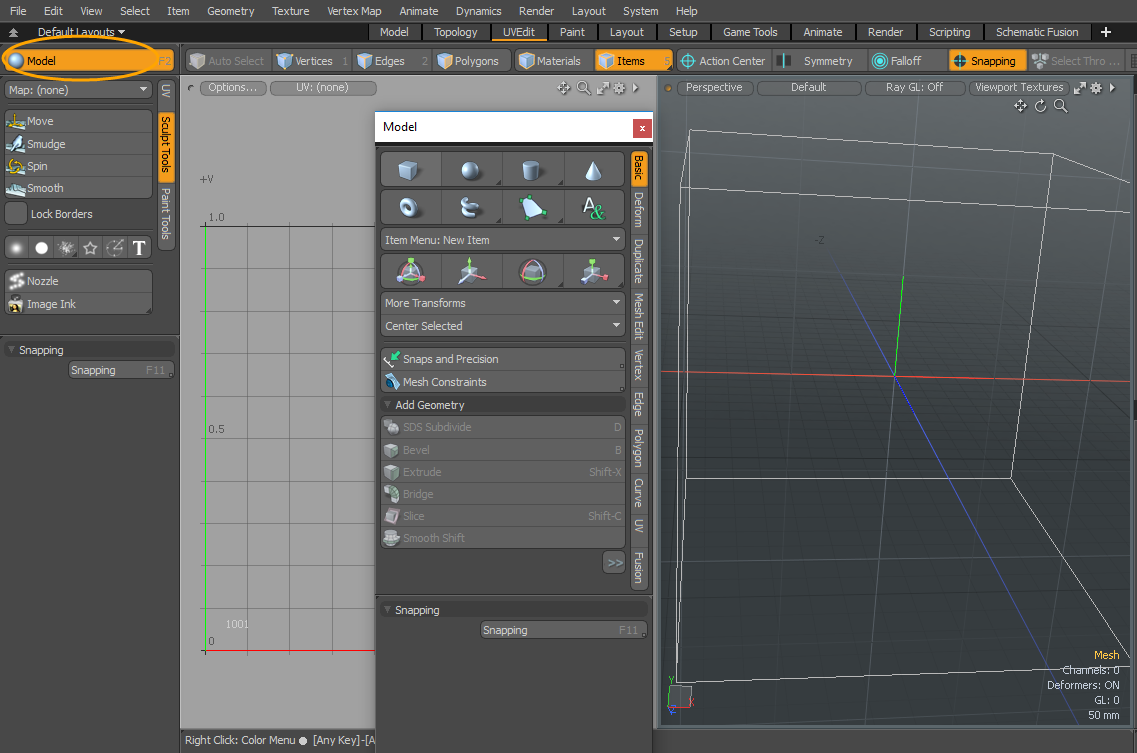
| 3. | Press Shift and click Sphere to add to your scene. |
| 4. | In the 3D Viewport, click Viewport Textures and select UV Textures > Grid512.png. |
The Sphere displays with the numbered texture.
| 5. | From the Toolbox on the left panel, click Map:Texture > Texture. |
The UV Viewport displays the UVs in the correct orientation.
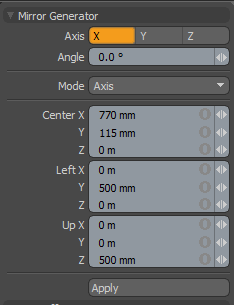
| 6. | From the Model Toolbox, open the Duplicate sub-tab, and click Mirror. |
| 7. | Set the following options and click Apply. |
A duplicate Sphere is added to your scene.
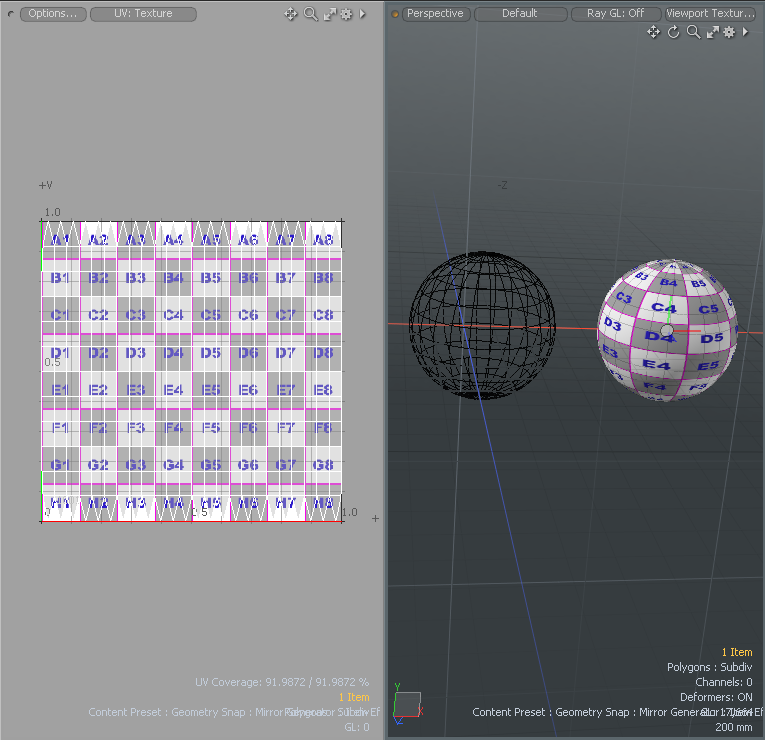
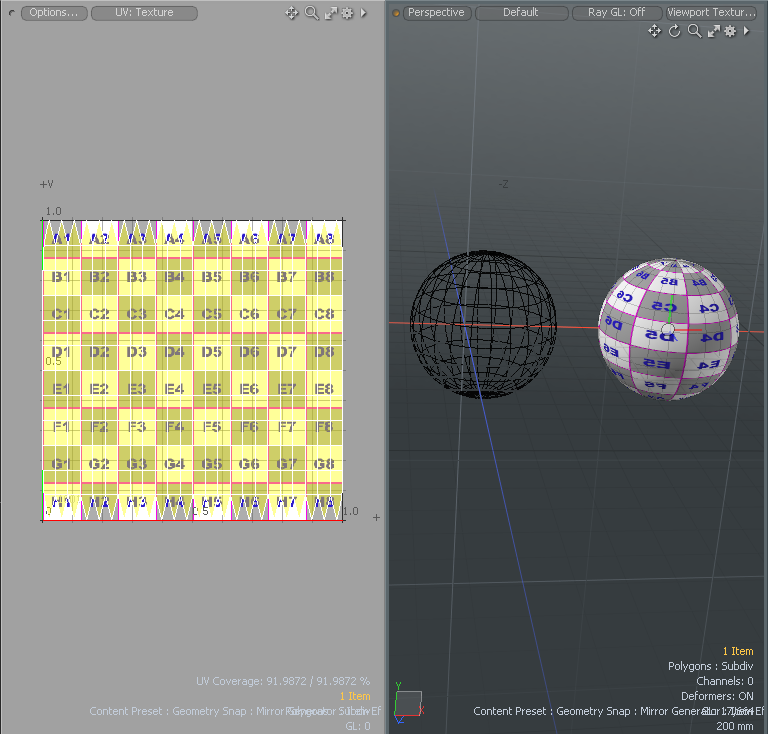
| 8. | From the application menu, enable the Items selection mode, and then select the UVs of the mirrored Sphere in the UV Viewport. |
The inverted UVs display in yellow.
| 9. | With the UV layout open, in the left panel, open the UV sub-tab, and click Flip > Flip U. |
The UVs flip back to the correct orientation.