Material Presets
The Material Preset is a layer in the Shader Tree that references a material preset from the Preset Browser, and allows you to easily change the materials on an item.
Tip: For more information on using the Preset Browser, see Preset Browser.
To add a Material Preset:
| 1. | In the Shader Tree, click Add Layer, and under Special, click Material Preset. |
The Material Preset layer is added to the Shader Tree, and its properties open in the lower-right Properties panel. You can see the available materials in the Preset Material section. Only the materials on your hard drive can be found here.
You can use the standard Preset Browser buttons to navigate among your materials and adjust the layout of the section.
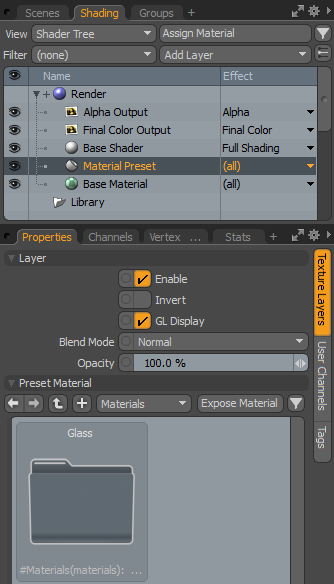
| 2. | In the Properties panel, under Preset Material, click the material you want to load. |
The selected material is applied to your item.
Note: When selecting a fur material, Modo displays a warning, prompting you to autosize the material:
| 3. | If you decide to use a different material, click on another one in the Preset Browser. |
Note: Material Presets may not always show the correct preset as selected in the item properties. You can look at the filepath channel in the Channels list if you need to know which preset file a material preset item is referencing.
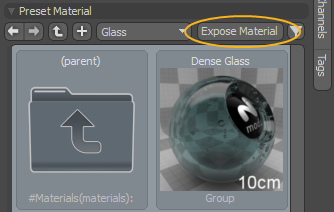
You can convert the Material Preset to a standard texture group by clicking the Expose Material button in the Properties panel. This allows you to fully edit all layers in the group.
Tip: For more information on material groups, see Material Group.