The Lists Viewport
The top-right portion of the interface gives you access to the Lists Viewport (Figure 1.42). This viewport is organized by a series of tabs that separate each list, allowing you to focus on a specific task.
This quick video demonstrates the Lists Viewport as well as the Properties, Channels, Vertex Maps and Statistics tabs.
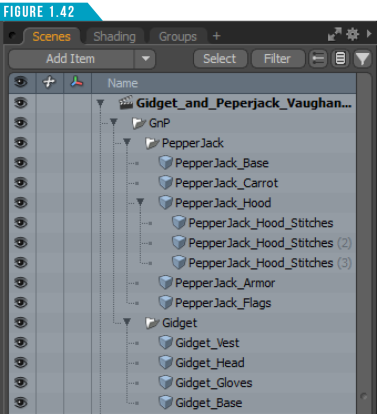
The Scenes Tab displays by default and gives you access to the Items List. This important list allows you to create, edit, and organize the items that make up the scene (meshes, locators, lights cameras, etc.).
In the case of the Gidget and Pepperjack scene I had you open earlier <Course Files Link>(Modo_ Essentials/ Source/ S1/ Scenes/ Gidget_and_ Pepperjack_Vaughan.lxo), there are twelve mesh items, four group locators, three lights and a camera.
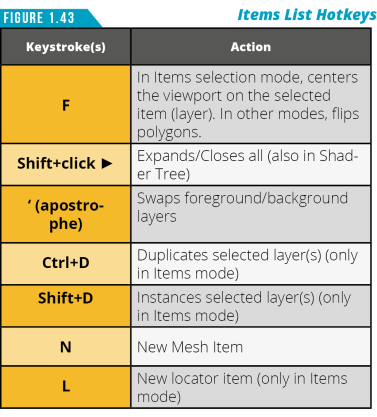
You can use the Items List for selection, creation, deletion, and re-ordering of items and entire scene files, creating parent and child hierarchies, setting visibility, editing item properties, and creating basic groups for general organization. Use the hotkeys in (Figure 1.43) to speed up working in the Items List.
The Shading Tab gives you access to the Shader Tree (Figure 1.44). The Shader Tree controls how the final rendered image will appear for surfacing. This is where you create and organize materials, shaders, textures and more.

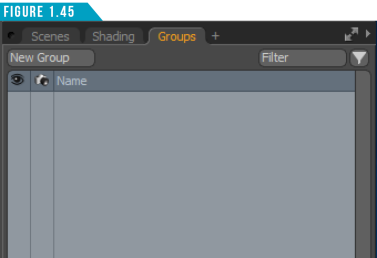
The next tab in the Lists Viewport is the Groups Tab (Figure 1.45). This houses the Groups Viewport, which is used to create groupings of items in a scene, making it easier to select and manipulate multiple items, as well as for controlling lighting (light linking), making multi-item Replicators and for working with animated scenes when setting keyframes.
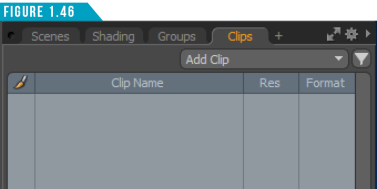
The plus sign (+) to the right of the tabs enables you to add additional tabs to the Lists Viewport. I like having quick access to a list of all of the external images loaded in the scene, and this can easily be added by clicking the plus sign (+) and choosing (Data Lists/Clips). A new tab will be created, giving me the ability to add and manage images. (Figure 1.46).
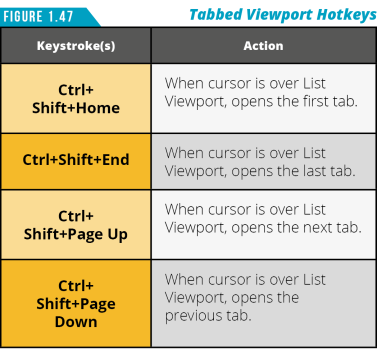
Feel free to add and reorganize the tabs. To change the order of the tabs, simply leftclick and drag them to the position you’d like them to be located. The drop position is indicated by a small orange line. Use the keyboard shortcuts shown in (Figure 1.47) to quickly navigate the tabs. Spend a few minutes exploring the Lists Viewport and the hotkeys.
Properties/Channels/Vertex Maps/Statistics
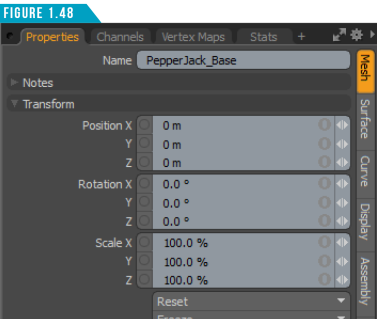
Below the Lists Viewport is an additional viewport consisting of more tabs (Figure 1.48). These tabs can be reorganized the same way as the Lists tabs and use the same hotkeys shown in (Figure 1.47) for navigating. By default, the Properties Tab will be displayed. This is one of the most important areas of the Modo workspace. Every item in Modo has a series of attributes associated with it, and this is the viewport where you can edit them.
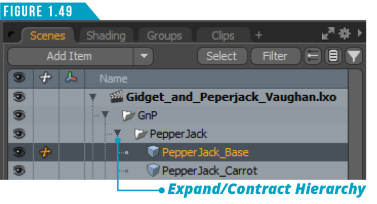
Selecting any item displays the item’s properties, dynamically changing as different types of items are selected. Click on one of the arrows next to an item name (Figure 1.49) in the Items List to expand its hierarchy, then select one of the mesh items to see its attributes.
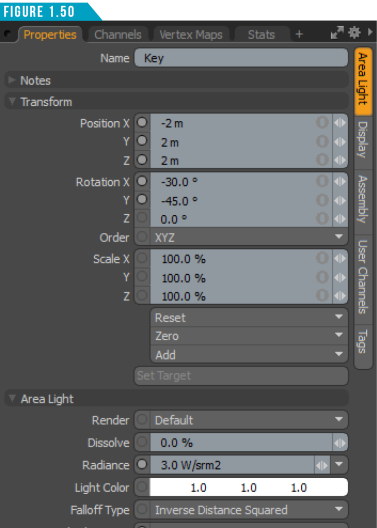
Next, select one of the lights in the Items List to see the Properties change dynamically (Figure 1.50).
The Channels Tab lists every animatable attribute of the selected item(s) (Figure 1.51). These are the same attributes found in the properties panel and subtabs, but this view provides an alternate method for selecting channels, and creating, navigating, and managing any keyframes on those channels.

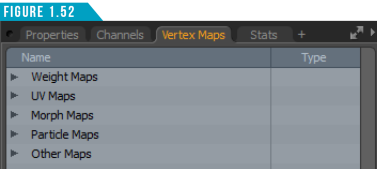
The Vertex Maps Tab (Figure 1.52) gives you direct access to all vertex maps associated with the selected item. Use this viewport to create, rename and delete any of the various vertex maps such as Weight, UV, Morph, Color, and Vertex Normal Maps.
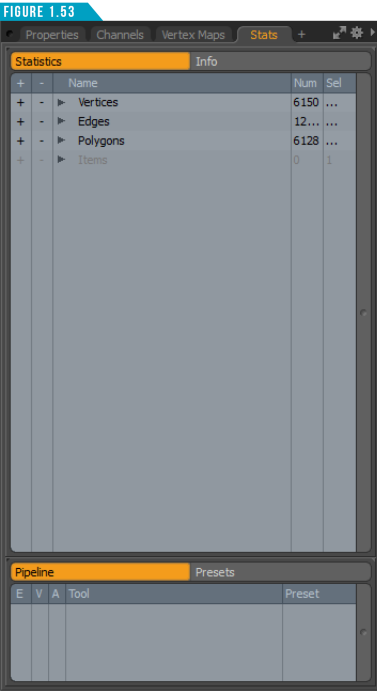
The Stats Tab (Figure 1.53) consists of three main parts. The Statistics Viewport displays a listing of scene statistics such as the total number of polygons, or how many of them are triangles or ngons. You can use the +/- icons preceding each line for selecting and deselecting geometry in the scene based on the specific criteria.
Clicking on the Info button will display the Info Viewport, which gives you all the information associated with a selection (Figure 1.54).
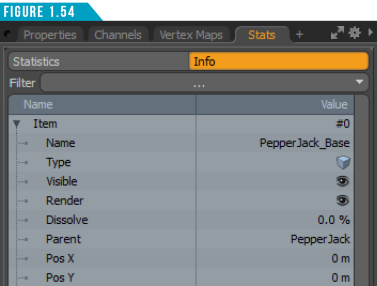
Selecting an item provides information on that item. Selecting some geometry provides information on all the associated vertices and map values as well as applied surfaces and selection sets associated with it.
Under the Statistics and Info Viewports is the Pipeline Viewport or Tool Pipe. It allows you to view the currently-active tool combination. A tool can be made up from a single function like the Transform Move Tool, or it can be a combination of functions rolled together, such as the Transform Move Tool with Element falloff and Element action center, like the Element Move Tool.
You can not only see what tools and options are active, you can use the Tool Pipe to create custom tool combinations and save them as Tool Presets for later use. Spend some time exploring these new tabs and how they dynamically update depending on what is selected in the scene. When they start to become a little more familiar, advance to the next page.