Search is based on keyword.
Ex: "Procedures"
Do not search with natural language
Ex: "How do I write a new procedure?"
Contact Support
Create Comp
In the Timeline environment, you can choose to create a Nuke Comp of a shot to be able to open it in
You can only create comps from the timeline when the Frame Server is running. You can check the status of the server in the status bar at the bottom-right of the interface.
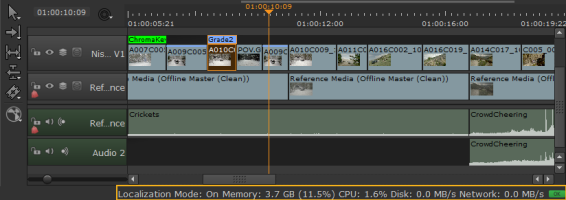
Before you create a Nuke Comp, you can choose to change Export settings, and set the required Shot Preset setting in the Project Settings dialog to get the required result.
Note: Create Comp currently only supports rendering to image sequence formats, such as .dpx and .exr files. Rendering to container formats, such as .mov, displays the following warning:
It is not necessary to change the Export and Project Settings. If you don't change these settings when creating a Nuke Comp, the default settings are used.
Note: You can use Nuke Studio's internal Frame Server to take advantage of external slave machines to process renders faster. See Using the Frame Server on External Machines for more information.
Edit Export Settings
If you do not change the export settings, the Using Local export preset setting control just uses the default setting of Basic Nuke Shot With Annotations.
To change this setting, do the following:
| 1. | Select File > Export... or press Ctrl+Shift+E. |
This opens the Export dialog.
| 2. | In the Using Local export preset: section, you can select the type of shot preset to export when you use Create Comp. |

For more information, see Introduction to the Export Dialog.
| 3. | Select the required setting and then close the Export dialog. |
Edit Project Settings
If you do not change the Project Settings, the Shot Preset control just uses the default setting of Basic Nuke Shot With Annotations.
To change the Shot Preset setting in the Project Settings dialog, do the following:
| 1. | Select Project > Edit Settings. |
| 2. | Open the Export / Roundtrip section by clicking on it. |
| 3. | Use the Shot Preset dropdown to select your required setting. |
Note: You can use custom shot presets, but they must contain a Nuke Project File and Nuke Write Node Content preset to be valid for selection. See Using Local and Project Presets, Nuke Project File Settings, and Nuke Write Node Settings for more information.
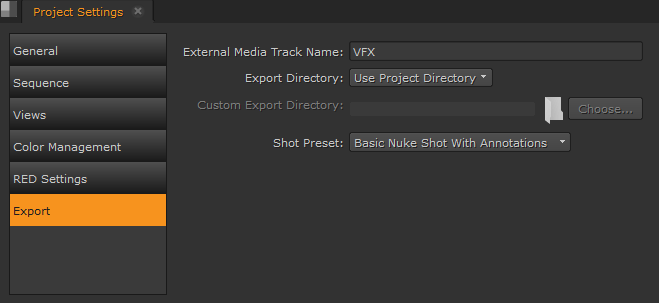
| 4. | After selecting the required setting, close the Project Settings dialog. |
Creating and Editing a Comp
To create a Nuke Comp of a shot, do the following:
| 1. | Right-click on the shot that you want use to create a Nuke Comp. |
| 2. | Select Effects > Create Comp. |
If you have not set a project root folder up in the Project Setting dialog, Nuke Studio asks you to set a project root folder.
| 3. | Click Choose, select to the required location, and then click OK. |
A Nuke Comp is created, and placed directly above the original shot on the next available track.
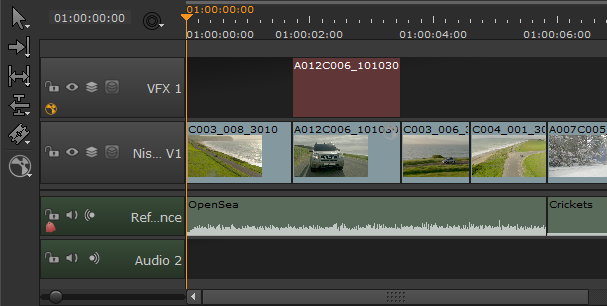
The Nuke Comp is displayed in light red, signifying that the Nuke Comp has not been rendered. You can choose to render it by either, right-clicking and selecting Render Comp, or by selecting Render > Render Selected Comp Containers.
Note: You can render all Nuke Comps by selecting Render > Render All Comp Containers.
| 4. | Open the Nuke Comp in the Compositing environment in the same session by double-clicking the Nuke Comp. You can also open the Nuke Comp in the Compositing environment in the same session by either right-clicking on the Nuke Comp above the timeline, or in the Project bin and selecting Open In > Node Graph. |
To open the Nuke Comp in a new NukeX session you can either hold Ctrl/Cmd and double-click on the Nuke Comp, or you can right-click on the Nuke Comp and select Open In > New Nuke Session.
If you have not set a project root folder up in the Project Setting dialog, Nuke Studio asks you if you want to save and set a project root folder.
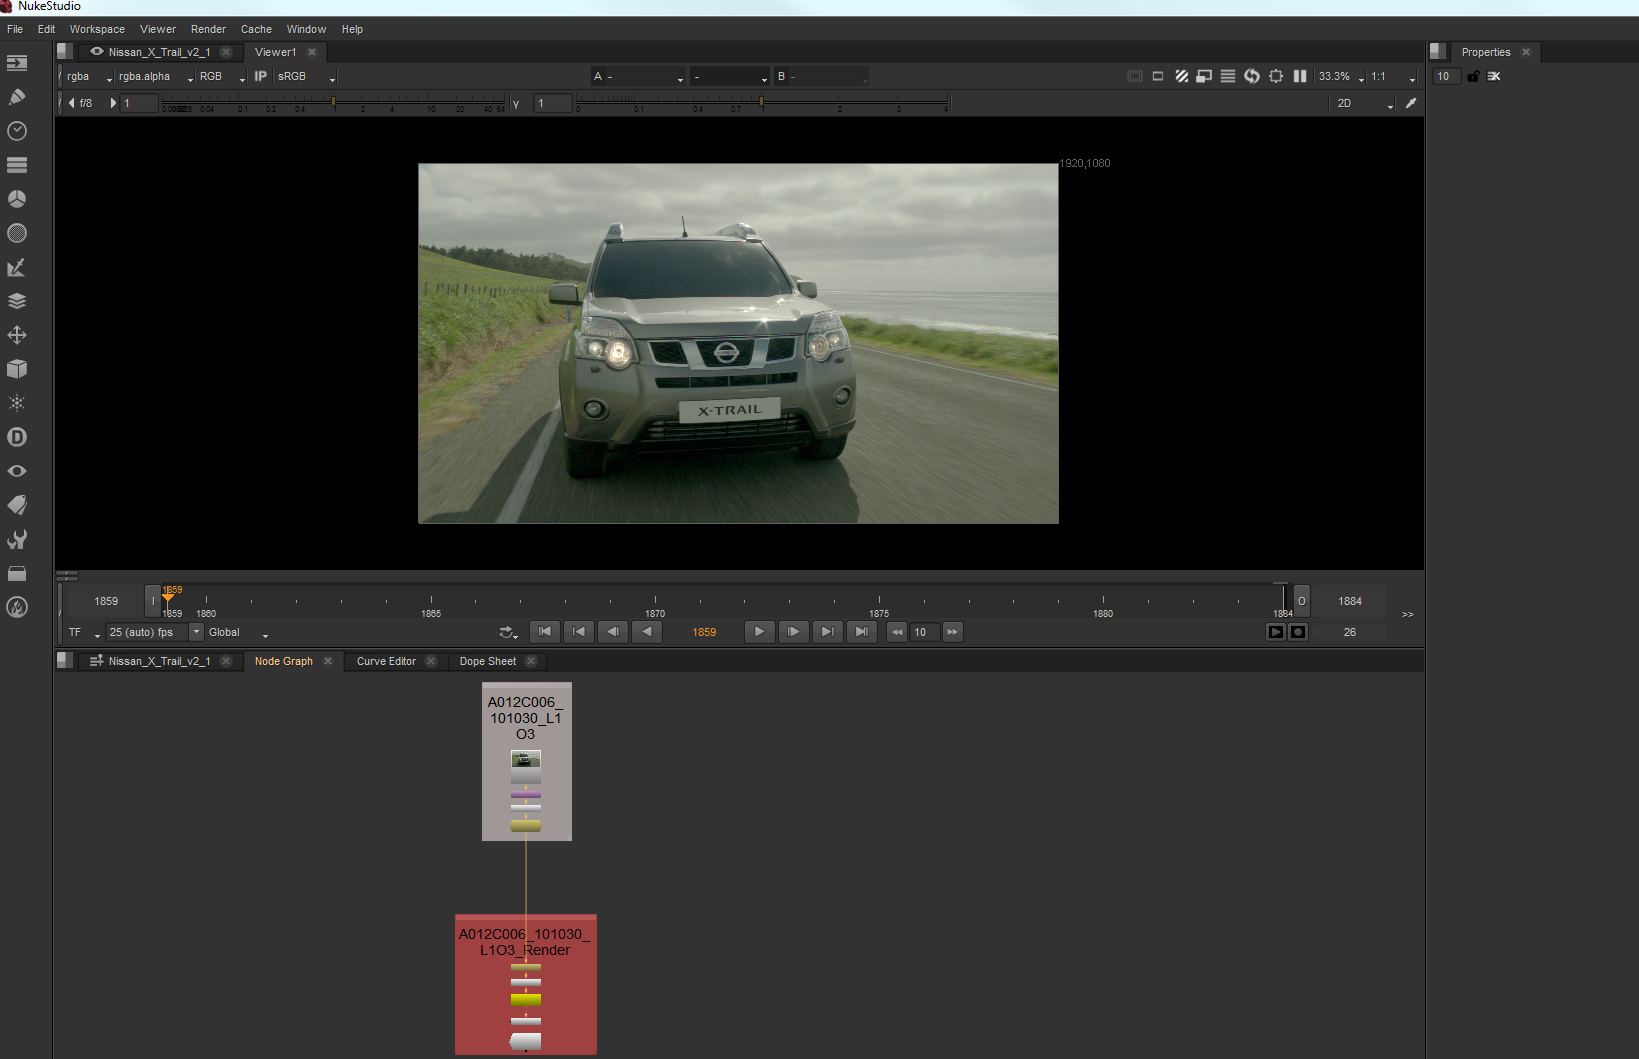
You can now edit the script and add VFX using any of the tools available in
Nuke Comp Colors
|
Color of Comp |
Meaning |
|
|
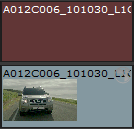
Light Red |
|
This signifies that the comp has not been rendered.
|
|
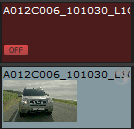
Dark Red (with OFF) |
|
This signifies that the comp is offline. |
|
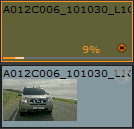
Light Green (with progress bar) |
|
This signifies that the comp is being rendered. |
|
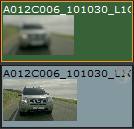
Dark Green |
|
This signifies that the comp has been rendered. |
Creating Multiple Shot Comps
You can create Nuke Comps from multiple shots on a single track or across multiple tracks, by doing the following:
| 1. | Select multiple shots on the timeline by using Shift+click to select a row of adjacent shots and/or Ctrl/Cmd+click to select multiple non-adjacent shots. These can be across multiple tracks. |
| 2. | Right-click on one of the selected shots and select Effects > Create Comp. |
This opens a Create Comp dialog.
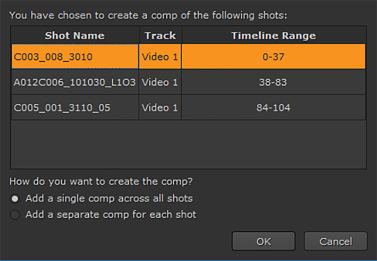
| 3. | The Create Comp dialog displays all the selected clips, and allows you to select a master clip from the list simply by clicking on it. |
The master clip is highlighted yellow.
| 4. | To create one Nuke Comp for all the shots, select the Add a single comp across all shots radio button. Or, if you want to create a Nuke Comp for each of the selected shots, select the Add a separate comp for each shot radio button. |
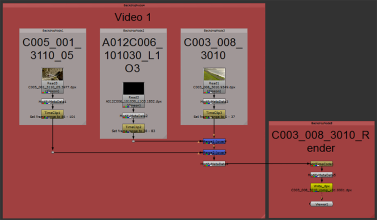
When you create a Nuke Comp on multiple shots on a single track, the Node trees are automatically connected and are displayed in reverse chronological order, as shown below.
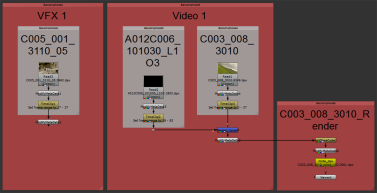
When you create a Nuke Comp on multiple shots across different tracks, the Node trees from the same track are connected, but the Node trees on different tracks are not connected by default (see below). You can choose to have them connected using the Create Comp Special settings. See Create Comp Special for more information.
Create Comp Special
You can also choose to create a Nuke Comp using Create Comp Special. When you use the Create Comp Special option, a dialog containing export options is automatically opened, allowing you to set the export settings for the selected Nuke Comp.
To use the Create Comp Special option:
| 1. | Right-click on the shot that you want use to create a Nuke Comp. |
| 2. | Select Effects > Create Comp Special. |
This opens a Create Comp dialog that contains the available export settings.
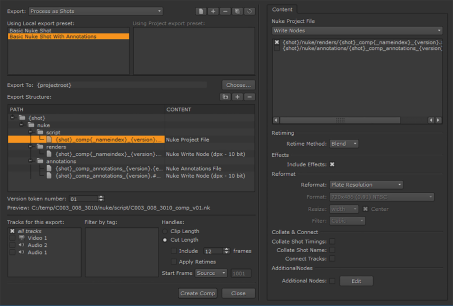
You can use this dialog to set the export location, set a version number, define the tracks to export, filter by tag, and define the range. See Introduction to the Export Dialog for more information.
| 3. | Select the Nuke script in the Path section of the dialog, and then go to the Content section. |
A number of additional controls are displayed. You can use these to specify what your Nuke Comp includes and how it is created. You can select the Connect Tracks checkbox to connect all the Node trees – across different tracks – in the Node Graph. See Introduction to the Export Dialog for more information about these options.
| 4. | After specifying your required settings, click Create Comp. |
A dialog appears stating you have changed the export templates. You can choose to keep the changes by selecting Yes or click No to discard the changes.
The Nuke Comp is displayed in light red, signifying that the Nuke Comp has not been rendered.
| 5. | Double-click on the Nuke Comp to open it in the Compositing environment. |
You can now add VFX using any of the toolsets available in the Compositing environment.
Enabling and Disabling a Nuke Comp
You can disable and re-enable a Nuke Comp on the timeline by selecting the Nuke Comp you want to disable and pressing D.
Saving a New Version and Updating the Comp
When you are happy with the changes you've made, you can save a new version of the script by selecting File > Save New Comp Version (or pressing Alt+Shift+S).
After saving a new version of the Comp, you can update the original Nuke Comp you created. To version-up the Nuke Comp, do the following:
| 1. | On the timeline, right-click the original Nuke Comp. |
| 2. | Select Versions > Version Up. |
The Nuke Comp is versioned-up. Depending on your Preferences > Performance > Threads/Processes > Rendering > background renders setting, the comp may need rendering manually.
