WireframeShader: Applying Wireframe Overlay
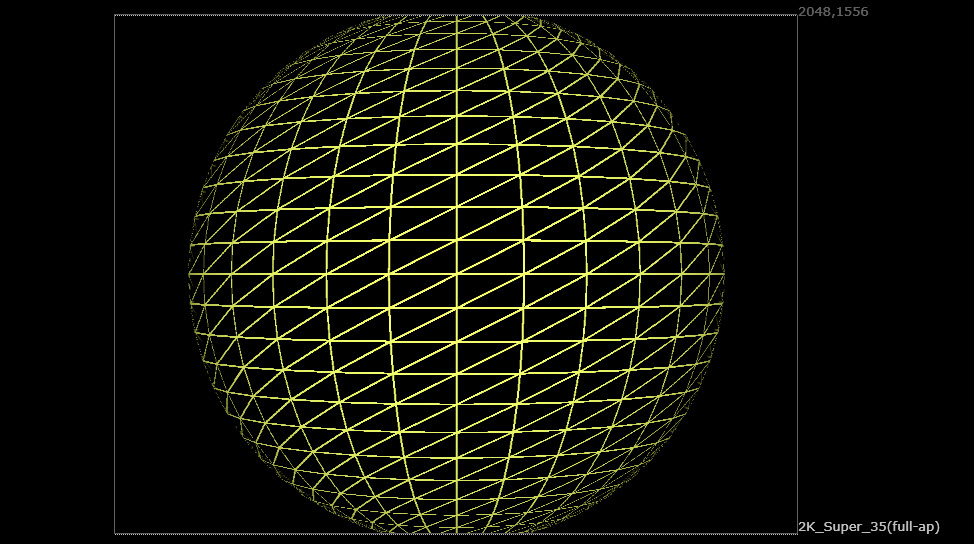
The WireframeShader node allows you to render a wireframe overlay on the surface of your geometry object or particle simulation. This can be useful, for example, if you want to:
• check that your texture projection correctly lines up with your geometry.
• create a quick render of your 3D scene to check the positioning of objects.
• create motion graphics.
• create "making of" videos.
Note: The WireframeShader node currently only works if you are rendering your 3D scene using ScanlineRender.
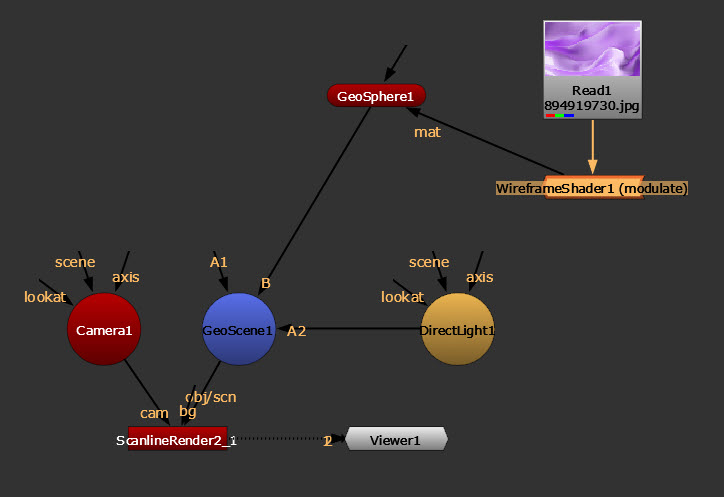
| 1. | Insert WireframeShader node into your script. |
| 2. | Place the WireframeShader node between your 2D texture image and your 3D object node, or connect it to a GeoBindMaterial node’s mat input. |
| 3. | In the WireframeShader properties, use the channels dropdown menu to select the channels you wish to process. |
| 4. | From the operation dropdown, select how to apply the wireframe overlay to your geometry: |
• opaque - display the wireframe on fully opaque black input geometry.
• over - display the wireframe on top of the input shader or texture.
• multiply - multiply the wireframe by the input shader or texture and display it on fully transparent geometry.
• modulate - apply standard diffuse shading to the wireframe and display it on top of the input shader or texture. This takes into account any lights in the scene.
| 5. | To set the width of the wireframe lines (in pixels), adjust line width. |
| 6. | To set the color and transparency of the wireframe lines, adjust line color. |