To position the on-screen wire tool, do the following:
| 1. | In the F_WireRemoval controls, set Output to Source. This way, you will be able to see the wire you’re trying to remove but won’t have to wait for F_WireRemoval to repair the wire every time you change wire tool’s position. |
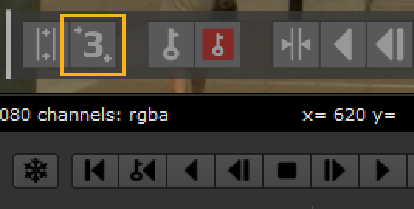
| 2. | Choose the number of points that are needed to describe the wire: two for straight lines, three for simple curves, or five for more complex shapes. This can be done using the Type dropdown in the properties panel, or by toggling the Number of Points button in the on-screen tracker panel. |
TIP: To show the on-screen tracker panel, check Show On Screen Controls in the WireRemoval properties.
| 3. | Position the on-screen wire tool so that it roughly fits the wire you want to remove. To move the entire tool, drag its central line to a new location. To move an individual wire point on the tool, drag its center. To move an individual point in either a horizontal or vertical direction only, drag the horizontal or vertical line on the cross that marks the point. |
| 4. | Press the Snap To button  in the WireRemoval properties or the on-screen tracker panel. This will find the edges of the wire and adjust the removal region to fit it more closely. It does this by locating the areas of highest gradient, which should correspond to the edges of the wire. in the WireRemoval properties or the on-screen tracker panel. This will find the edges of the wire and adjust the removal region to fit it more closely. It does this by locating the areas of highest gradient, which should correspond to the edges of the wire. |
| 5. | In practice, the edges of the wire will be slightly soft, so the resulting region might not cover the whole width of the wire. To correct for this, you can adjust the Overall Width parameter. This expands the region outwards, over all key frames, to ensure the entire width of the wire is covered. |