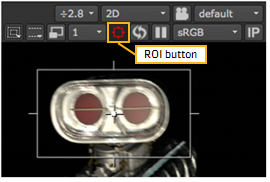
The ROI button lets you enable rendering only through a region of interest - a portion of the image you explicitly select. This is useful for quickly viewing render results in a process-heavy script.
| 1. | Click on the ROI button in the Viewer controls. The ROI overlay appears. |

| 2. | Drag to resize and move the ROI overlay as necessary. |
| 1. | Over the Viewer, press Alt+W once (do not hold the keys down). The ROI button turns red, but the ROI overlay does not appear. This allows you to freely draw your own ROI rather than adjust the default overlay. |
| 2. | Drag a marquee to draw the region of interest where you need it. |
| 1. | After you’ve set a region of interest, you can clear it by pressing Alt+W over the Viewer. You can then drag a new marquee to define a new region of interest. |
| 2. | To turn off the feature and update the whole Viewer with the recent changes, click the ROI button again (or press Shift+W). |