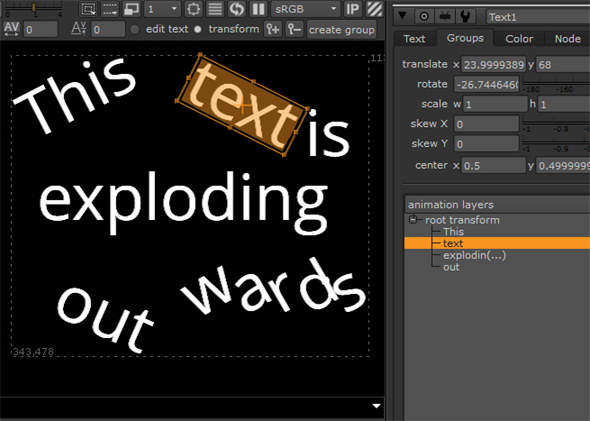
The Text node allows you to transform selections in the Viewer or create groups of selections in the animation layers table and transform them together. Both methods support animation using keyframes.
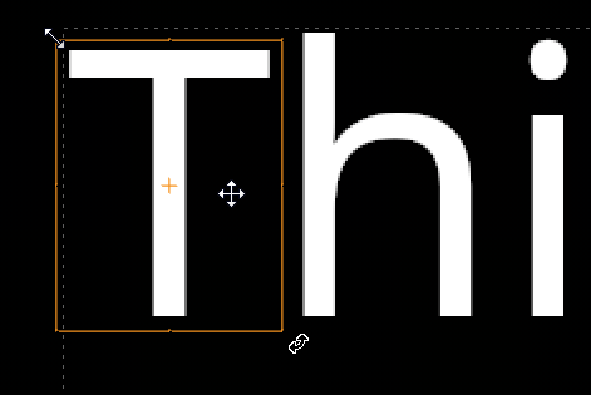
Selections in the Viewer are transformed by hand, that is, by manipulating handles drawn on your selections.
| 1. | Enable transform in the controls above the Viewer. |
| 2. | Select the required character(s) in the Viewer to enable the transform handles. |
| 3. | If you hover the cursor over a selection, the cursor changes to show the handle's function depending on position. |

| 4. | Translate, rotate, and scale your selections by dragging the required handles. |
If you want to animate your changes, see Animating Transforms for more information.
TIP: By default, scaling is done uniformly around the center of your selections. To scale relative to the opposite corner or side instead, hold down Ctrl/Cmd while dragging the transform handles.
The Group tab saves group selections in the animation layer table allowing you to affect layers separately using the transform controls.
| 1. | Open the properties and click the Group tab to display the transform controls and animation layers table. |
| 2. | Select the required character(s) in the Viewer, or message field, and then click the + button to create an animation layer, or click create group above the Viewer. |
You can create as many animation layers as required, each one is named according to the selections you made in the Viewer.
| 3. | Select an animation layer and use the transform controls on the Group tab to transform your selection. |

If you want to animate your changes, see Animating Transforms for more information.
| 4. | Click the - button to remove an animation layer. |