To refine the results:
| 1. | To have the motion vectors displayed in the Viewer, expand the Advanced parameter group and enable Overlay Vectors. Forward motion vectors are drawn in red, and backward motion vectors in blue. |
|
|
| Overlay Vectors enabled. |
Note that motion vectors displayed in the Viewer are added to your output if you don’t turn off the overlay before rendering.
| 2. | To set the spacing between motion vectors displayed on the Viewer, adjust Vector Spacing. The default value of 20 means every 20th vector is drawn. Note that Vector Spacing only affects the Viewer overlay rather than the retimed result. |
|
|
|
| A Vector Spacing value of 4. | A Vector Spacing value of 40. |
| 3. | Adjust Vector Detail to vary the density of the vector field. The larger vector detail is, the greater the processing time, but the more detailed the vectors should be. A value of 1 generates a vector at each pixel. A value of 0.5 generates a vector at every other pixel. For some sequences, a high vector detail near 1 generates too much unwanted local motion detail, and often a low value is more appropriate. |
|
|
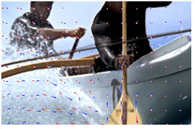
| Areas of unwanted local motion detail. |
|
|
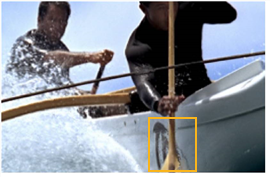
| Lower Vector Detail is more appropriate in this case. |
| 4. | Vector fields usually have two important qualities: they should accurately match similar pixels in one image to another and they should be smooth rather than noisy. Often, it is necessary to trade one of these qualities off against the other. A high Smoothness misses lots of local detail, but is less likely to provide you with the odd spurious vector (think of it as if the vectors were combed until they are smooth with respect to their neighbors). A low Smoothness concentrates on detail matching, even if the resulting field is jagged. The default value of 0.5 should work well for most sequences. |
|
|
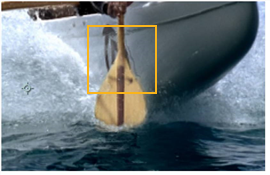
| Jagging as a result of a low Smoothness value. |
|
|
| Minimal jagging as a result of a high Smoothness value. |
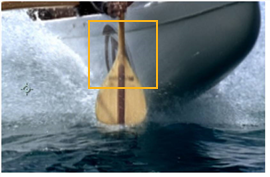
| 5. | If the overall brightness in your Source footage changes between frames, enable Flicker Compensation. This allows Kronos to take into account variations in luminance and overall flickering, which could otherwise cause problems with your output. |
Examples of variable luminance include highlights on metal surfaces, like vehicle bodies, or bodies of water that reflect light in unpredictable ways.
Note that using Flicker Compensation increases rendering time.
| 6. | In order to reduce processing time, much of the motion estimation is done on luminance only - that is, using monochrome images. In most cases this is perfectly acceptable, but the parameters in the Tolerances group allow you to concentrate on a particular feature in an image by adding bias to individual colours. You may, for example, wish to increase Weight Red to allow the algorithm to concentrate on getting the motion of a primarily red object correct, at the cost of the rest of the objects in a shot. |