The next step towards creating a dense point cloud is to track your footage for more 3D feature points using the information from keyframes in the sequence and the solved Camera.
| 1. | Click Track Points to track the sequence and create a dense point cloud. |
|
|
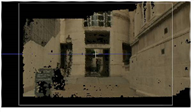
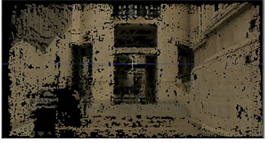
| An example 3D point cloud. |
The default settings work well on most sequences, but you can adjust the Dense Tracking controls to alter the appearance of the cloud:
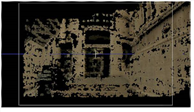
| 2. | Adjust the Point Separation control to set the separation value, in pixels, between points in the point cloud. |
As you can see, lower values produce denser clouds, but at the expense of processing time.
|
|
|
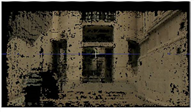
| Point Separation 0. | Point Separation 10. |
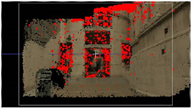
| 3. | Set the Track Threshold to compare the similarity of features over a number of frames and reject them if they exceed the threshold. You can adjust this value to test whether a track is reliable. |
|
|
|
| Low threshold. | High threshold. |
NOTE: If the threshold is set too high, you may find that you don’t get any reliable tracks at all. The red pixels in the above image are rejected tracks.
| 4. | Proceed to Filtering Your Point Cloud. |