Manipulating USD Items
After importing items from a USD file into a Classic 3D scene, you can access the scenegraph through the node Properties and control which items are loaded.
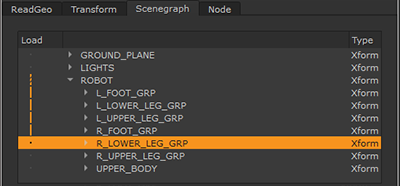
The ReadGeo node has a Scenegraph tab, the same as the scenegraph load dialog displayed when loading a .usd file containing multiple items.
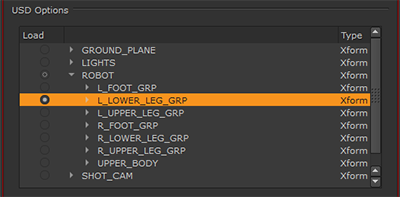
The Axis node has a scenegraph view in the File tab under USD Options where you can make individual selections. This is because just one axis item can be loaded at a time.
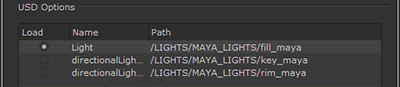
Camera and Light nodes contain a list view rather than a scenegraph in the File tab under USD Options.
Note: The USD Options are only available when the file path is pointing to a valid USD file.
You can also manipulate USD items by transforming all, or parts of the scenegraph, or by applying materials to selected scenegraph locations.
Note: To learn more about the updated Scene Graph in the New 3D System, see New 3D Scenes in the Scene Graph.
Showing and Hiding Loaded Meshes and Point Clouds
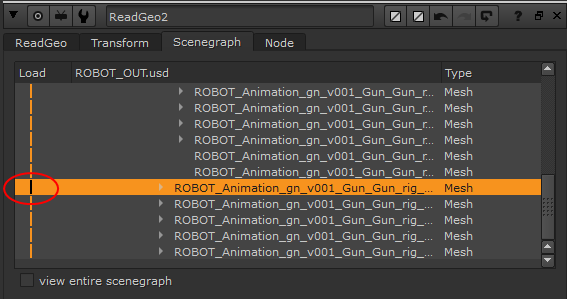
Loaded meshes and point clouds in Nuke use similar selection controls to those in the import dialog. You can show and hide supported items by clicking in the Scenegraph > Load column.
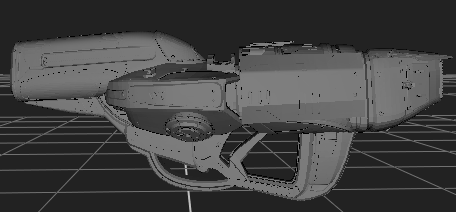
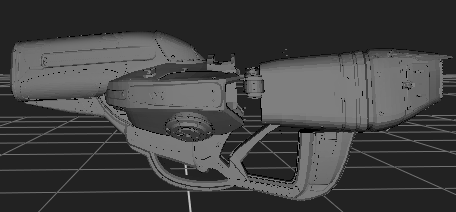
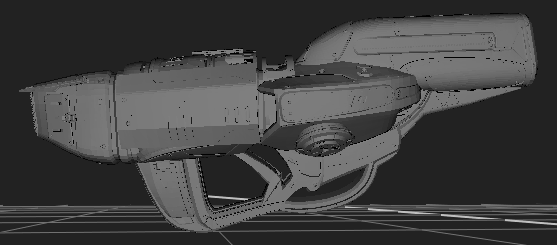
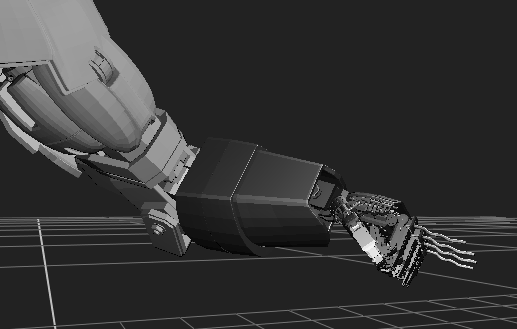
For example, clicking the following scenegraph mesh item on and off in the Load column affects part of the casing on the geometry.
|
|
|
|
|
|
Note: If you want to import items that were not included in the original USD import, click view entire scenegraph and then use the Load column to import the required items.
You also have limited control over how items in the ReadGeo node appear in the 3D Viewer and in rendered output using the standard display and render dropdowns in the Properties panel:
• off - hides the geometry.
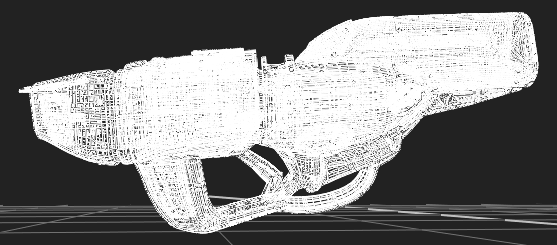
• wireframe - displays/renders only the outlines of the item's geometry.
• solid - displays/renders all geometry with a solid color. Some .usd files include color information, which can help to pick out the different items in a scene.
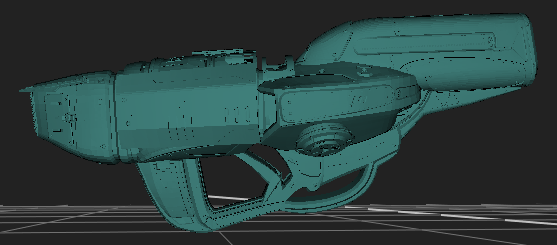
• solid+wireframe - displays/renders the geometry as solid color with the item’s geometry outlines.
• textured - displays/renders only the surface texture.
• textured+wireframe - displays/renders the wireframe plus the surface texture.
Note: The display dropdown does not affect the rendered output, only the item's appearance in the 3D Viewer. Similarly, the render dropdown does not affect the item's appearance in the 3D Viewer, only the rendered output.
See Applying Materials to Mesh Items for more information on how to add materials to your items.
Selecting Loaded Lights, Cameras and Axes
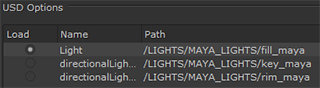
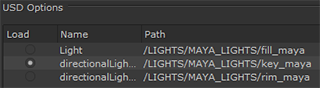
Lights, Cameras and Axes loaded from a USD file contain USD options in the relevant node Properties under the File tab. The USD Options allows you to click in the Load column to easily select which light, camera or axis you want to load.
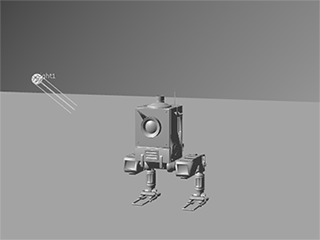
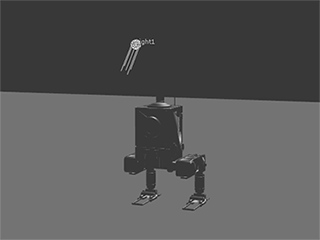
For example, if your USD file has three lights, you can use the USD Options to switch between them. If you originally loaded just one of the three lights you are still able to select the others and switch between all three lights.
|
|
|
|
|
|
|
|
|
|
|
|

Transforming Mesh Items
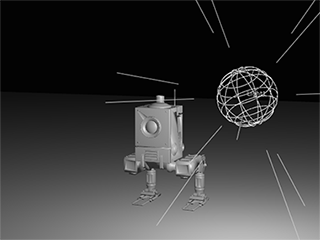
The controls in the ReadGeo > Transform tab affect all the items in the scenegraph. You can use these controls to correct global transforms imported along with the USD items. For example, importing a .usd from Maya might place the scene facing away from Nuke's default camera.
|
|
|
|
|
|
To transform parts of the scene individually, mark the items in the scenegraph as parents during import and then click Create parents as separate nodes to create one ReadGeo node for each parent item. See Manipulating USD Items for more information.
You can then transform each item separately using the ReadGeo Transform controls or a TransformGeo node.
See Transforming Geometry, Cameras, and Lights for more information.
|
|
|
Applying Materials to Mesh Items
You can apply a material to a single scenegraph location using a downstream ApplyMaterial node. Enter a named location in the filter name control or click choose to navigate to the required scenegraph location.
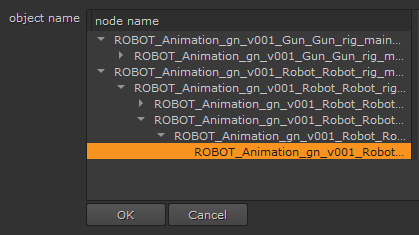
Click OK to apply the material to the selected scenegraph location.
See Materials and Textures for more information.