Materials and Textures
This section teaches you how to:
• use the nodes in the 3D > Shader menu to control what material your objects seem to be made of. See Object Material Properties.
• merge two Shader nodes together. See Merging Two Shader Nodes.
• merge a material with the objects rendered behind it in the 3D scene. See Merging a Material with the Objects Behind.
• replace selected material channels with a constant color to make one object hold out the others. See Replacing Material Channels with a Constant Color.
• project texture images onto your 3D objects. See Projecting Textures onto Objects.
• import a set of texture patches following the UDIM scheme and apply them to the surface of a 3D object. See Importing UDIM Patches.
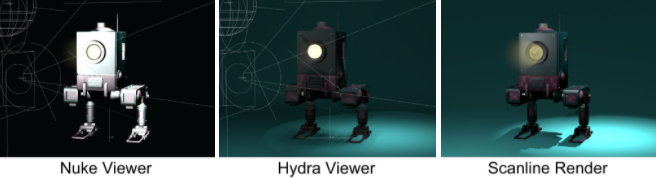
Choosing the 3D Viewer Type
Nuke 13.0 onwards includes a new Hydra 3D viewport, which uses hdStorm as a new renderer. The Hydra Viewer is more consistent with other applications in your pipeline, such as Katana, Solaris, or USDView, and the represents the output of the ScanlineRender node.
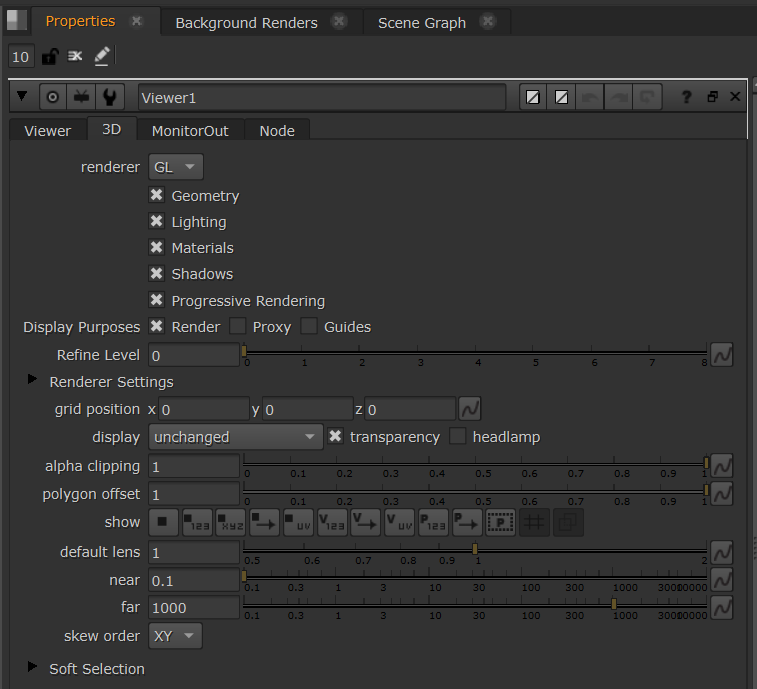
Nuke's New 3D System uses a Hydra renderer, and nodes in the Classic 3D System use a "Nuke" renderer.
As such, the Viewer's renderer knob only has one option: GL, which is both the Hydra and Nuke renderers, depending on if you are viewing New or Classic 3D nodes.
Note: Learn more about the New 3D System and USD at 3D Compositing with the New 3D System.
You can also select whether or not to display geometry, lights, materials and/or shadows in the 3D Viewer by toggling the relevant checkboxes.
The Viewer renderer option is also included in the Preferences under Panels > Viewer > default renderer. Changing the preference only affects new Viewer nodes.