Calling Channels
By default, most nodes in Nuke attempt to process the current channels in the rgba set and place the output in those same channels. However, many nodes also contain an input dropdown menu which lets you select the channels you want to process, and an output dropdown menu to select the channel(s) where the results should be stored.
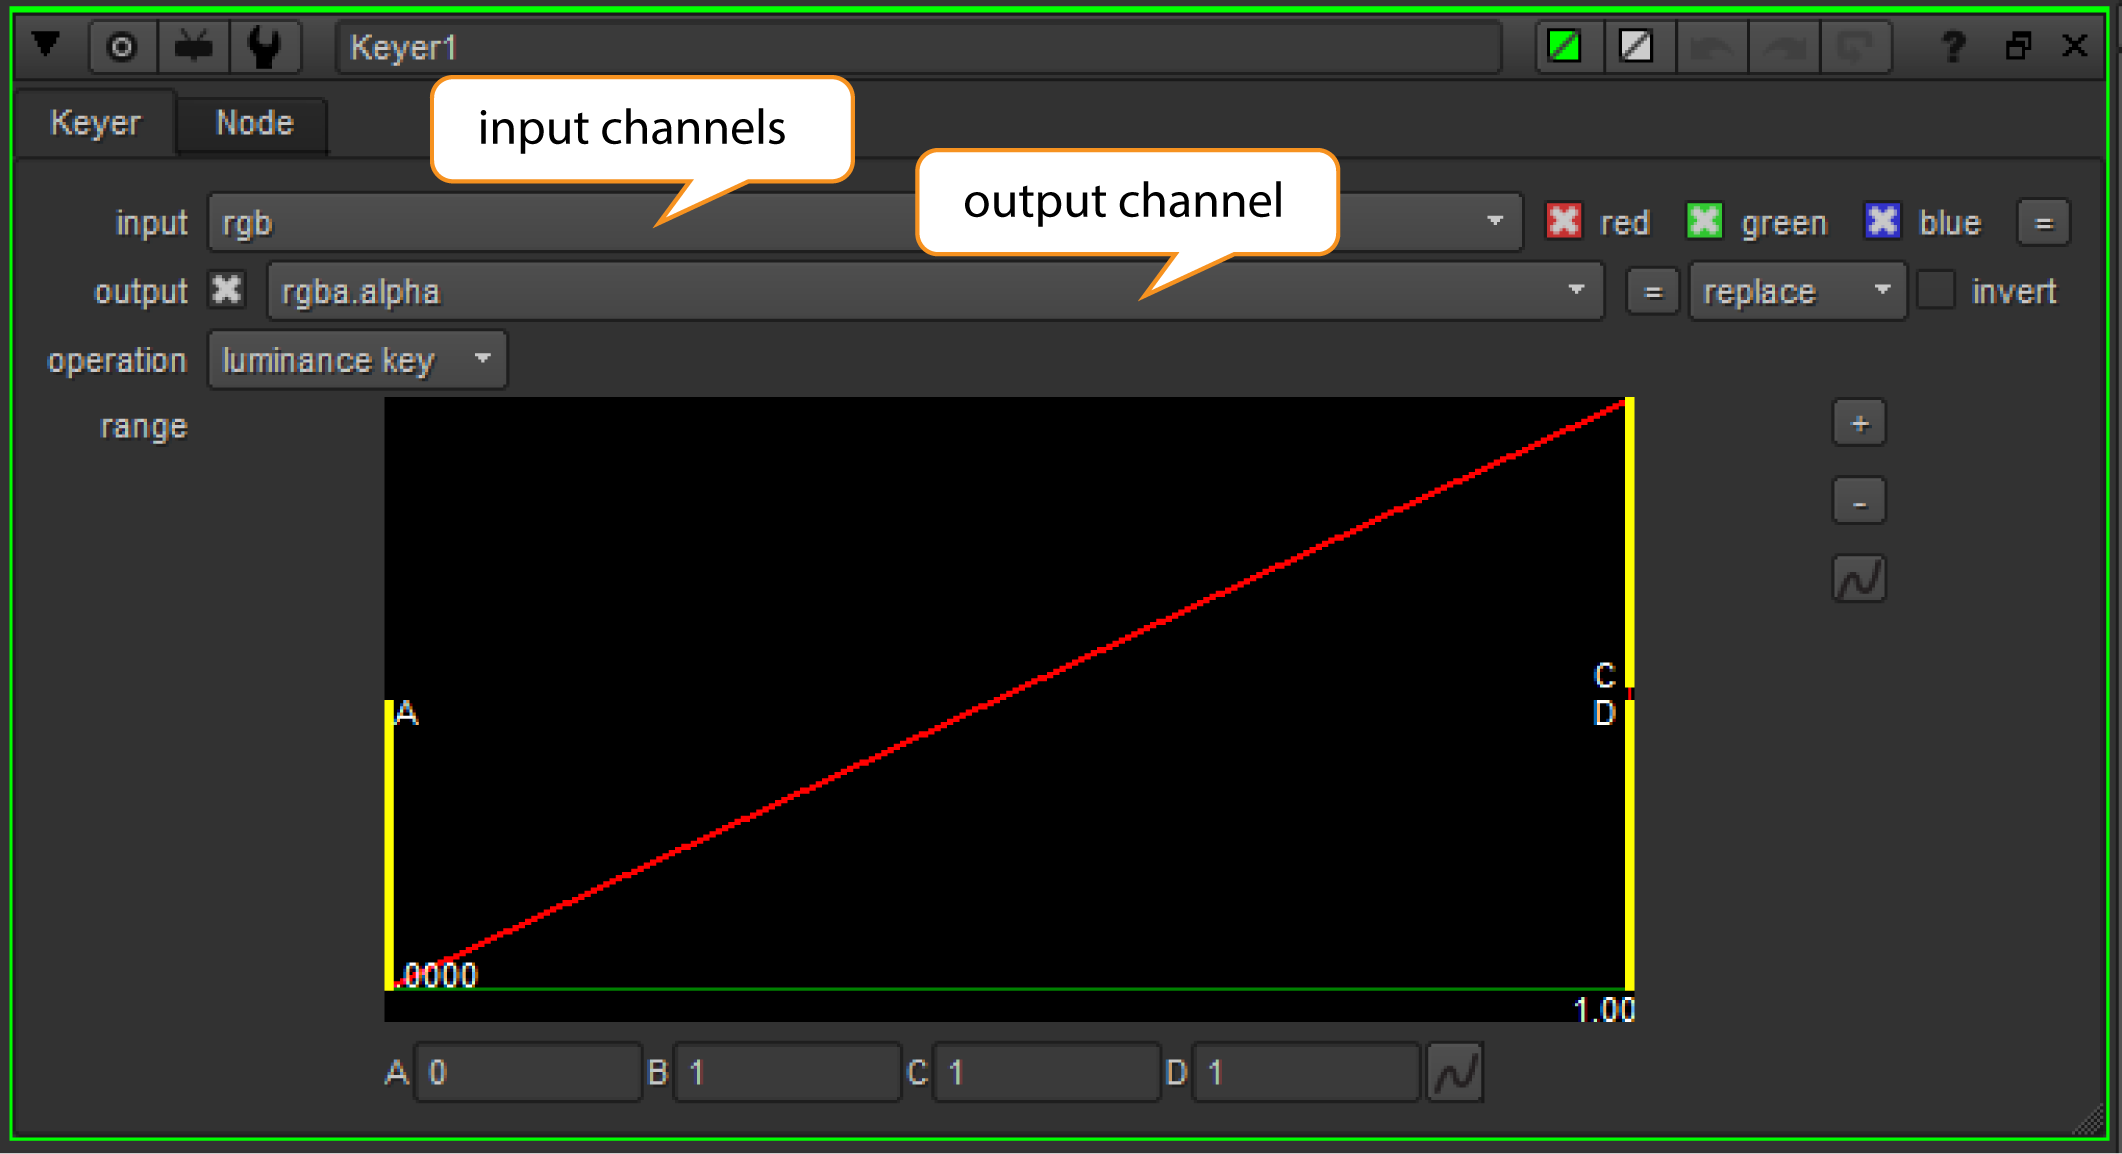
Some nodes also contain mask controls and a mask input connector, which let you select a channel for use as a matte to limit operations such as color corrections. Using these mechanisms, you can point the output of almost any node in the script to any available channel.
The script below attempts to clarify these concepts. Note the script generates six channels (though it could just as well generate 1023). The steps below describe how each channel was created.
|
|
| A six-channel script. |
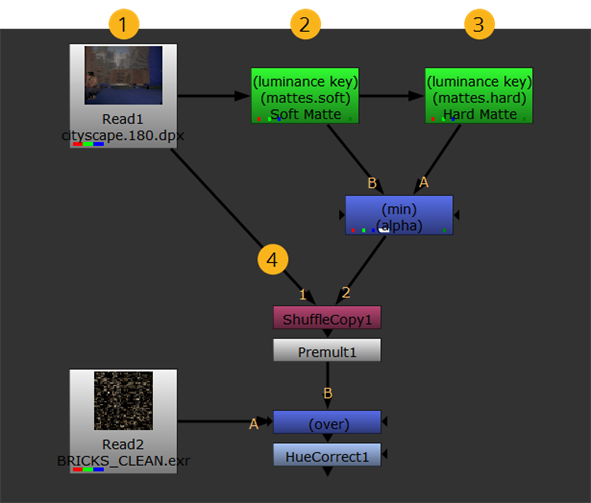
| 1. | The script reads in the foreground, creating three channels (red, green, and blue), which are by default assigned to the rgba set. Channel count: 3 |
| 2. | A low contrast key (soft) is pulled and assigned to a new layer called mattes. Channel count: 4 |
| 3. | A high contrast key (hard) is pulled and also assigned to the mattes layer. Channel count: 5 |
| 4. | The mattes.hard and mattes.soft channels are mixed to form the final matte (alpha), which is assigned to the rgba layer. Channel count: 6 |
Suppose now that you wanted to perform a color correction using the output of the Soft Matte node as a mask for the correction. There’s no need to pipe the output from that Soft Matte node - it already exists in the data stream along with the other five channels that were created.
You simply attach a color correction node, such as HueCorrect, then select the appropriate channel from the mask controls, for example mattes.soft.
Note: The mattes portion of the name indicates the parent layer.
Viewing Channels in the Viewer
You can view the individual red, green, blue, and alpha channels in the Viewer using the R,G,B, and A keys on the keyboard. For more information, see Compositing Viewers and Using the Timeline Viewer.
Selecting Input Channels
A node’s channels field lets you select one or several channels for processing.
To Select a Single Input Channel
| 1. | Open the properties panel of the node into which you wish to feed a channel. |
| 2. | From the channels field, select none. |
| 3. | From the right most channel field - the one which typically calls the alpha channel - select the single channel you wish to process. |

To Select Multiple Input Channels
| 1. | Open the properties panel of the node into which you wish to feed channels. |
| 2. | From the channels field, select the layer containing the channels you wish to process. |
The layer’s channels appear with check boxes.

| 3. | Deselect those channels which you don’t wish to process. The node processes all those you leave selected. |
Selecting Masks
The mask controls in a node’s properties panel let you select a single channel for use as a matte in a given process (typically, a color correction). The given process thereafter is limited to the non-black areas of the selected channel.
You can use one of the script’s existing channels as the matte, or attach a mask to the node with a mask input connector.
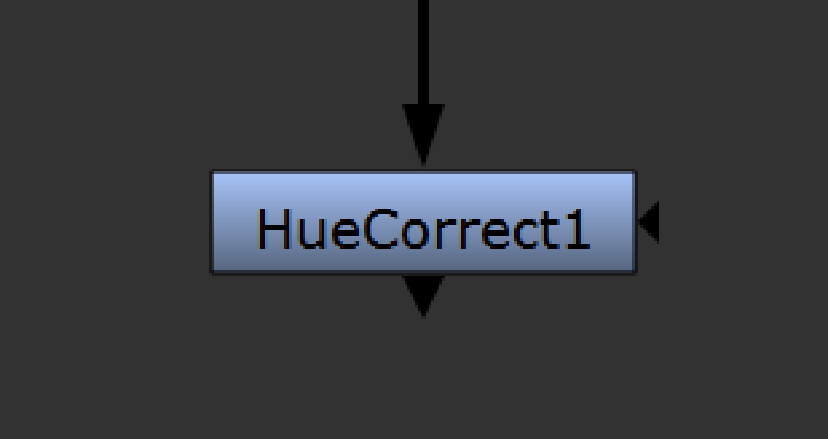
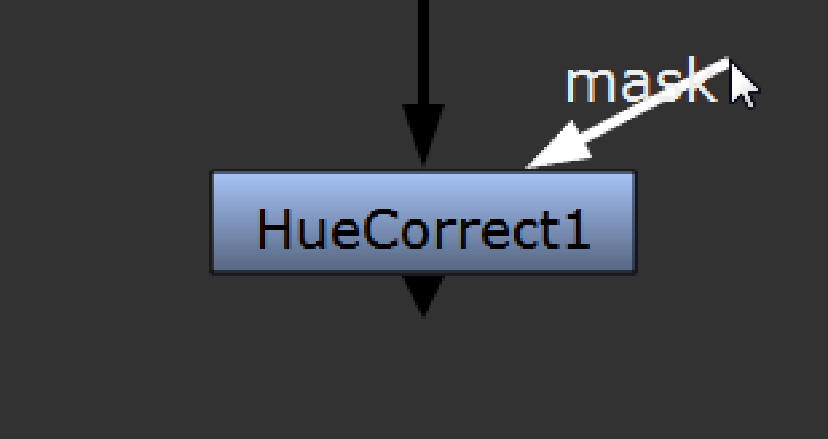
You can find mask input connectors on color correction and filter nodes, such as HueCorrect and Blur. At first, they appear as triangles on the right side of the nodes, but when you drag them, they turn into arrows labeled mask. You connect them the same way as any other connectors. If you cannot see a mask input connector, open the node’s properties panel and make sure mask is set to none.
|
|
|
| Before dragging the mask input connector. |
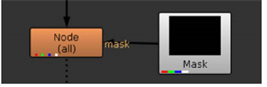
When dragging the mask input connector. |
To Select a Channel for Use as a Matte from the Mask Input
| 1. | Connect a mask to the node with its mask input connector. |
If you cannot see the mask input connector, open the node’s controls and make sure mask is set to none.

By default, when a mask input is connected, the node uses the alpha channel from it as a matte.

| 2. | If you don’t want to use the alpha channel as the matte, select the channel you want to use from the mask dropdown menu. |
| 3. | If you want the mask from the mask input copied into the predefined mask.a channel, check inject. This way, you can use the last mask input again downstream. You can also set a stream of nodes to use mask.a as the mask, and then change the masking of all of them by simply connecting a new mask into the mask input connector of the first node. |
| 4. | If necessary, check the invert box to reverse the mask. |
Tip: The invert control also affects any injected masks from upstream nodes.
| 5. | If the overall effect of the node is too harsh, you can blend back in some of the input image by adjusting the mix slider. |
To Select a Channel for Use as a Matte from the Main Input
| 1. | Make sure nothing is connected to the node’s mask input connector. If you disconnect a mask input, the mask input connector disappears, as it is no longer being used. |
| 2. | Select the channel you want to use from the mask dropdown menu. |
| 3. | If necessary, check the invert box to reverse the mask. |
| 4. | If the overall effect of the node is too harsh, you can blend back in some of the input image by adjusting the mix slider. |