Grouping Nodes in the Node Graph
You can group nodes in the Node Graph using the Backdrop node or the Group node. The Backdrop node adds a background box behind the nodes, separating the nodes visually from the rest of the node tree. A Group node, instead, combines a set of nodes into a single node, acting as a nesting container for those nodes. With Group View you can also view and edit the grouped nodes directly in the main node graph.
Grouping Nodes with the Backdrop Node
You can use the Backdrop node to visually group nodes in the Node Graph. Inserting a Backdrop node creates a box behind the nodes. When you move the box, all the nodes that overlap the box are moved, too. By inserting several backdrop nodes, you can group the nodes in your node tree onto boxes of different colors and titles. This makes it easier to find a particular node in a large node tree, for example.
You can also use the Z Order control in the Properties panel to layer-up Backdrop nodes. Backdrops with lower Z Order values appear underneath those with a higher value.
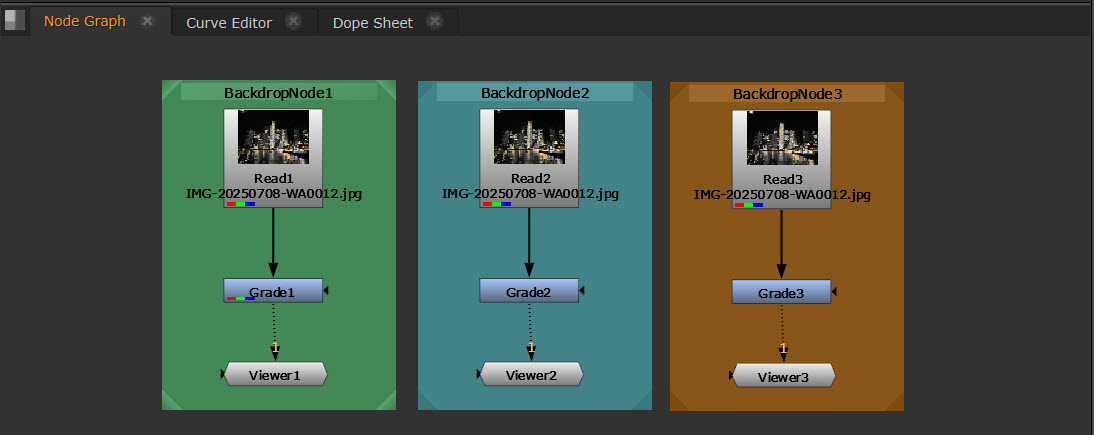
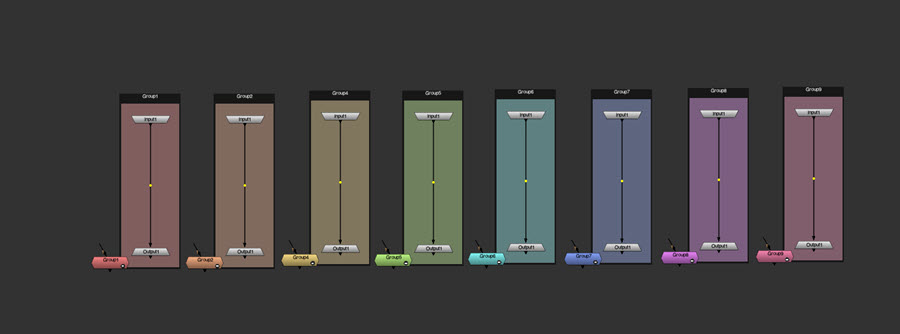
Nodes grouped with Backdrop nodes.
To Group Nodes with a Backdrop Node
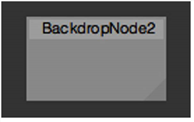
| 1. | Select Other > Backdrop. A Backdrop node box appears in the Node Graph. |
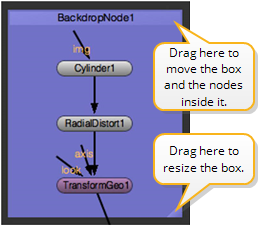
| 2. | Drag the triangle in the lower right corner of the box to resize the box as necessary. |
| 3. | Click on the box title bar and drag it to move the box behind the nodes you want to group together. If there are any nodes on the box, they move together with the box. |
| 4. | To change the color of the box, open the Backdrop node’s controls by double-clicking on the title bar, then click the left color button and pick a new color with the color picker that appears. |

| 5. | To change the title of the box, enter a new name for the Backdrop node in the node’s controls. |

| 6. | To layer-up Backdrop nodes, enter a value in the Z Order control in the Properties panel. Backdrops with lower Z Order values appear underneath those with a higher value. |
Tip: In the example, Backdrop1 is set to appearance > Border in the Properties panel. This control removes the fill color and only draws the border of the backdrop, which can help with eye strain in low light environments.
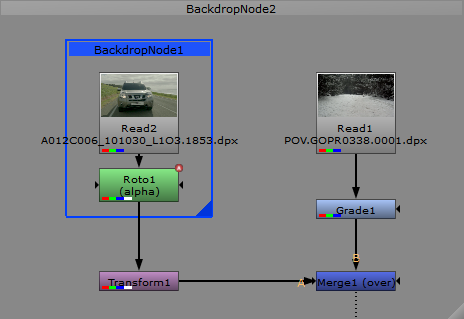
| 7. | If you later want to remove both the box and the nodes inside it, click on the title bar and press Delete. Ctrl/Cmd+clicking on the title bar and pressing Delete only removes the box and leaves the nodes untouched. To remove the nodes and leave the box untouched, click on the triangle in the lower right corner of the box and press Delete. |
Tip: You may want to use Backdrop nodes as jump-to points throughout a project. For more information, see Navigating Inside the Node Graph.
Grouping Nodes with the Group Node
You can use the Group node to nest multiple nodes inside a single node.
To Group Nodes with a Group Node
| 1. | Select all the nodes you want to nest inside the Group node. |
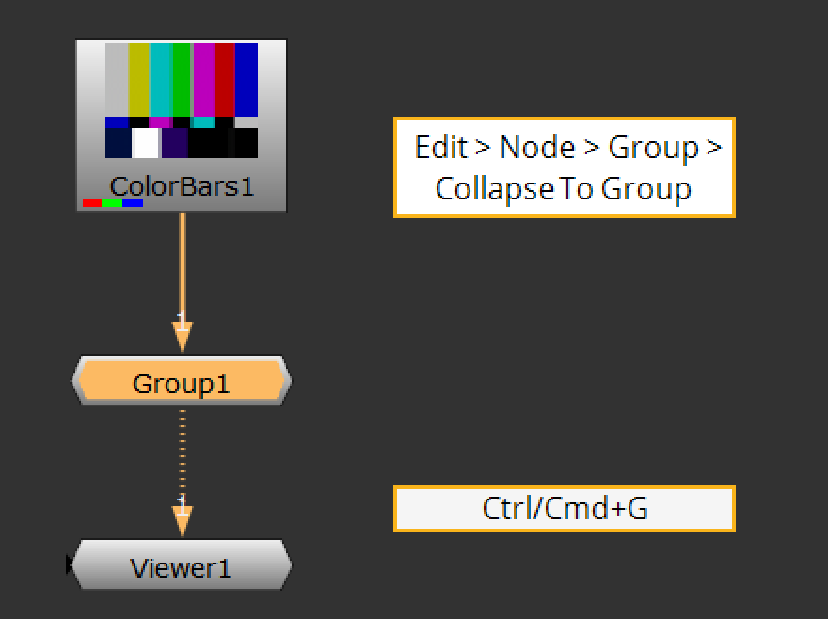
| 2. | If you want to replace the original nodes with the Group node, right-click and select Edit > Node > Group > Collapse To Group (or press Ctrl/Cmd+G on the Node Graph). |
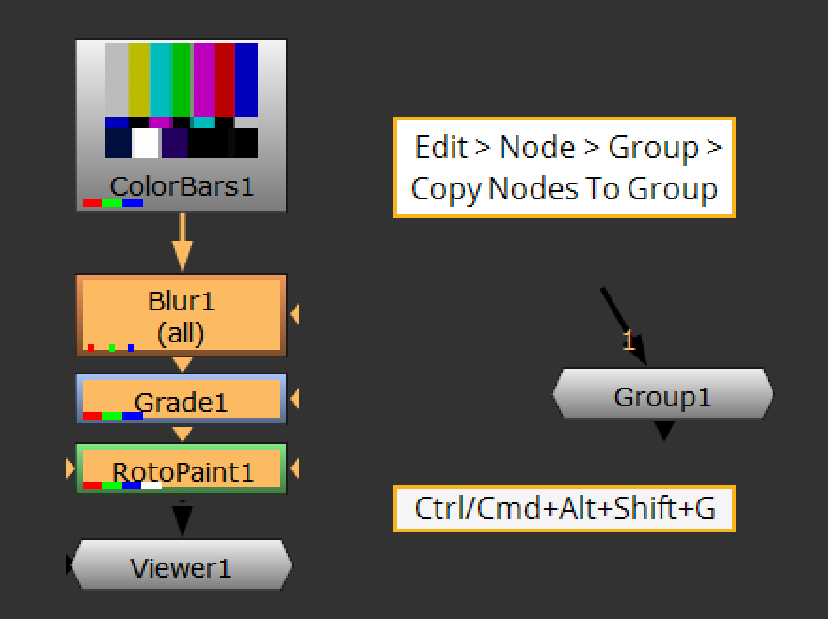
If you want to keep the original nodes in the layout in addition to the Group node, right-click and select Edit > Node > Group > Copy Nodes To Group (or press Ctrl/Cmd+Alt+Shift+G on the Node Graph).
|
|
|
The selected nodes are nested into a group.
Tip: As an alternative to Edit > Node > Group > Collapse to Group, you can also select Other > Group from the Toolbar or the Node Graph right-click menu.
To Ungroup Nodes
| 1. | Select the Group node in the Node Graph. |
| 2. | Select Edit > Node > Group > Expand Group (or press Ctrl/Cmd+Alt+G). |
The Group node is replaced with the nodes that were nested inside it.
Viewing Grouped Nodes with Group View
With Group View, you no longer need to open separate tabs to see what’s inside each Group. Group View enables you to easily see inside and edit the whole node graph inside a Group in the context of the main graph. This makes it easier to organise your scripts, as well as providing a way of defining variables.
Using Group View, you can for example:
• Add and remove nodes
• Perform any Edit operation
• Attach Viewers to nodes
This applies to Group, VariableGroup and LiveGroup nodes, and Gizmos if the environment variable for editing Gizmos is in use.
Opening and closing Group View
• Select the node
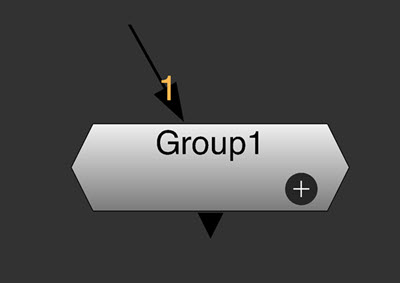
To quickly open and close Group View, you can click on the + directly on the node.
After selecting the Group node, the hotkey ‘V’ will also toggle open and close the Group View.
Note: The 'V' hotkey can still be used for other operations when the Group node is not selected.
• Via Group node Properties
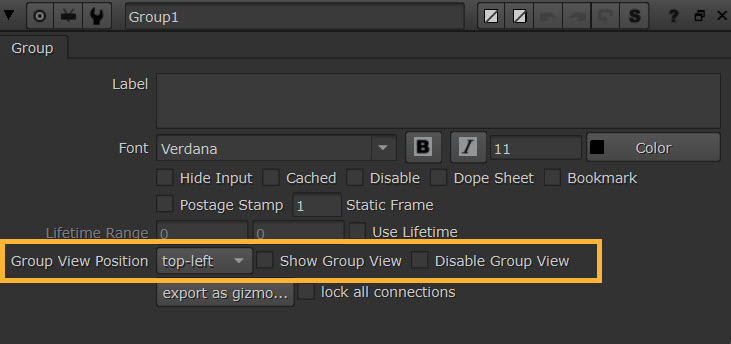
In Group Node Properties, select the checkbox Show Group View, which opens and closes the Group View.
Select the option Group View Position to change the position of the Group View to either the right or left of the node, depending on how you want to lay out your scripts. The Group View defaults to the left hand side. For customized Group nodes, this will appear in the Node tab.
You can also choose to disable this functionality entirely by selecting Disable Group View.
If you wish to disable Group View at a global level, there is also an option in the Preferences panel. Go to Preferences > Node Graph > Group View > Global Group View Disable. When this is checked, the ability to show group views will be disabled and all currently visible group views will become invisible.

Using Group View in your Node Graph
• You can open the Properties, copy and paste, search, and perform many other operations with nodes inside Groups directly from the Group View, without having to go into the Group in a separate tab.
• The Group View will dynamically resize, to fit the nodes contained in the Group. You can also view Groups within Groups.
• The color of the Group View is derived from the color of the Group Node.
Creating a node in Group View
Creating a node in a group view requires clicking into the Group View, and then using standard node creation procedures such as tab menu, hotkeys or the toolbar menu.
Moving nodes into a Group View
An existing node cannot be moved into a Group View by drag and drop, but can be cut and paste. First select the node(s), Edit > Cut, click into the group view and Edit > Paste.
Drag and drop into Group View is supported for files.
Python support for Group View
To find out the group of the last hit Group View, use nuke.lastHitGroup(). This can be used to support Group View when creating custom menu items. For example:
Python
with nuke.lastHitGroup():
nuke.createNode("Blur")
The above code would create a Blur within the group of the last hit Group View.
Tip: Grouped nodes are especially useful for Multishot workflows, in particular with Nuke’s Graph Scope Variables feature. When organizing and managing multiple scopes, being able to see inside your Groups from the main node graph can help immensely.
Tip: With the ability to have multiple shots in the same node graph, setting up a Group per shot is a nice way to visualize and organize your script.
Tip: See also Using the VariableGroup Node.