Fonts and Font Properties
The FreeType library used by the Text node supports a large number of fonts, including TrueType, OpenType, and PostScript fonts. In order to display the available fonts faster in the font dropdown menu, these fonts are cached as an XML file when you open a Text node's properties panel. The font cache XML file is called fontmapping.fcache and its location is specified by the environment variable NUKE_TEMP_DIR. See Updating the Font Cache for more information.
Note: See Environment Variables for more information on setting environment variables.
Note: The font cache file is not used when rendering and is not required on a render farm.
Nuke retrieves the fonts available in the Text node from various locations in a set order, before caching them:
| 1. | The location specified in the Project Settings > Font > project font path control. |
| 2. | The .nuke/fonts directory and all other plug-in folders. |
| 3. | The location specified by the NUKE_FONT_PATH environment variable. |
Note: Locations 1 and 3 allow you to specify multiple paths using the OS standard syntax. On Windows, for example, you could specify "c:\windows\font1;c:\windows\font2;..."
| 4. | The local fonts folder. |
| 5. | The system fonts folder, assuming that Project Settings > Font > include system fonts is enabled. For example, on Windows C:\Windows\Fonts\. |
Note: If several locations contain the same font, Nuke uses the font from the first directory it finds it in.
In general, there is no guarantee that a font family and style, such as {Arial : Regular}, will render identically cross-platform. To avoid this, Nuke ships with several fonts common to all platforms. If you disable Project Settings > Font > include system fonts, only the fonts that ship with Nuke are available in the font controls.
See Third-Party Libraries and Fonts for a list of fonts that ship with Nuke.
Note: Only fonts that are physically stored in a file are available in the font controls. As a result, the list of system fonts available in Nuke may be different to that available in other software applications on the same machine.
Selecting a Font
| 1. | Highlight the text you want to affect in the message field or Viewer. |
| 2. | In the Text properties panel, click the font family dropdown to select the required family. |
| 3. | Select the required font style from the dropdown. |
Note: The styles available depend on the family selected.
| 4. | Click the information icon to display the location of the selected font. For example: |
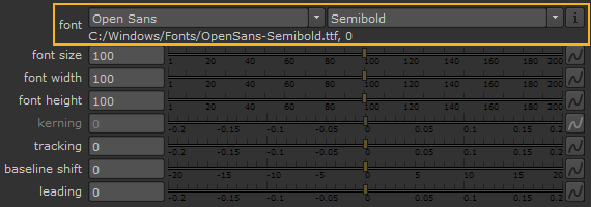
The font family and style used are saved in the Nuke script, along with some extra information, in order to make sure the same family and style are used if the script is opened on a different machine or operating system. If the font family and style are not the same, Nuke displays a warning message.
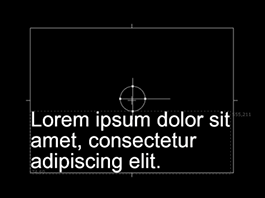
Adjusting Font Size and Spacing
| 1. | Highlight the text you want to affect in the message field or Viewer. |
| 2. | To adjust the overall size of the font, use the font size slider. When leading is set to 0, this parameter also controls the spacing between each line of text. |
When rendering the font, font size controls the font hinting used. Font hinting adjusts which pixels are interpolated to more clearly render a font. At small sizes and on low resolution output devices, it has a big impact on the legibility of the font. For best results, you should use the font size parameter (rather than the scale control on the Group tab) to control the size of the font and keep scale set to 1.
Tip: Use the global font scale control to adjust the scale multiplier for all characters in the current Text node, regardless of the font size specified for individual characters.
| 3. | You can adjust fonts asymmetrically using the font width and font height controls. |
You can also use the controls above the Viewer to adjust font size.

| 4. | To increase or decrease the spacing between individual characters, adjust the kerning slider. By using negative values, you can make the letters overlap. |
Note: If you select more than one character or the last character in a group, the kerning control is disabled.
You can also use the control above the Viewer to adjust kerning.

| 5. | To increase or decrease the space between each character and the previous character adjust the tracking control. Negative values move characters towards the preceding character. |
You can also use the control above the Viewer to adjust tracking.

| 6. | To adjust the selected text's height above the baseline, in screen space, use the baseline shift control. The baseline is the imaginary line upon which most letters rest. This control allows you to reliably line up the baseline of different fonts. |
You can also use the control above the Viewer to adjust baseline.

| 7. | If your text overlay contains several lines of text, you can adjust the spacing between each line by using the leading slider. By using negative values, you can make the letters overlap. |
Note: Unlike the baseline shift control, leading affects all text within the bounding box regardless of selection.
Justifying Fonts
The justify controls affect the positioning of the text within the bounding box on the x and y axes.
| 1. | Use the xjustify dropdown to control how you want to align the text horizontally: |
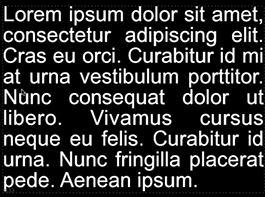
• left - align the text along the left edge of the on-screen text box. This leaves the right edge of the text ragged.

• center - align the text from the center of the on-screen text box. This leaves both edges of the text ragged.
• right - align the text along the right edge of the on-screen text box. This leaves the left edge of the text ragged.
• justify - align the text both along the left and the right edge of the on-screen text box. This leaves no ragged edges. The justification is done by expanding the spaces between letters. If there are no spaces or the spaces get more than about three times wider than they were, letters are expanded.
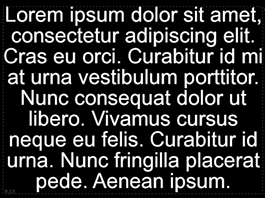
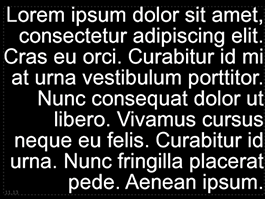
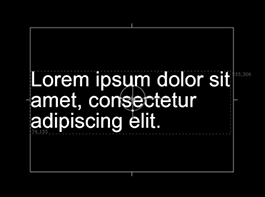
| 2. | Use the yjustify dropdown to control how you want to align the text vertically: |
• top - align the text against the top edge of the on-screen text box.
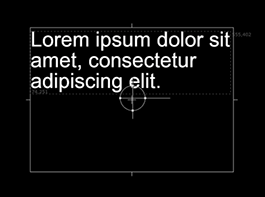
• center - align the text from the center of the on-screen text box.
• bottom - align the text against the bottom edge of the on-screen text box.