Customizing the UI
This chapter explains how to create your own hotkeys, menus, and menu items. This kind of code is typically placed in the menu.py file. Please refer to Installing Plug-ins for information on how to install custom files.
The menus currently available in NUKE are:
Nuke - the application menu on top of the interface.

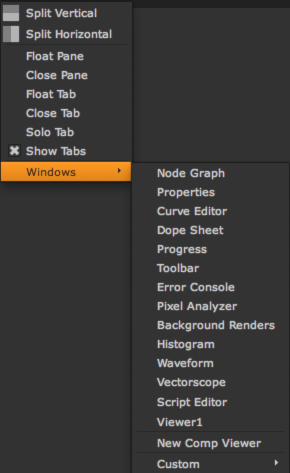
Windows - the Windows menu found in all content menus.
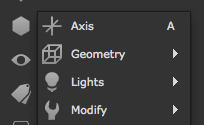
Nodes - the toolbar (and the right-click menu in the Node Graph).

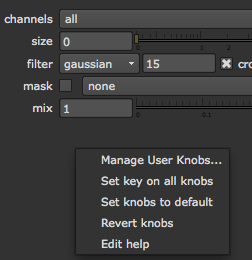
Properties - right-click menus of properties panels.
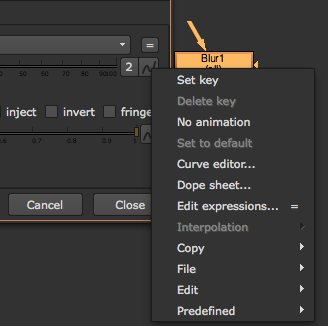
Animation - the pop-up menu on the Animation button of all properties panels, and the right-click menu of the Curve Editor.
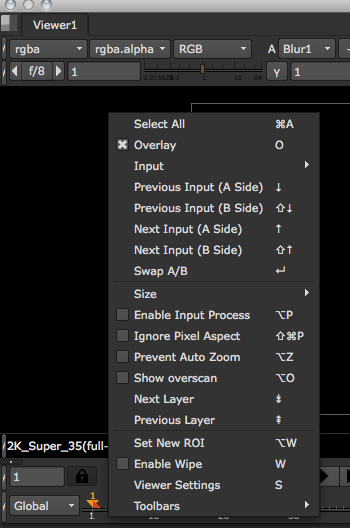
Viewer - the right-click menu of the Viewer.
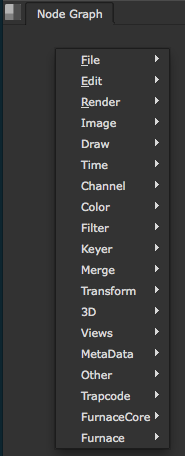
Node Graph - the right-click menu of the Node Graph.
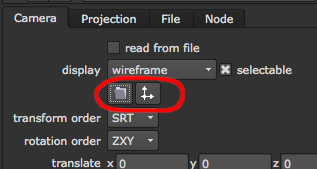
Axis - the menus on all Axis_Knobs.
Creating a Custom Toolbar
To create a custom toolbar, use:
myToolbar = nuke.toolbar( 'My nodes' )
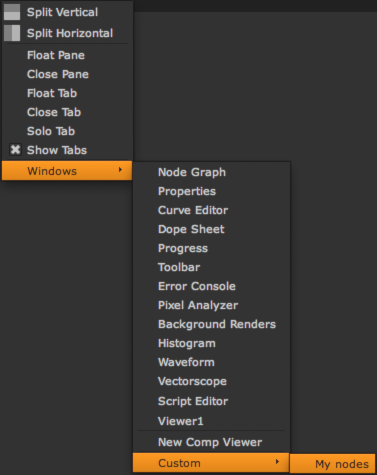
You can add custom items to the toolbar in the same way as to a menu (see below for details):
myToolbar.addCommand( 'My Gizmo', lambda: nuke.createNode('NoOp') )
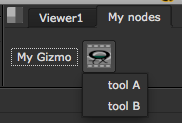
If you don’t specify a toolbar menu for the item, the item is added as a button on the toolbar:

Otherwise, the item is added as a menu (like in the default toolbar):
myToolbar.addCommand( 'My Other Tools/tool A', lambda: nuke.createNode('NoOp') )
myToolbar.addCommand( 'My Other Tools/tool B', lambda: nuke.createNode('NoOp') )

To add an icon for the menu, create it explicitly before assigning menu items to it:
myMenu = myToolbar.addMenu( 'My Other Tools', icon='ohu_icon.png' )
myMenu.addCommand( 'tool A', lambda: nuke.createNode('NoOp') )
myMenu.addCommand( 'tool B', lambda: nuke.createNode('NoOp') )
