Quick Start
Create a BlinkScript node from the Other menu. Alternatively, you can press the Tab key in the node graph and enter
"BlinkScript"in the box that appears.
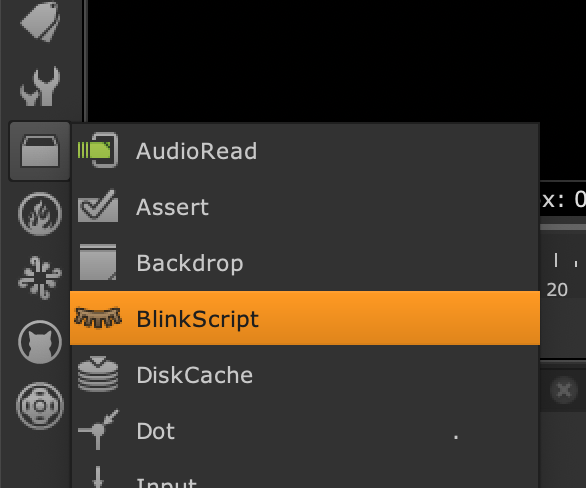
Under Other in the left hand options menu
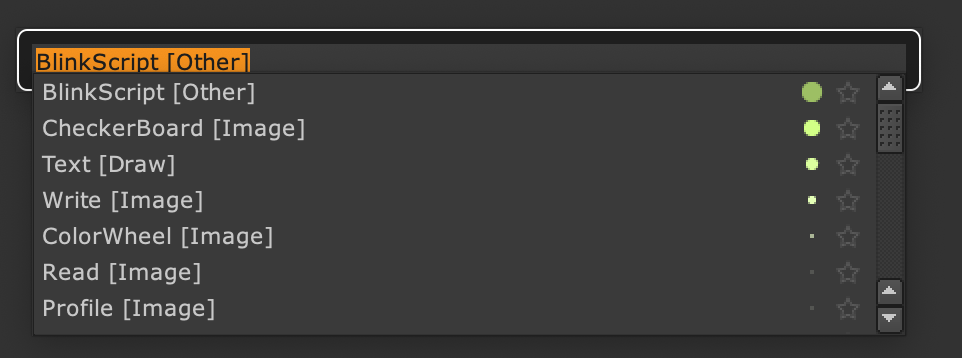
Press the Tab key in the node graph and search for BlinkScript.
When a BlinkScript node is created, it will automatically load the Swirlomatic example kernel, which takes a single input.
Read in your favourite footage or create a standard image such as the Checkerboard and then connect this to the BlinkScript node’s input.
Add a Viewer and connect this to the BlinkScript node’s output. You should see a swirl effect.
Open the Kernel Parameters tab. This kernel has three parameters, Amount, Radius, and Centre. Adjust these to see how the swirlomatic effect changes.
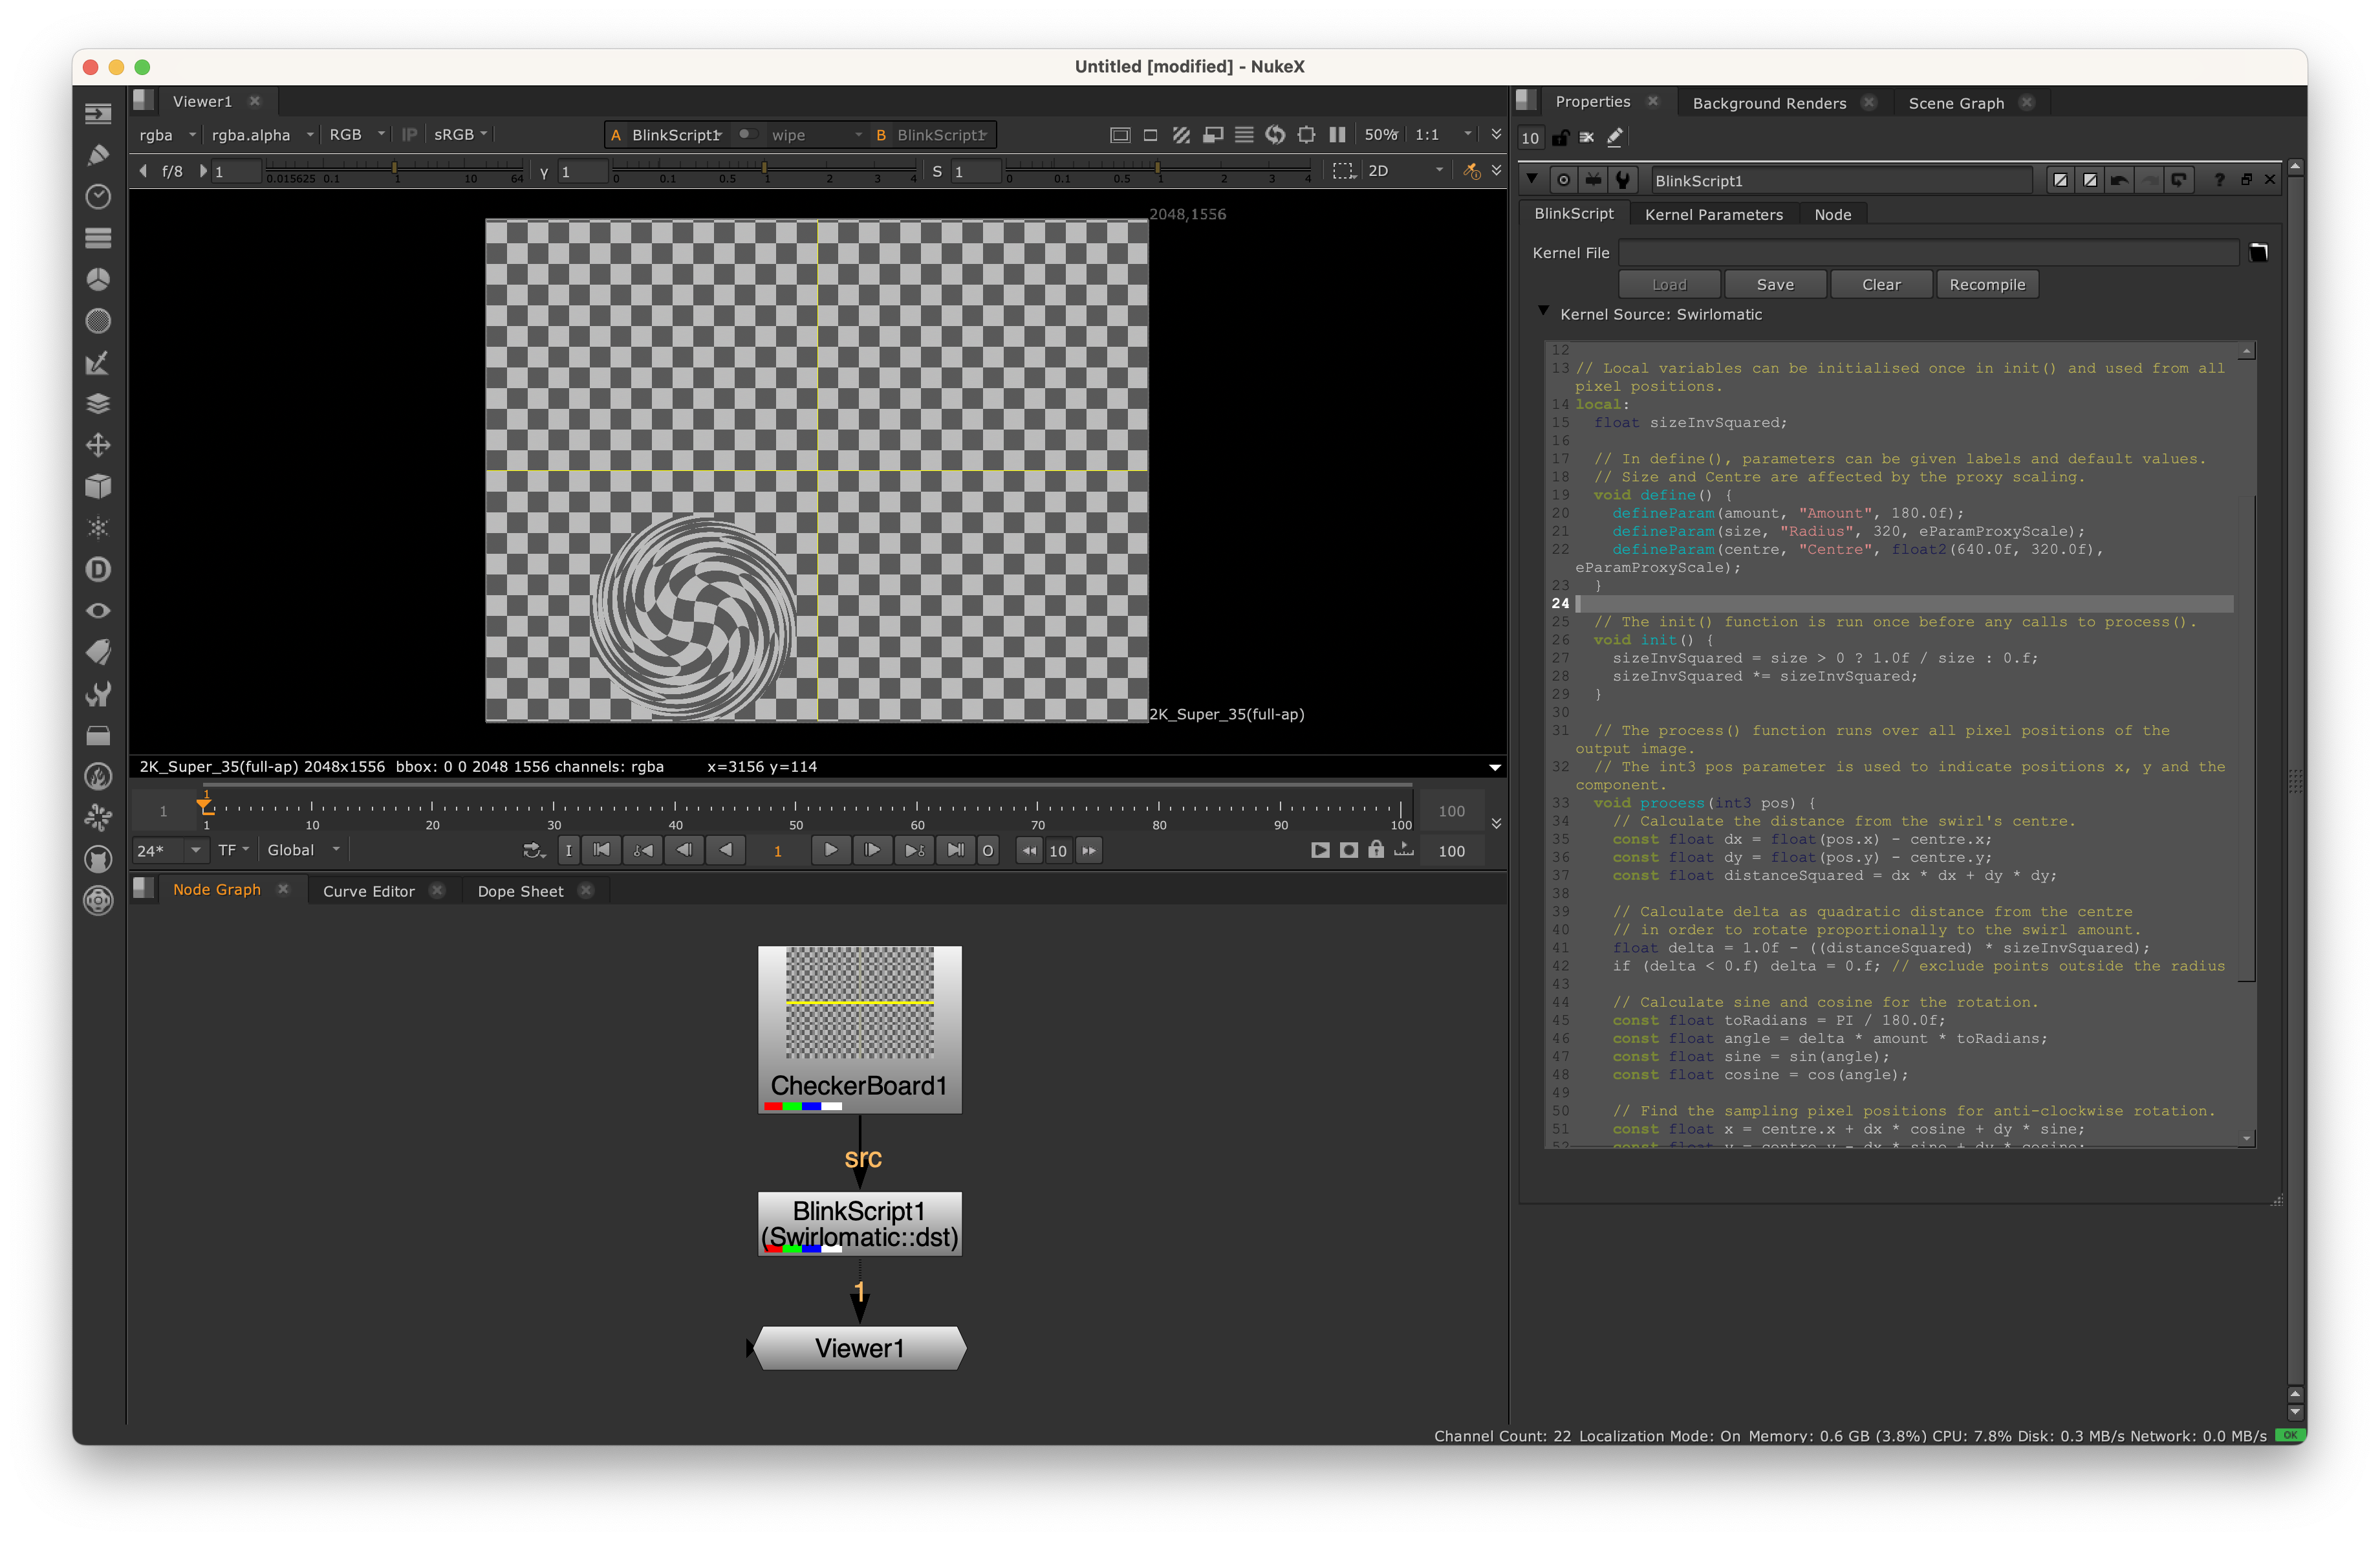
A BlinkScript node in Nuke’s Node Graph.
BlinkScript tab
This tab allows you to edit the kernel that will be be built and run.
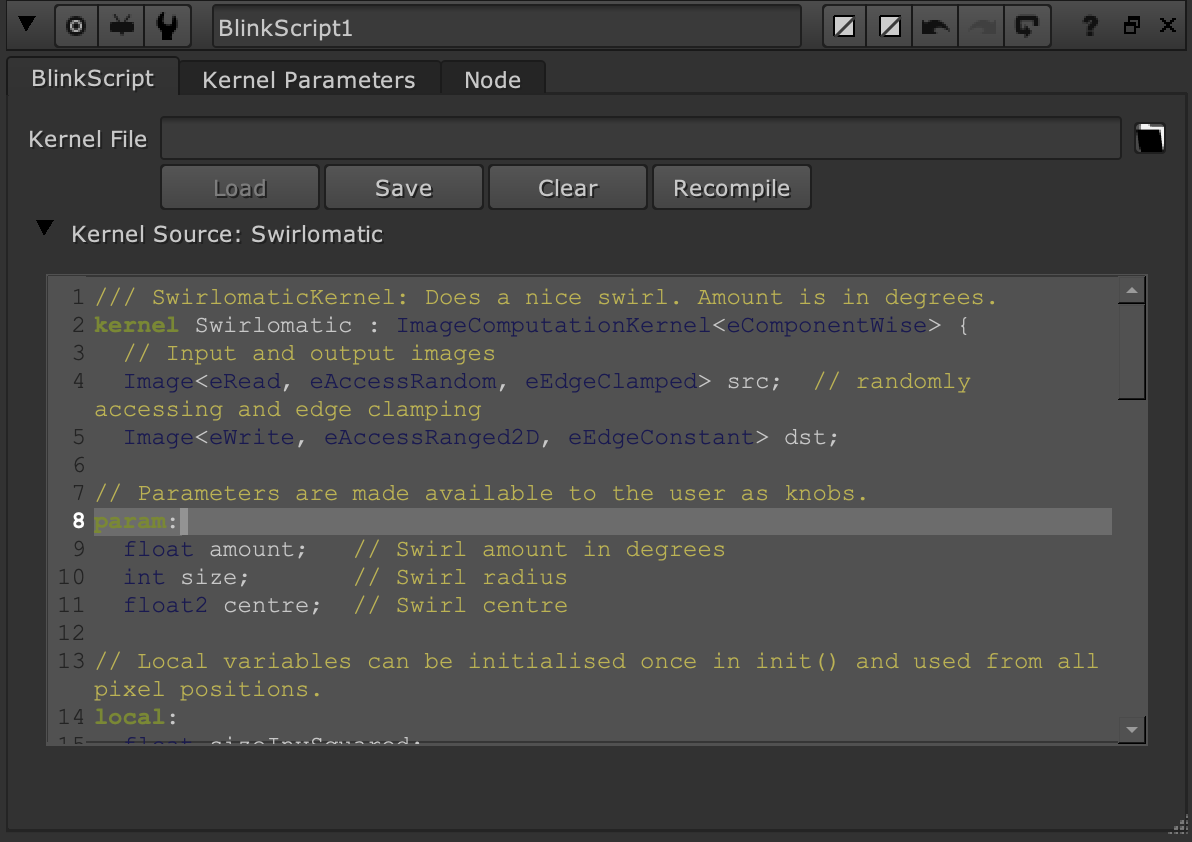
The BlinkScript tab.
- Kernel File
This allows you to select a file from which to load the kernel, or specify a file to save it to.
- Load
Loads a kernel from the file specified in Kernel File and recompiles it.
- Save
Writes the kernel source to the file specified in Kernel File.
- Clear
Clears all the text in the Kernel Source editor.
- Recompile
Trigger a recompile of the kernel in Kernel Source.
- Kernel Source
This displays the current kernel and allows you to edit it. The Swirlomatic kernel is loaded by default.
Kernel Parameters tab
This tab allows you to control how the kernel will be used for image processing within Nuke.

The Kernel Parameters tab.
- Local GPU
This is the name of the GPU that can be used to run the kernel. If you have more than one GPU available and wish to use a different one, you can change the GPU selected by editing the GPU Device in your Nuke Preferences.
- Use GPU if available
Select this to run your kernel on the GPU whenever a local GPU is available.
- Vectorize on CPU
Select this to use SIMD acceleration, where possible, in the code generated for the CPU.
- Inputs
If your BlinkScript contains Images with the
eReadqualifier, these will be treated as input images and displayed here. Each input image can have up to four components, which can be chosen from the layers and channels of the connected inputs.- Kernel Parameters
If your kernel contains parameters that can be controlled by the user, these will be displayed here. When the node is first created, it has the three Swirlomatic parameters: Amount, Radius and Centre. For more information about the types of parameters that can be used, see Parameters and Knobs.
- Output
BlinkScripts allow for a single output image, specified with the
eWritequalifier. This will be displayed here, where you can set which channels will be written to.- Publish
This button can be used to share your BlinkScript tools with others, without exposing the development environment. This button will create a group containing a copy of the current node, which can then be saved as a gizmo if desired. Only the kernel parameters and GPU controls will be exposed by default in the published version of the node.
- Protect kernel
When this is set, the kernel source will be encoded inside the published version of the node, and will not be readable when the published node is saved to a script.
- Specify output format
By default, the bounds of the Blink node’s output will be the union of the bounds of all its inputs. This allows you to specify the output format manually using the Format dropdown below.
- Format
When Specify output format is enabled, this enables you to choose the format for the Blink node’s output.