O_Retimer Example
In this example, we generate motion vectors using O_VectorGenerator and feed them to O_Retimer in order to vary the speed throughout the clip.
You can download the image used here from our website. For more information, please see Example Images.
Step by Step
Generating Motion Vectors
|
1.
|
Launch Nuke and open the project settings by pressing S on the Node Graph. Go to the Views tab and click the Set up views for stereo button. |
|
2.
|
Import dance_group.##.exr. This image already includes both the left and the right views. |
|
3.
|
Add a Viewer to the image. |
|
4.
|
Select Ocula > Ocula 4.0 > O_VectorGenerator to insert an O_VectorGenerator node after the image sequence. |

The purpose of O_VectorGenerator is to calculate the motion vectors required later for retiming the sequence.
|
5.
|
In the Viewer, select motion from the channel dropdown. The calculated forward and backward motion vectors are displayed in the Viewer. |

|
6.
|
You can render out the motion vectors with the image by selecting Image > Write to insert a Write node after O_VectorGenerator. In the Write node controls, select all from the channels dropdown menu. Choose exr as the file type. Select a location for the clip in the file field and enter dance_group_motion.##.exr as the name. Click Render. The newly created motion vectors are saved in the channels of the clip. |
|
7.
|
Continue to the next section to retime the sequence using these motion vectors. |
Retiming the Sequence
|
1.
|
Import the dance_group_motion.##.exr clip you rendered in the previous step and connect a Viewer to it. |

|
2.
|
Play through the clip in the Viewer to get a sense of the motion. |
|
3.
|
Insert an O_Retimer node after the clip. |

By default, this node is set to perform a half speed slow down. However, in this example, we want to speed up the sequence.
|
4.
|
Instead of changing the clip’s playback speed in terms of overall duration, we are going to define the retiming by specifying source frames at selected output frames in the Viewer timeline. In order to do this, set Timing to Source Frame in the O_Retimer controls. |
Notice that the Speed control is not available and the Frame control is activated. The default Frame setting is 1, which sets the first frame on the timeline to frame 1 of the input image.
Note: You need to set a minimum of two keyframes to use the Source Frame method.
|
5.
|
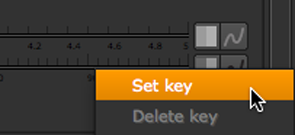
Click the animation menu next to Frame and select Set key in order to set a keyframe at the first frame on the timeline. |

A keyframe is indicated by a blue chip.
|
6.
|
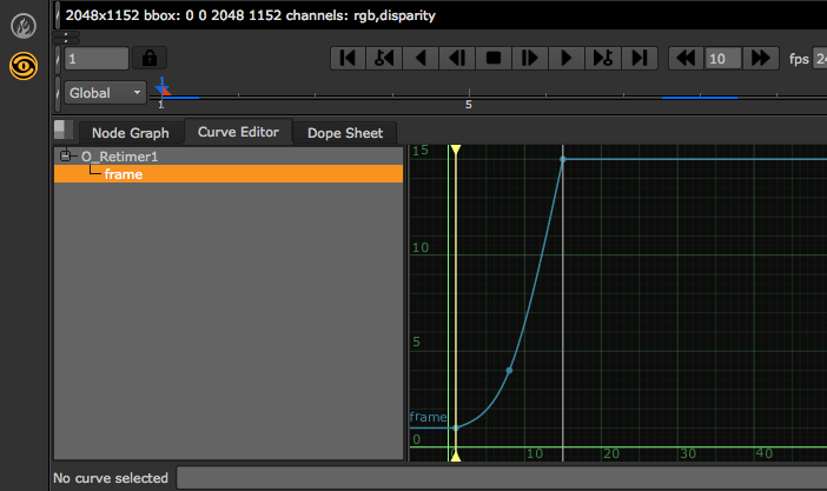
Move the playhead to frame 8 and set the Frame value to 4. A keyframe is set automatically. O_Retimer sets frame 8 on the timeline to frame 4 of the source image, effectively reducing the playback speed by half leading up to frame 8. |
|
7.
|
Move the playhead to frame 15 and set the Frame value to 15. O_Retimer sets frame 15 on the timeline to the last frame of the input clip, effectively returning the playback speed to normal at frame 15. |
|
8.
|
Press Play in the Viewer to process and review the results. After the process is complete, you are able to see the result of the retime. You may have to reduce the fps control to see the result clearly. |
|
9.
|
Return to the beginning of the clip and play through each frame with the Next Frame arrow in the Viewer. You should notice that the Frame value changes over time – slowly up to frame 8 and more quickly towards the final frame. |
