The NetworkMaterialEdit Node
The NetworkMaterialEdit nodes allow artists to edit network materials, by adding or removing shading nodes from an existing network, as well as by creating new connections or breaking existing connections. You can also modify any of the parameters of shading nodes in an existing network.
The NetworkMaterialEdit node uses a Scene Graph location, set in the Node Parameters, which stores information about how a Network Material was created using the material.layout attribute. The Scene Graph location could be brought in through a look file and could have been created in a different department, with the original material network in a separate project. This workflow allows artists to have full control of the Network Material without needing to go back and edit the original material network.
Any upstream changes to the original material network change the material.layout attribute causing the NetworkMaterialEdit node to update to reflect those changes.
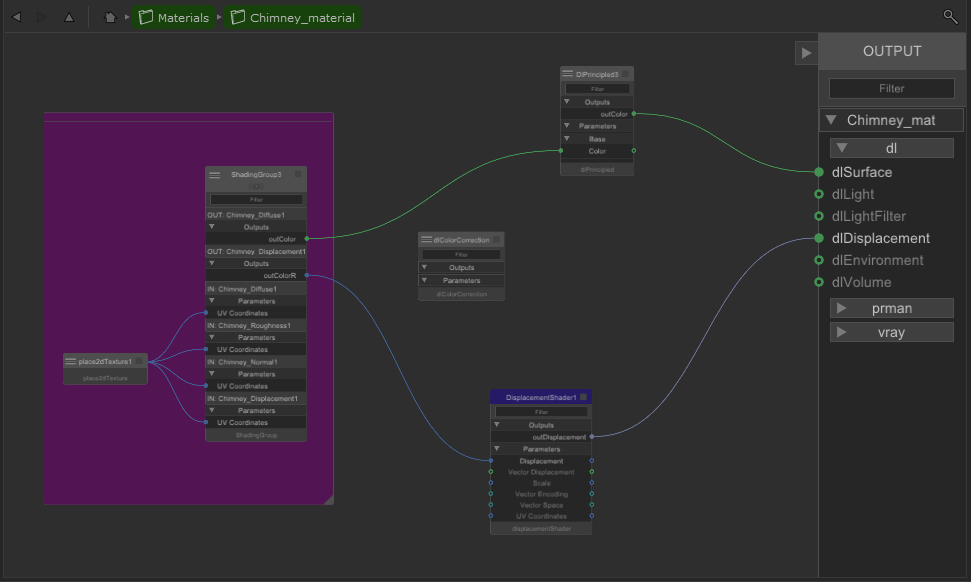
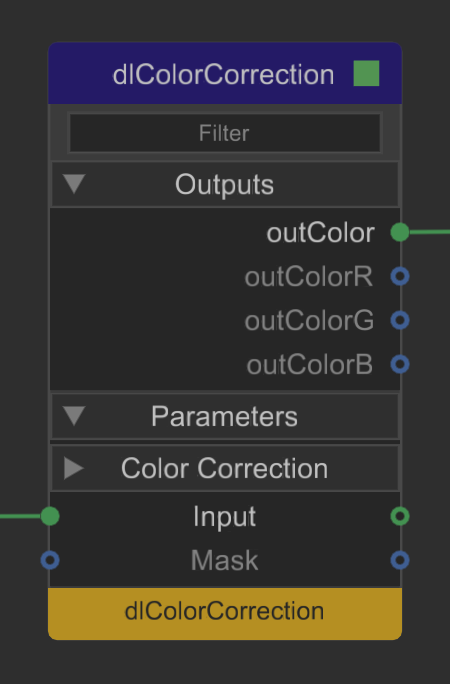
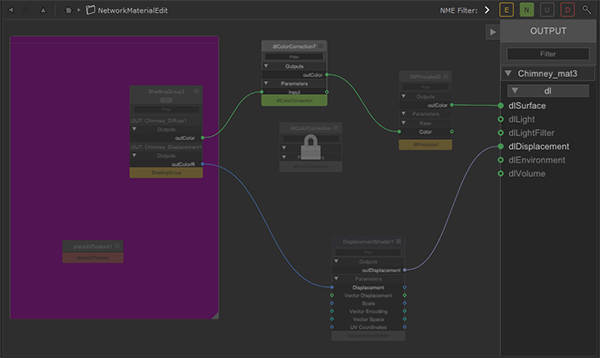
Inside a NetworkMaterialCreate node
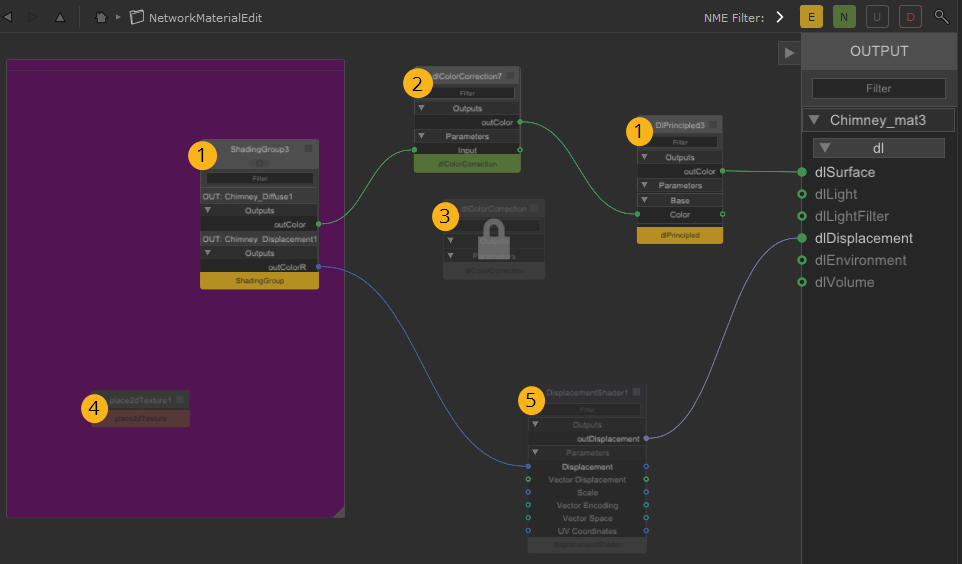
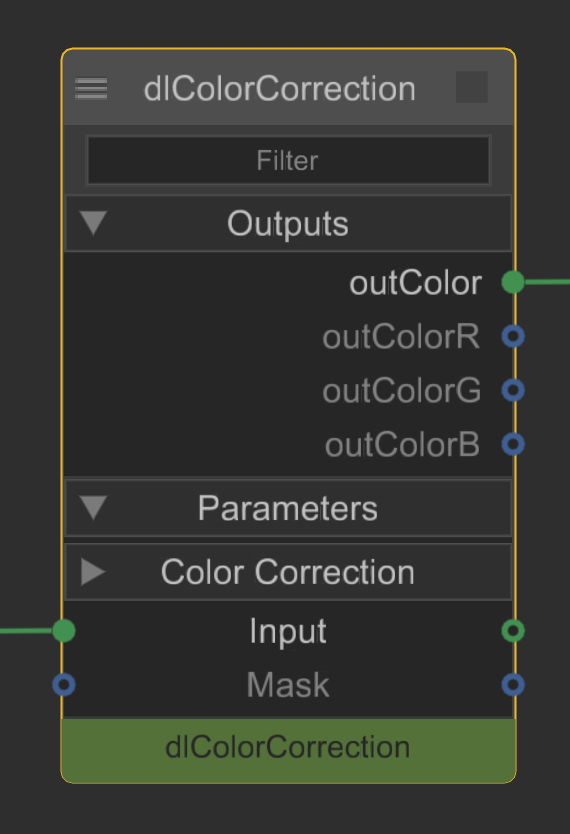
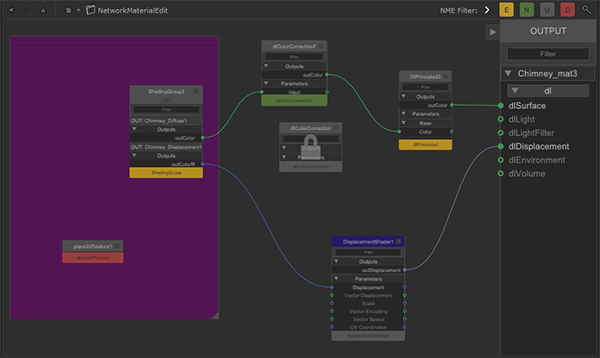
Inside a NetworkMaterialEdit node
The contents of NetworkMaterialEdit nodes are drawn in the same style that was introduced for NetworkMaterialCreate nodes, with exposed ports on shading nodes and a left-to-right node layout. If the network material you are editing was created using a NetworkMaterialCreate node, the material network layout inside the NetworkMaterialEdit node is an exact duplicate of the original layout.
If the network material you are editing was created using the legacy NetworkMaterial workflow, the shading nodes in the NetworkMaterialEdit node are automatically arranged in the node graph.
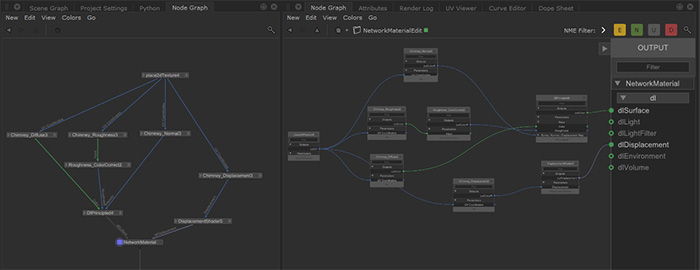
Using a NetworkMaterialEdit node to edit a legacy NetworkMaterial
Note: For more information on the NetworkMaterialCreate node, refer to Building Materials Using NetworkMaterialCreate.
At first, the shading node network within a NetworkMaterialEdit node appears slightly dimmed to indicate that no changes have been made since the network was created, this can be changed using the NME Filter buttons.
Once a change is made to a node inside a NetworkMaterialEdit node, the node is marked with a yellow stripe to indicate that its parameters have been edited. Similarly, any new nodes are marked with a green stripe. This makes it easy to track any changes that you make within the NetworkMaterialEdit node, in comparison to the original NetworkMaterialCreate node.
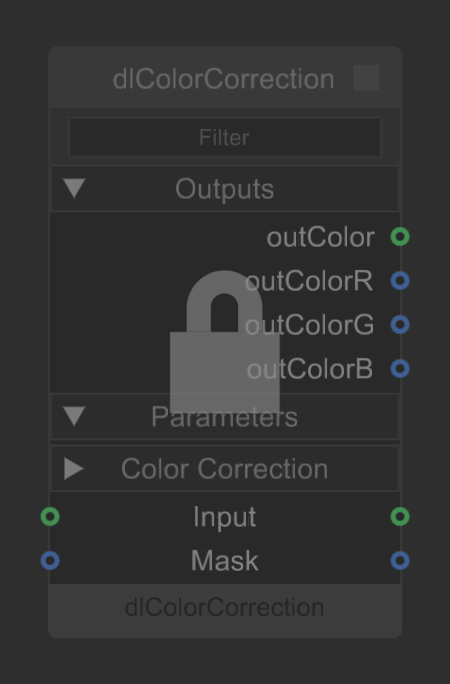
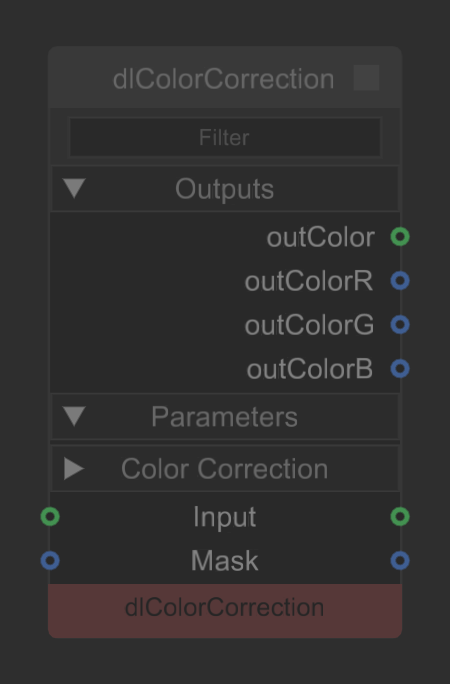
Nodes which are left disconnected from the output inside the original NetworkMaterialCreate node are disabled within a NetworkMaterialEdit node and marked with a padlock symbol to indicate they cannot be edited from with the NetworkMaterialEdit node. If you disconnect a node completely from within a NetworkMaterialEdit node, that node is marked with a red stripe.
|
|
|
|
Yellow stripe indicates an edit. |
Green stripe indicates a new node. |
|
|
|
|
Padlock symbol indicates a disabled node. |
Red stripe indicates a disconnected node. |
This workflow allows artists to make adjustments to their shading node network without overriding the original. This can be useful when working on one asset across multiple shots as you are not constrained by how the original network material was set up, so small changes can be made on a per-shot basis.
NetworkMaterialEdit nodes combine the functionality of the existing NetworkMaterialParameterEdit and NetworkMaterialSplice node types, but in a UI that is visually representative of how the material was originally authored.
Filtering within NetworkMaterialEdit
The NetworkMaterialEdit node UI features the NME Filter options. These buttons allow you to dim nodes within the Node Graph for node states which are not toggled on. This is especially useful when working with large shading node networks as it allows you to focus your attention on a clear section of the node graph.

 - Edited nodes
 - New nodes
 - Unchanged nodes
 - Disconnected nodes
For example, to highlight which nodes are new to the NetworkMaterialEdit node, turn on the New button and turn off the Edited , Unchanged , and Disconnected buttons.
If you would like all nodes to be fully visible and none to appear dimmed, turn on the Edited , New , Unchanged , and Disconnected buttons.
How to Use the NetworkMaterialEdit Node
- Create a NetworkMaterialEdit node by pressing Tab and typing NetworkMaterialEdit.
- Connect the NetworkMaterialEdit node to your network.
Note: The NetworkMaterialEdit node must be downstream of the original NetworkMaterialCreate node information, whether that information has come from a look file or the NetworkMaterialCreate node itself.
- Open the Parameters of the NetworkMaterialEdit node by hovering your mouse over the node and pressing E, or by clicking the Edit flag on the node.
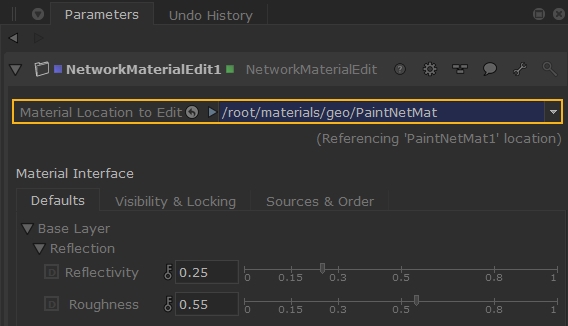
- Use Ctrl + Middle Mouse button to drag the NetworkMaterial from the Scene Graph to the sceneGraphLocation field in the NetworkMaterialEdit Node Parameters.
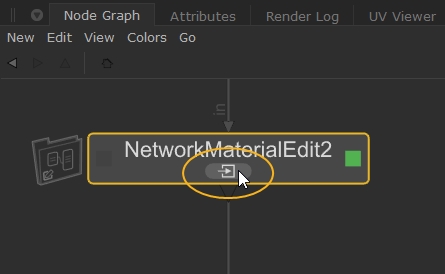
- Click the Enter button on the NetworkMaterialEdit node to view the shading node network and start editing.
Note: Shading nodes within a NetworkMaterialCreate node that are not contributing to the final material are missing important attributes, making it hard to reconnect them from a NetworkMaterialEdit node. These nodes are locked from within the NetworkMaterialEdit node.