Search is based on keyword.
Ex: "Procedures"
Do not search with natural language
Ex: "How do I write a new procedure?"
Contrast Node
Access: Nodes > Filter > Contrast
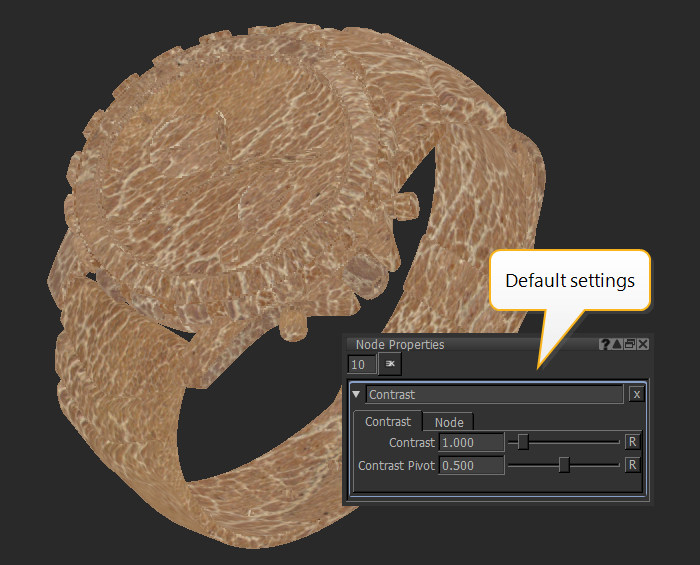
The Contrast node is a filter node that adjusts the input data by linearly adjusting the difference in luminosity between the light and dark areas of a source texture.
|
|
|
|
|
Contrast node's default settings |
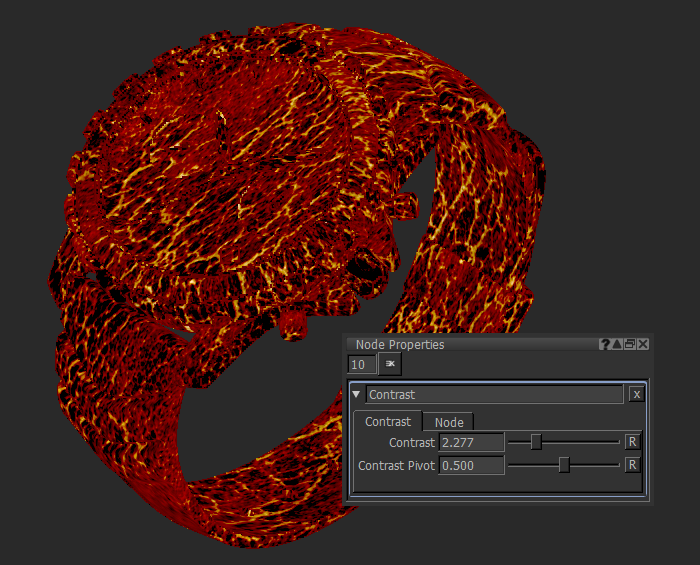
Contrast node's increased Contrast |
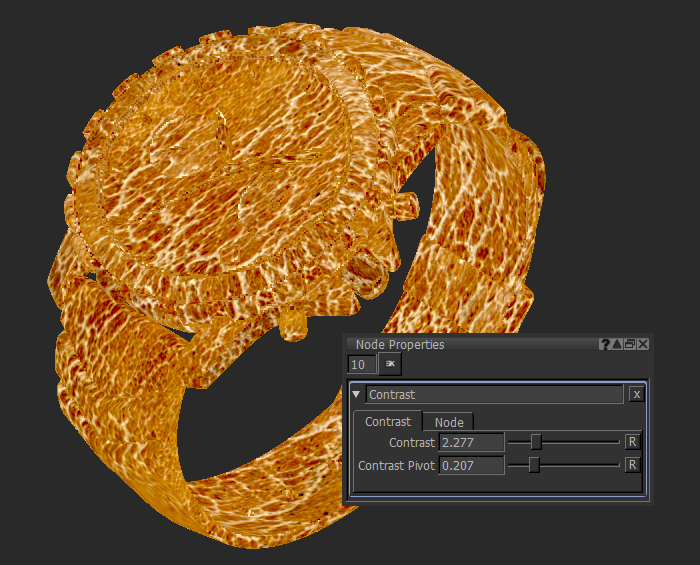
Contrast node's increased Contrast, |
Contrast Node Inputs
Input - Any nodes containing textures or paint that need to be altered can be connected to the Contrast node, for example, Tiled and Paint nodes.
Contrast Node Properties
| Contrast
floating point control |
Adjusts the difference in luminosity between light and dark areas. |
| Contrast Pivot
floating point control |
Sets the point around which Contrast is adjusted. |
Contrast: Node Graph Workflow Example
Example - Achieving Contrast Operation
In the example below, let’s use a Contrast node to emphasize the dark brown pigments of the model.
| 1. | Add a Paint node. |
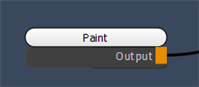
Adding a Paint node.
This is the original texture.
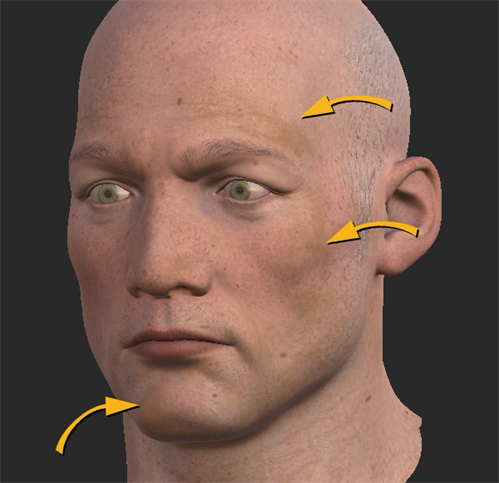
The model has some dark brown pigments on his face.
| 2. | Create a Contrast node. Connect the Paint node to the input of the Contrast node. |
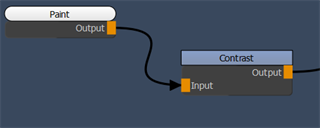
Adding a Contrast node to the Paint node output.
| 3. | Open the Node Properties of the Contrast node and set the Contrast parameter of the Contrast node to 1.200. |
Notice how the dark brown pigments now look darker.
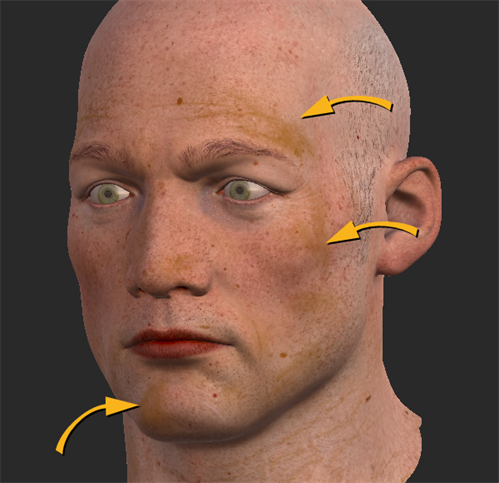
Contrast node’s Contrast set to 1.200.
The dark brown pigments now look darker.
Related Nodes
Sorry you didn't find this helpful
Why wasn't this helpful? (check all that apply)
Thanks for your feedback.
If you can't find what you're looking for or you have a workflow question, please try Foundry Support.
If you have any thoughts on how we can improve our learning content, please email the Documentation team using the button below.
Thanks for taking time to give us feedback.