Search is based on keyword.
Ex: "Procedures"
Do not search with natural language
Ex: "How do I write a new procedure?"
Merge Node
Access: Nodes > Layer > Merge
The Merge node allows you to combine two nodes using blending operations and includes a Mask input to mask out regions from blending.
Under the hood, Mari passes around a set of four numbers along a connection between two nodes. The Merge node takes in a set of four numbers for each of its inputs and outputs a set of four numbers. When merging the Base and Over inputs, the blending operations are taking each number of the Base and Over inputs and apply the mathematics behind each blending mode to achieve a blended result.
Merge Node Inputs
• Base - Any node containing textures or paint, and any procedural node can be connected to the Merge node’s Base input.
• Over - Any node containing textures or paint, and any procedural node can be connected to the Merge node’s Over input.
• Mask - Any node containing textures or paint, and any procedural node can be connected to the Merge node’s Mask input.
Note: See Merge: Node Graph Workflow Example for more information on the Output.
Merge Node Properties
|
Mode
|
Selects the blend mode that you want to apply in this Merge node. |
|
Amount
|
Adjusts the blend amount, 0 showing the Base input, and 1 showing the result of the blending operation. |
|
Colorspace Enabled
|
Enables the conversion from Linear colorspace to sRGB before the blending operation takes place and inverses the conversion from sRGB colorspace to Linear colorspace after the blending operation. This forces Mari to calculate blended results in sRGB colorspace, which may be useful for reducing stepping artifacts especially for low bit-depth channels. |
Modes
|
Normal Displays the Over input while the Base input stays hidden. The Normal mode (Mari’s default mode) is used for layering operations. You can adjust the Amount to set how much of the Over input to show. Decreasing the Amount allows you to show the Base input. |
|
|
Copy This copies the information from the Over input and doesn’t involve any blending operations. Note: Adjusting the Amount has no effect. |
|
|
Clear Subtracts the opacity of the Over input from the Base input. In other words, it erases texture from the Base input using the Alpha component of the Over input. For example, an Over input with 80% opacity leaves a Base input with 20% opacity. |
|

Darken
|
Darken Gives each pixel the darker of two possible values: the Base or the Over (whichever is darker). |
|
|
Multiply Darkens the color. Mari multiplies the Base color information by the Over color information. |
|
|
Color Burn Burns the Base, using the contents of the Over as input for the burn operation. |
|
Lighten
|
Lighten Gives each pixel the lighter of two possible values: the Base or Over (whichever is lighter). |
|
|
Screen Lightens the image. Mari divides the Base by the Over. (This is the opposite of Multiply.) |
|
|
Color Dodge Dodges the Base, using the contents of the Over to control the degree of dodging. |
|
|
Add Adds the values of the Over colors to the values on the Base. |
|
Contrast
|
Contrast
|
|
|
Decontrast
|
|
|
Overlay
|
|
|
Soft Light
|
|
|
Hard Light
|
|
|
Vivid Light
|
|
|
Pin Light
For dark areas in the Over, replaces pixels in the Base that are lighter than the corresponding pixels in the Over. (Otherwise, leaves the Base unchanged.) |
|
|
Hard Mix
|
|
|
Sponge Desaturate
|
|


Inversion
|
Difference
|
|
|
Exclusion
|
|
|
Invert
|
|
|
Inverse Difference
|
|
Burn
|
Burn Highlights
|
|
|
Burn Midrange
|
|
|
Burn Shadows
|
|


Dodge
|
Dodge Highlights Dodges the Base based on the highlights in the Over. |
|
|
Dodge Midrange Dodges the Base based on the middle range (that is, not the lightest or darkest pixels) of the Over. |
|
|
Dodge Shadows Dodges the Base based on the contents of the Over, with darker pixels being dodged harder. |
|

Component
|
Hue Takes the luminance and saturation from the Base pixels, with the hue from the Over. |
|
|
Saturation Takes the luminance and hue of the Base color, with the saturation from the Over. |
|
|
Color Takes the luminance of the Base, and the color and saturation of the Over |
|
|
Luminance Takes the hue and saturation of the Base color, and the luminance of the Over. (This is the opposite of the Color blend mode.) |
|
Vectors
|
Paint Flow Vectors Changes the Over to tangent vector space. Keeps the vectors flat to the object’s surface in 2D space. Unlike Nudge Flow Vectors, the Paint Flow Vectors mode blends between the vectors instead of adding them. This mode is best for use with flow maps. |
|
|
Nudge Flow Vectors Changes the Over to tangent vector space. Keeps the vectors flat to the object’s surface in 2D space. The Nudge Flow Vectors mode adds the vectors together to get the blend result, and is best for use with flow maps. |
|
|
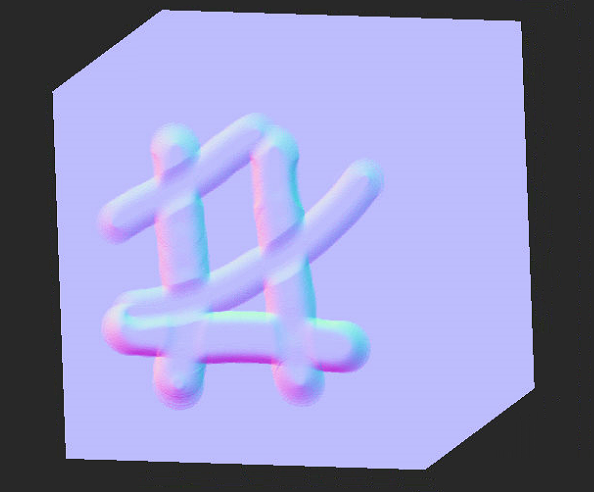
Paint Normal Vectors Changes the Base to tangent vector space. Allows the z value to face outward in 3D space, so that vectors can face out from the object’s surface anywhere on the object. Unlike Nudge Normal Vectors, the Paint Normal Vectors mode blends between the vectors instead of adding them. This mode is best for use with normal maps. |
|
|
Nudge Normal Vectors Changes the Over to tangent vector space. Allows the z value to face outward in 3D space, so that vectors face out from the object’s surface anywhere on the model. The Nudge Normal Vectors mode adds the vectors together to get the blend result, and is best for use with normal maps. |
|
|
Scale Vectors This is most useful with the basic Paint tool, while preferably using grayscale paint. Scale Vectors uses the intensity of color to control the length of the normal in 3D space. |
|
Normal Maps
|
Add Normal Maps Blends two RGB-encoded vector layers with the Add input by converting the raw values from the 0.0 to +1.0 colorspace-encoded range to the -1.0 to +1.0 vector range, applying the blend factor to the Over input, adding the values, then normalizing the values before converting it back to the 0.0 to +1.0 colorspace-encoded range. |
|
|
Mix Normal Maps Blends two RGB-encoded vector layers with the Add input by converting the raw values from the 0.0 to +1.0 colorspace-encoded range to the -1.0 to +1.0 vector range, applying the blend factor to the Over input, adding the values, then normalizing the values before converting it back to the 0.0 to +1.0 colorspace-encoded range. |
|
|
Mix Reoriented Maps
|
|

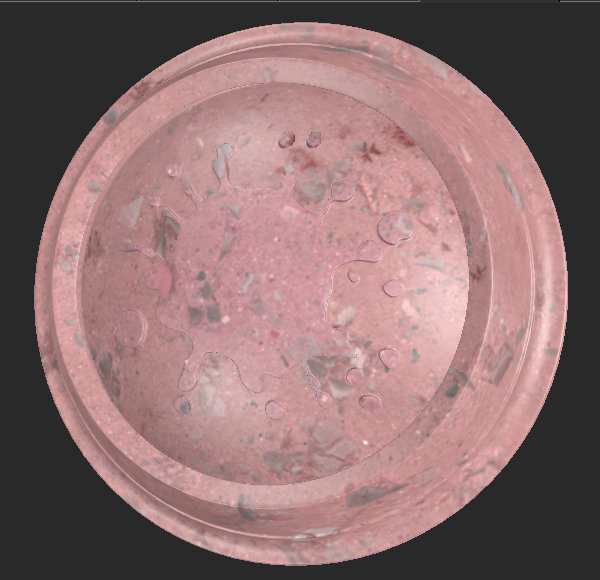
Swizzle
Swizzling forces modifications to each color component of the blended result and applies to each pixel of the object.
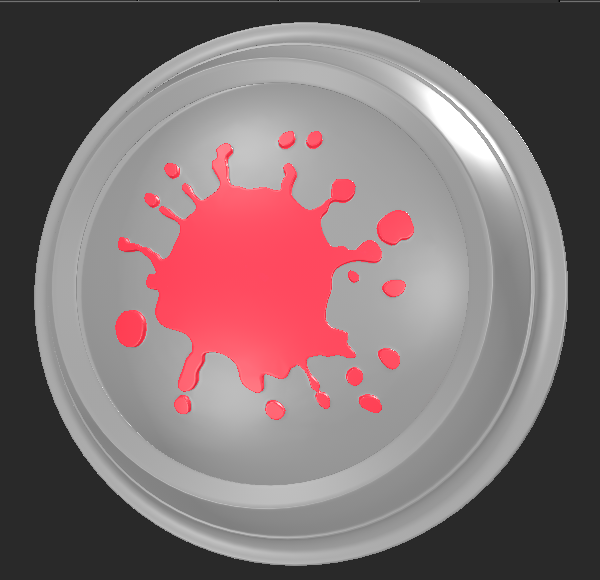
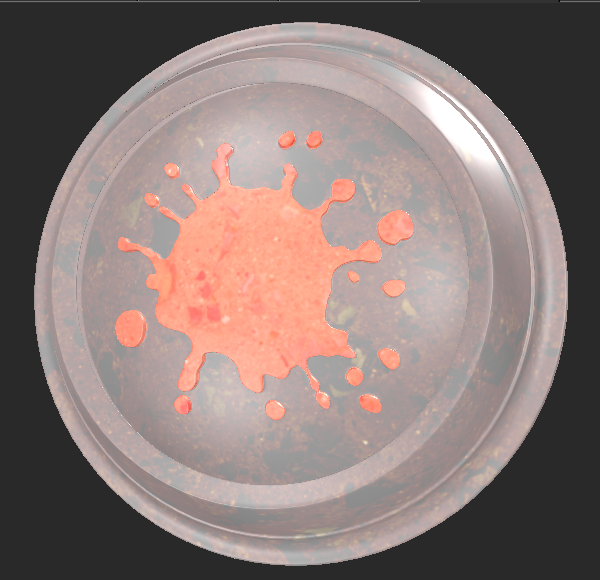
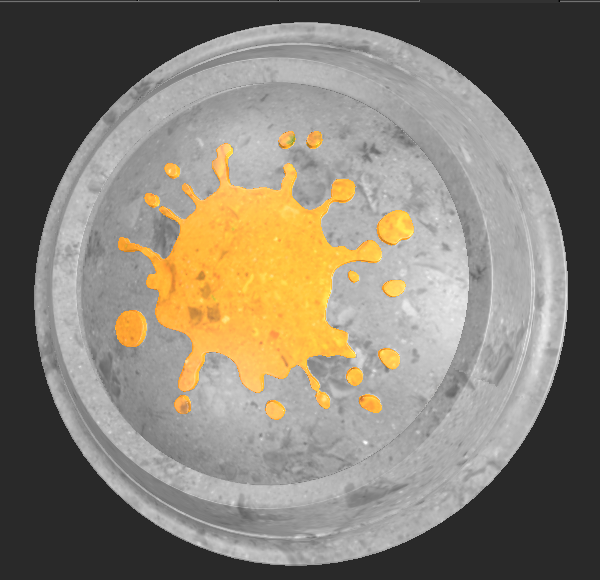
This is the original texture used for the following examples.
|
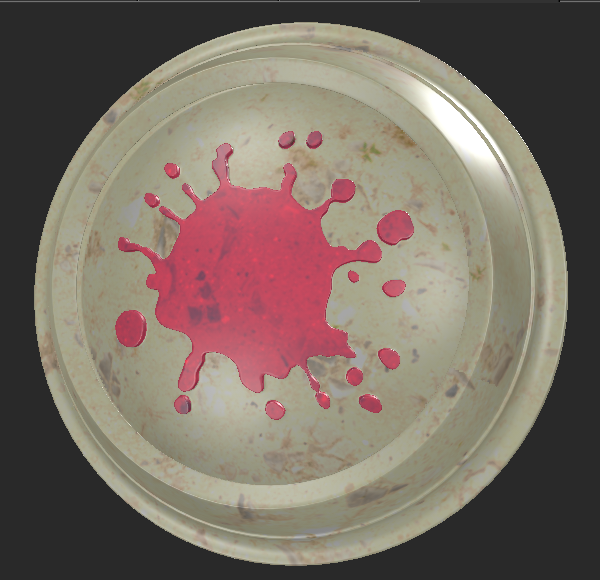
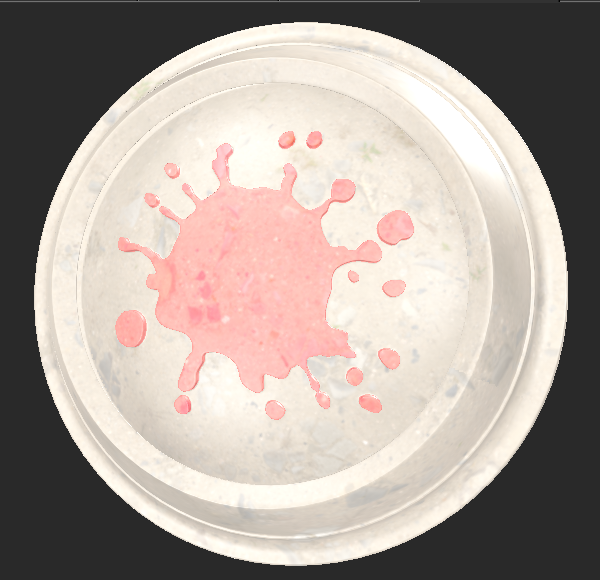
R Modifies the value that is output from the Red color component. • Red - By default, the Red component is set to output red color values. • Green - Applies the value from the Green component. • Blue - Applies the value from the Blue component. • Alpha - Applies the value from the Alpha component. • One - overrides the component’s value and set it to 1 (white). • Zero - overrides the component’s value and set it to 0 (black). |
Set to Green. |
|
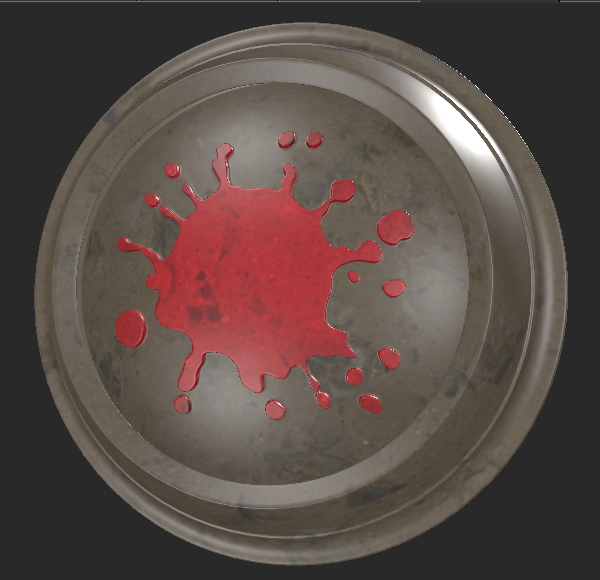
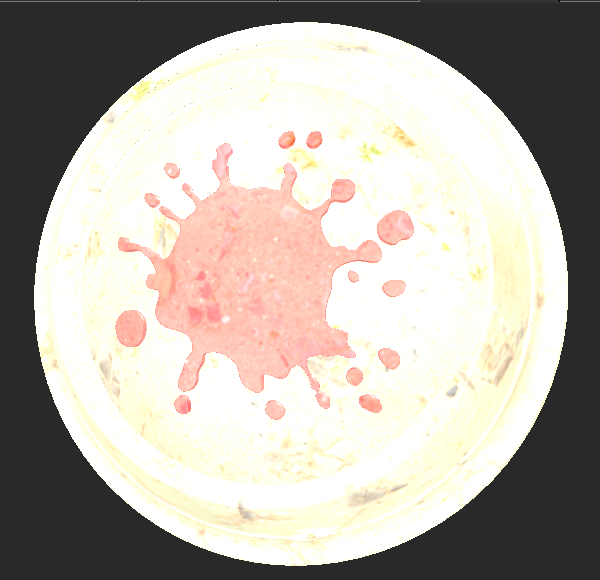
G
• Red - Applies the value from the Red component. • Green - By default, the Green component is set to output green color values. • Blue - Applies the value from the Blue component. • Alpha - Applies the value from the Alpha component. • One - overrides the component’s value and set it to 1 (white). • Zero - overrides the component’s value and set it to 0 (black). |
Set to Blue. |
|
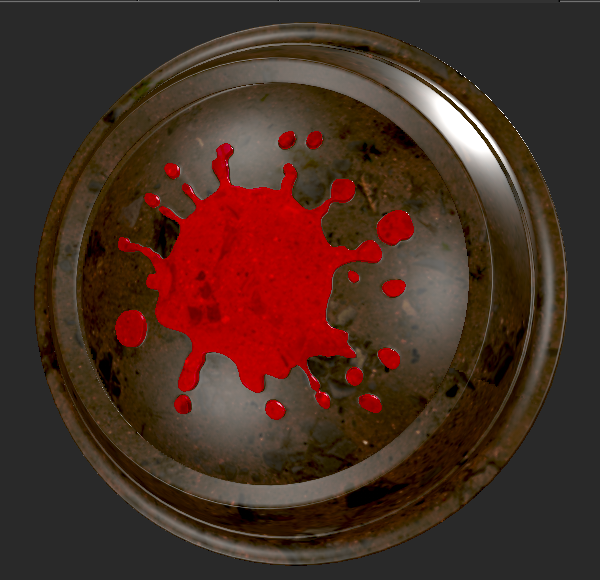
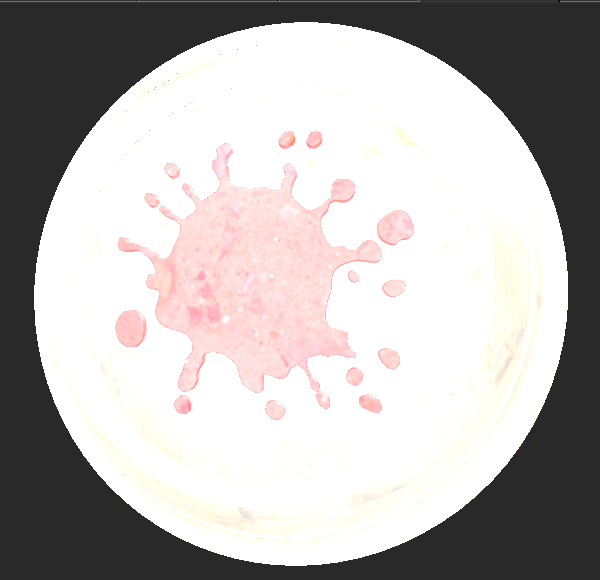
B Modifies the value that is output from the Blue color component. • Red - Applies the value from the Red component. • Green - Applies the value from the Green component. • Blue - By default, the Blue component is set to output blue color values. • Alpha - Applies the value from the Alpha component. • One - overrides the component’s value and set it to 1 (white). • Zero - overrides the component’s value and set it to 0 (black). |
Set to Alpha. |
|
A Modifies the value that is output from the Alpha color component. • Red - Applies the value from the Red component. • Green - Applies the value from the Green component. • Blue - Applies the value from the Blue component. • Alpha - By default, the Alpha component is set to output alpha color values. • One - overrides the component’s value and set it to 1 (white). • Zero - overrides the component’s value and set it to 0 (black). |
Set to Red. |

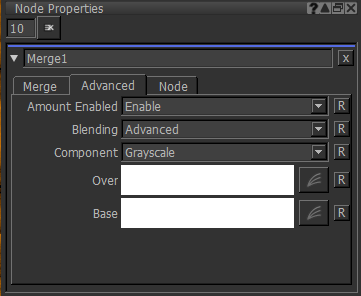
Advanced
|
Amount Enabled
|
Enable or Disable the ability to change the blend mode Amount. If Amount (see Merge tab) has already been modified and Amount Enabled is set to Disable, then the amount is not reset to the default. It is locked to the amount entered when Disable was set. However, when disabled, Mari considers that the Amount is set to 1. |
|
Blending
|
Choose whether to modify the blending mode with Basic or Advanced settings. If you select Basic, the Component field and the Over and Base fields cannot be modified. |
|
Component
|
Select either the Grayscale, Red, Green, Blue, or Luminance components to adjust when modifying the curve editors and applying the Blending mode. |
|
Over
|
Based on the Over input values, this adjusts the amount of blending, using black, white and shades or gray. Drag to move points on the graph. Add points by clicking on the curve. Edit a point by right-clicking it. Note: In the Merge tab, the Amount adjusts the blend mode amount globally and not per input. |
|
Base
|
Based on the Base input values, this adjusts the amount of blending, using black, white and shades or gray. Drag to move points on the graph. Add points by clicking on the curve. Edit a point by right-clicking it. Note: In the Merge tab, the Amount adjusts the blend mode amount globally and not per input. |
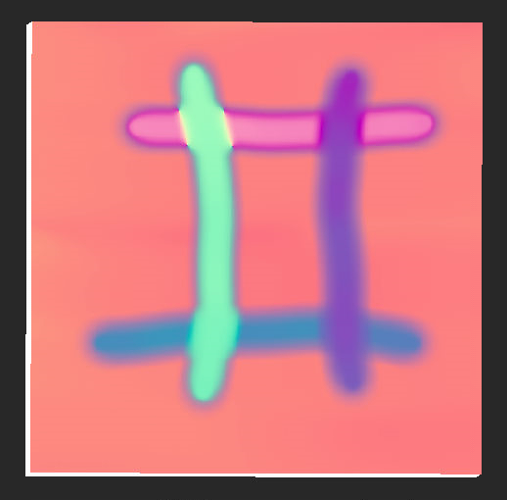
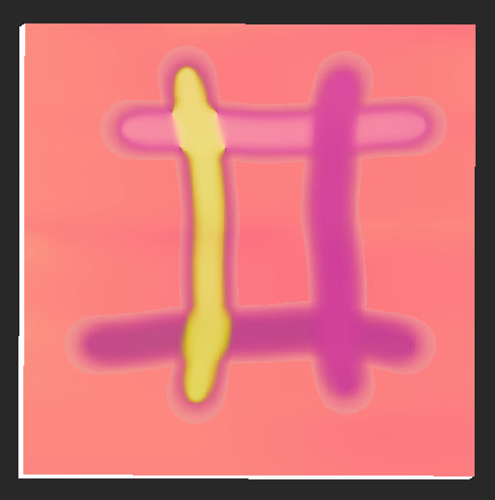
To illustrate the effects of Base and Over in the Advanced Settings, let’s use the following example.
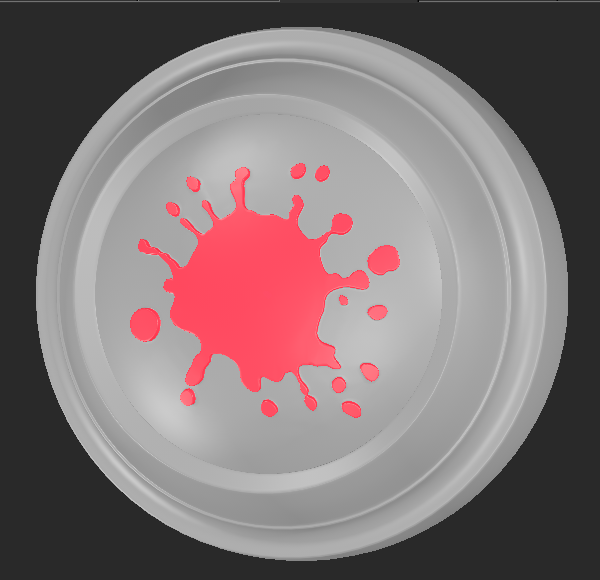
| 1. | Create a UV Grid node and a Cloud node and connect them respectively in the Base and Over inputs of the Merge node. |

Adding a UV Grid node and a Cloud node to the scene.
These are the visual outputs of each separate node.
|
|
|
|
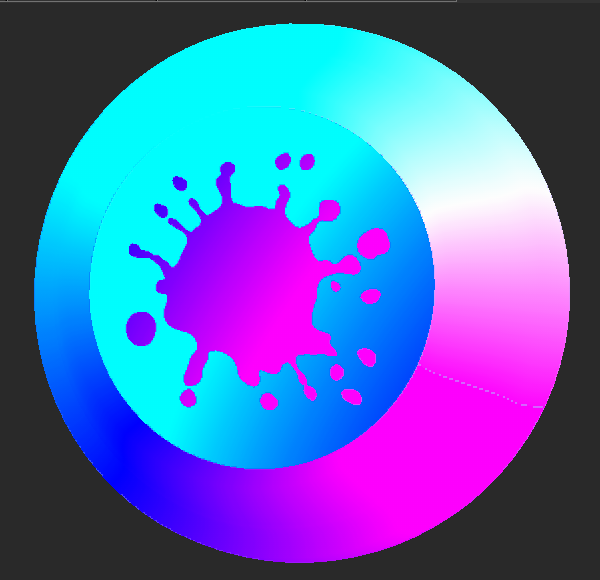
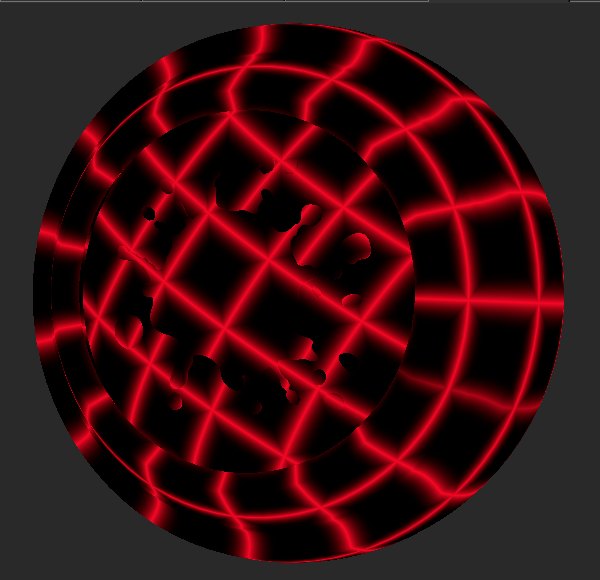
UV Grid node connected to Base. |
Cloud node connected to Over. |
| 2. | In the Merge node's Node Properties, open the Advanced tab, and set the Blending to Advanced. |
This allows you to modify the Component, Over and Base fields.
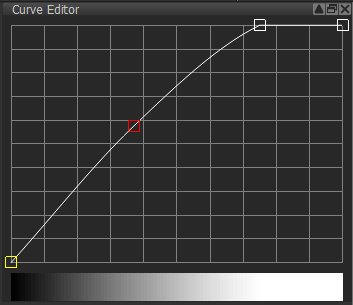
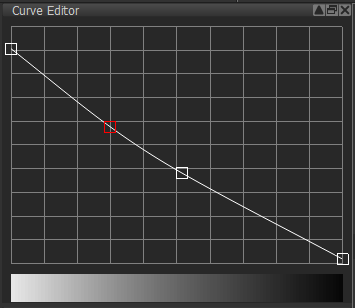
| 3. | Tweak the Over and Base using the curve editor. |
|
|
|
|
|
|
|
This adjusts the amount of blending of the Over input. |
This adjusts the amount of blending of the Base input. |
Note: For more information on the Node tab in the Node Properties palette, See Node tab.
Merge: Node Graph Workflow Example
In this example, let’s use the Merge node as a layering operation.
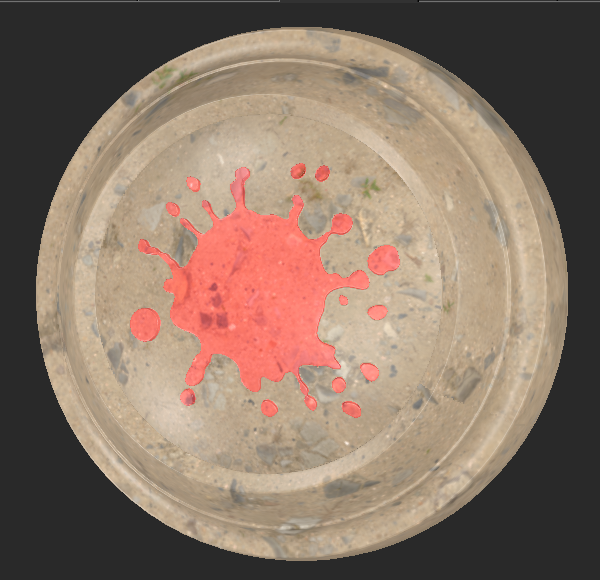
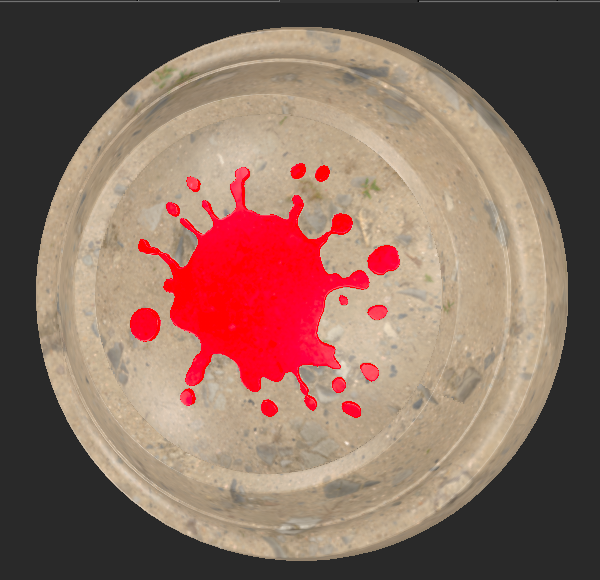
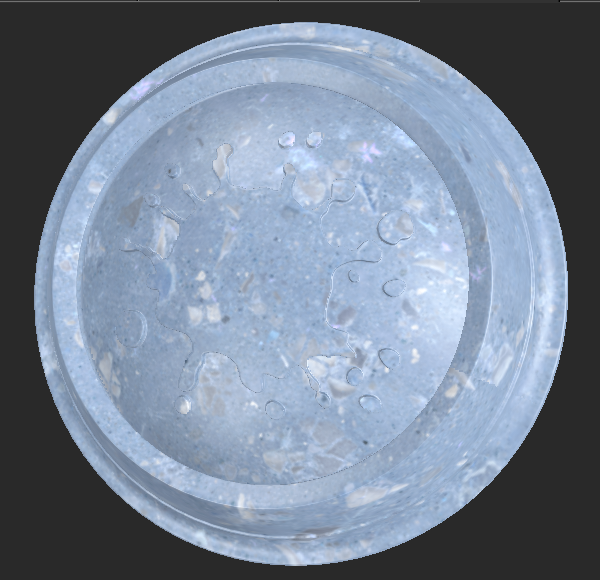
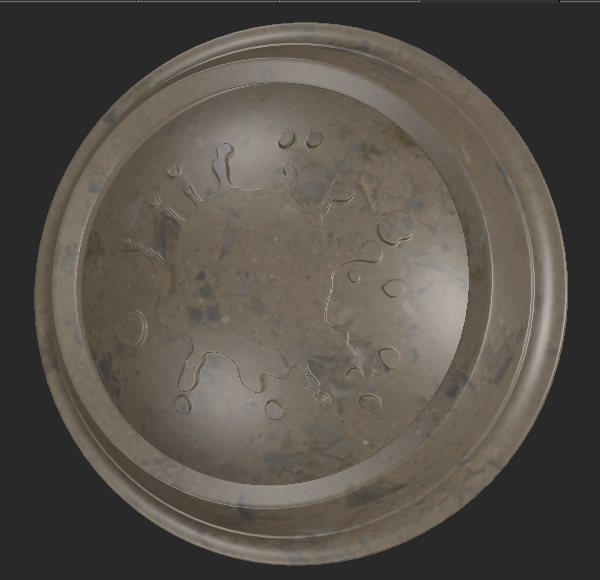
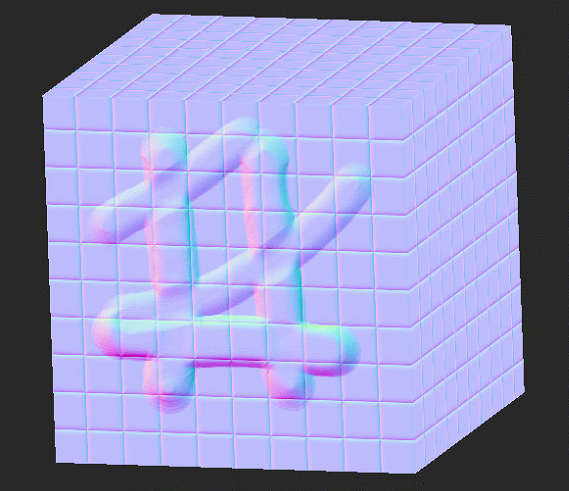
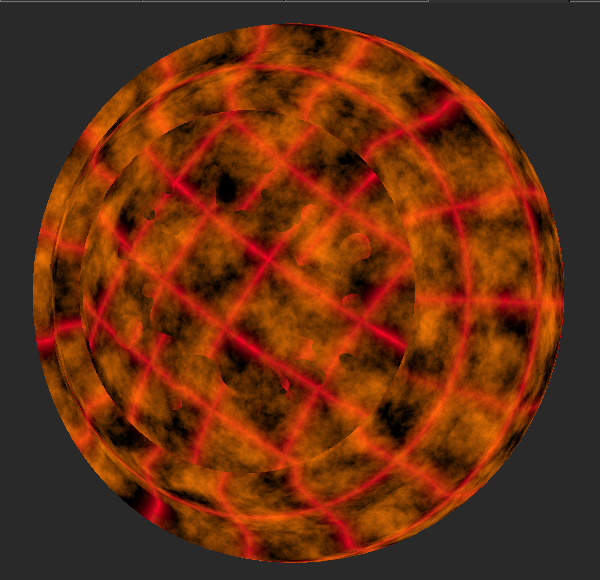
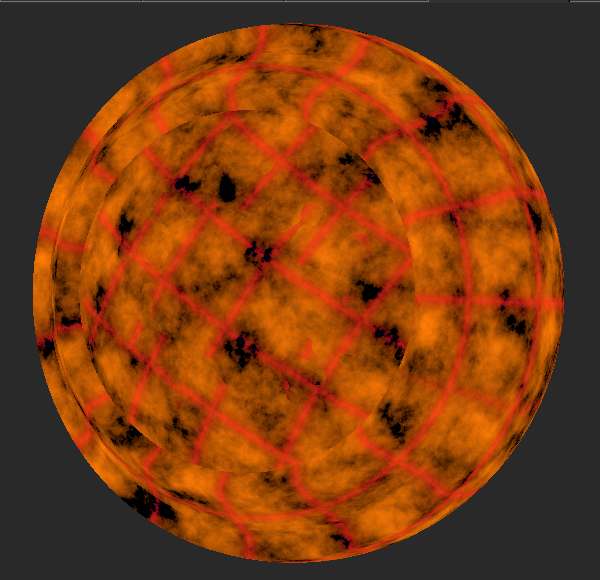
| 1. | Create two Tiled nodes and connect them to the Base and Over inputs of the Merge node. |
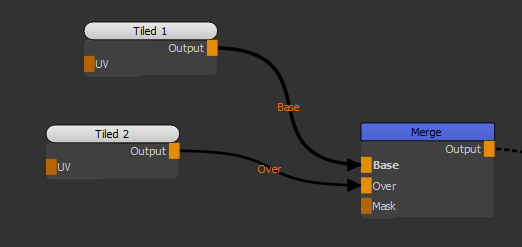
Adding two Tiled nodes to the scene.
|
|
|
|
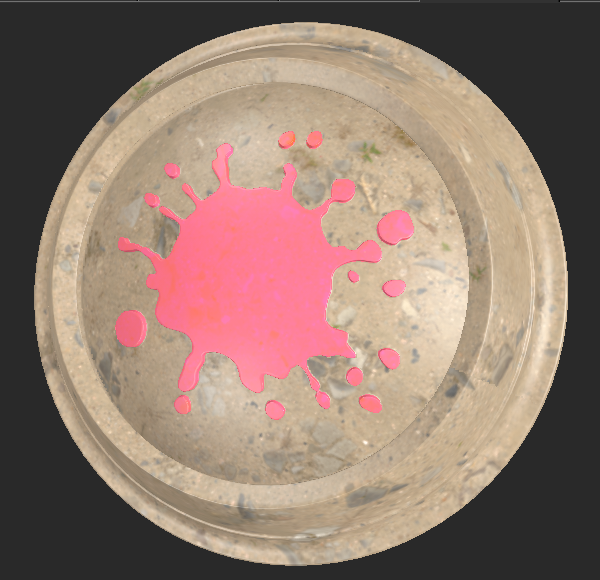
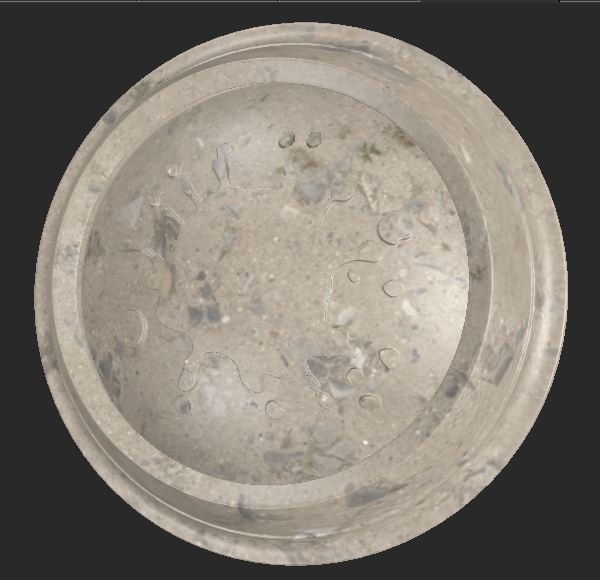
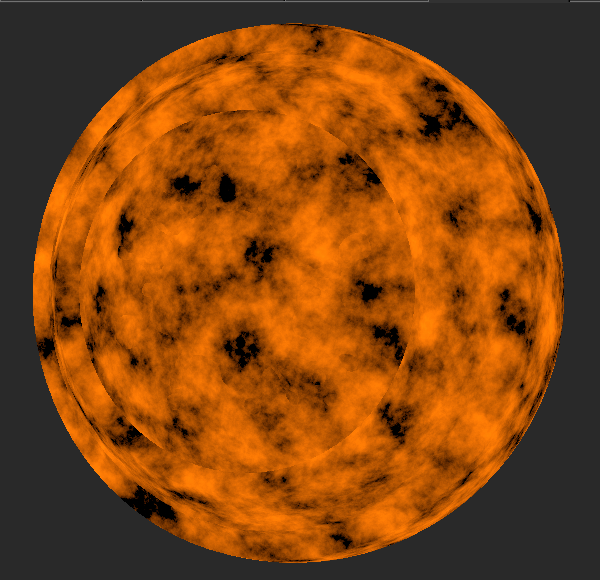
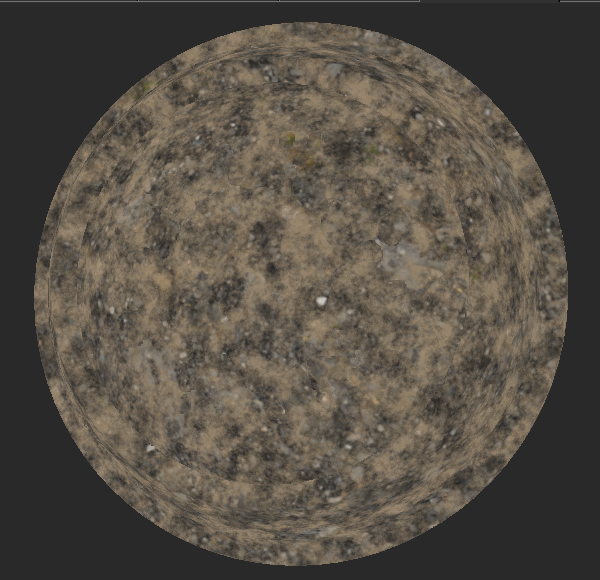
Texture in Tiled 1 node connected to Base input. |
Texture in Tiled 2 node connected to Over input. |
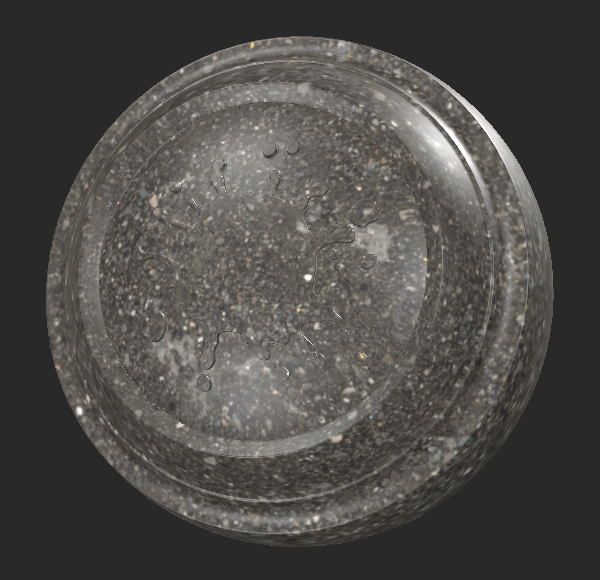
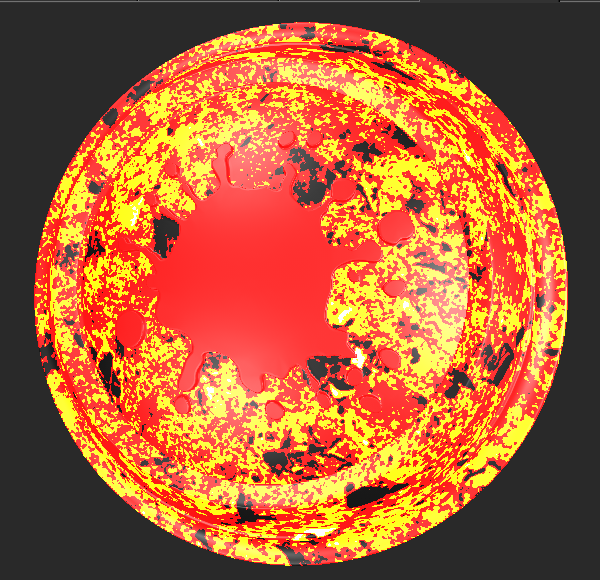
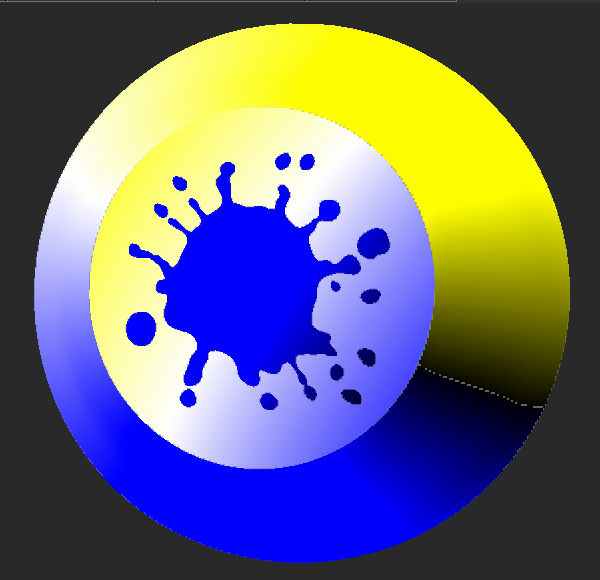
The Blend mode is set to Normal, which displays the Over input only.
When the Blend mode is set to Normal, only the Over input displays.
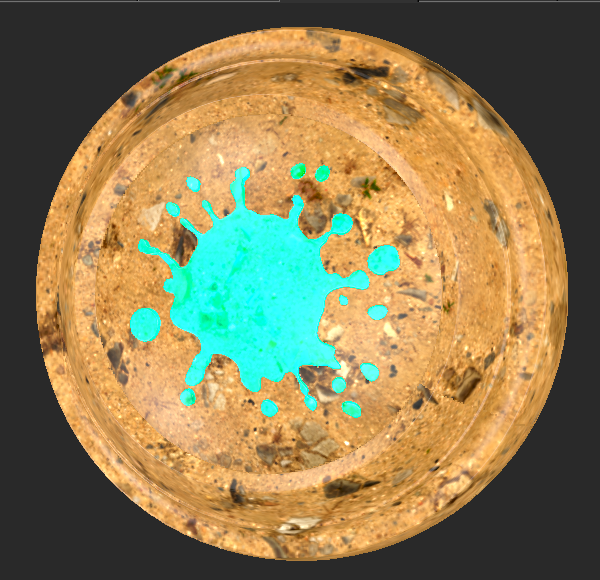
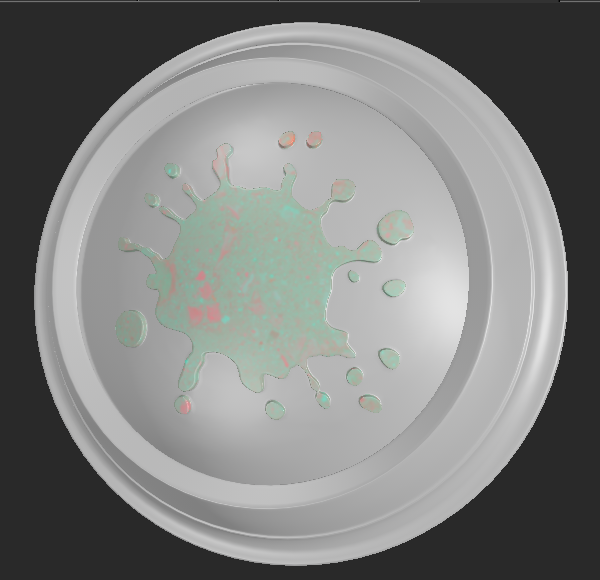
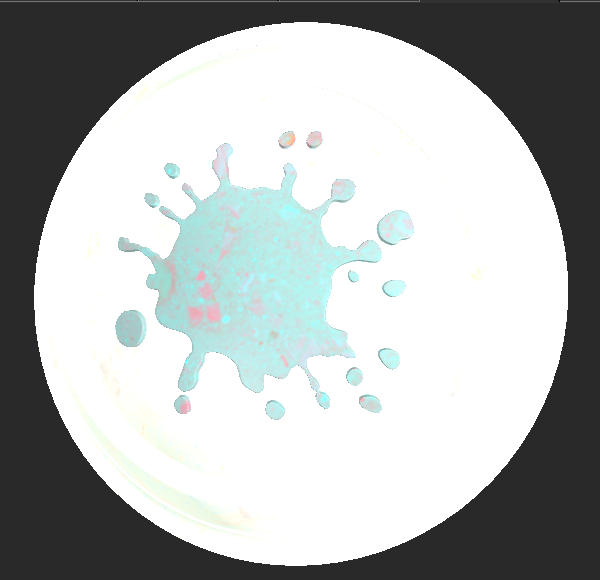
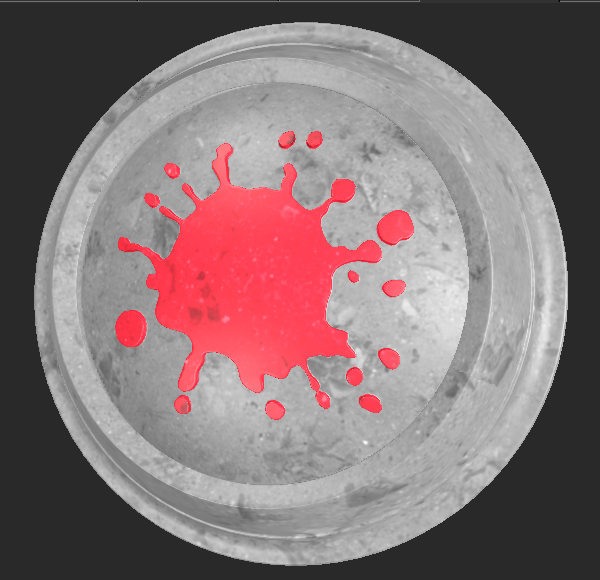
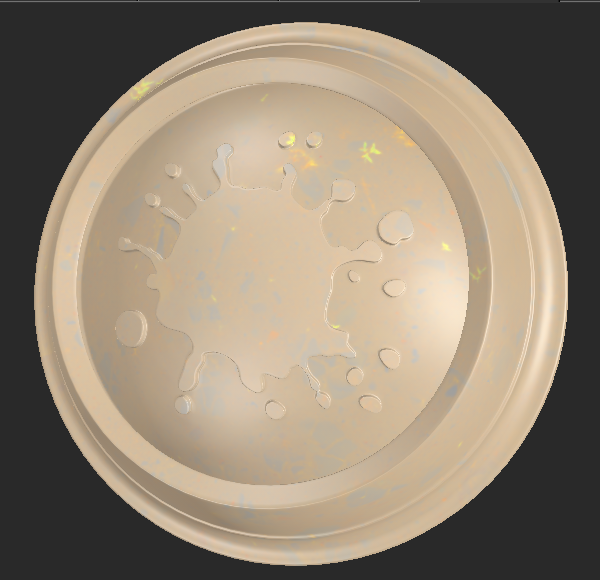
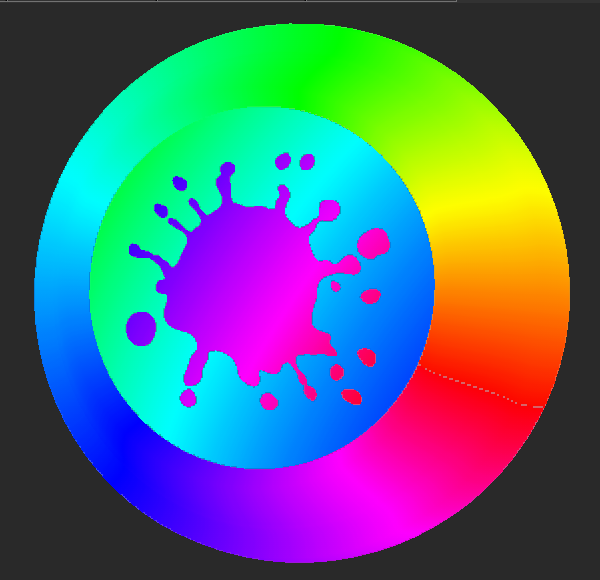
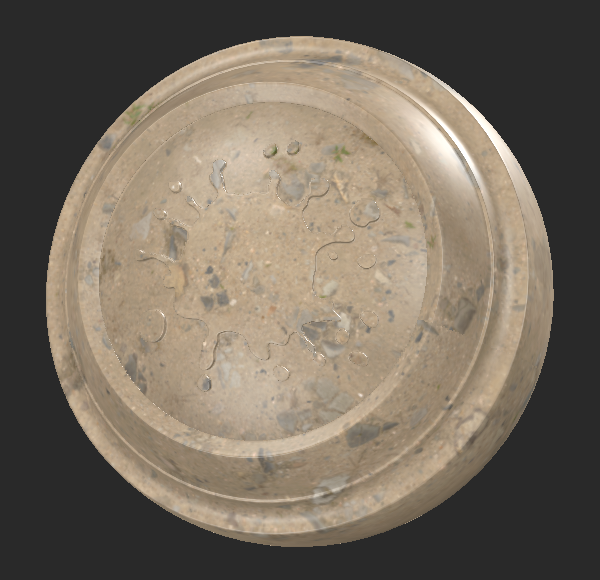
| 2. | Connect a Cloud node to the Mask input to control how much blending is applied. |
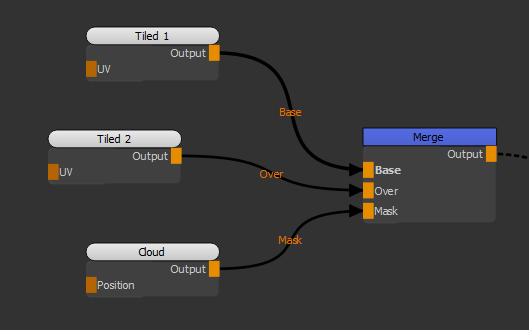
Adding a Cloud node as a mask to control how much blending is applied.
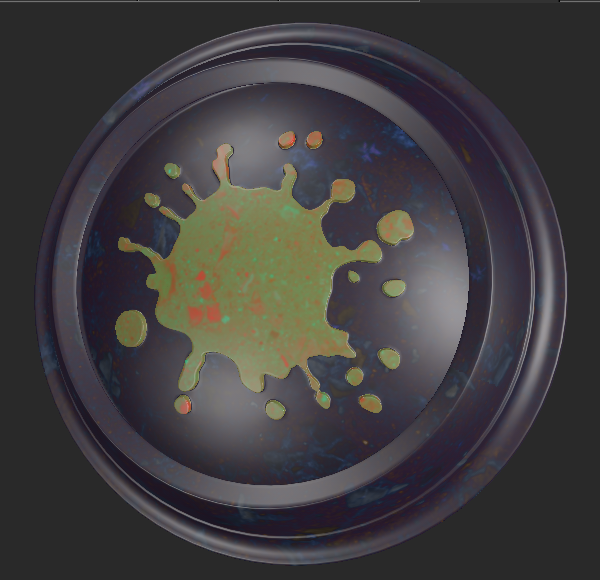
Notice how both textures show on the object.
Tiled 1 and Tiled 2 are blended together.
This is achieved by using the Cloud node as a mask.
Related Nodes
Sorry you didn't find this helpful
Why wasn't this helpful? (check all that apply)
Thanks for your feedback.
If you can't find what you're looking for or you have a workflow question, please try Foundry Support.
If you have any thoughts on how we can improve our learning content, please email the Documentation team using the button below.
Thanks for taking time to give us feedback.